9 Primitive Survival Shelters You Can Build With Just a Knife
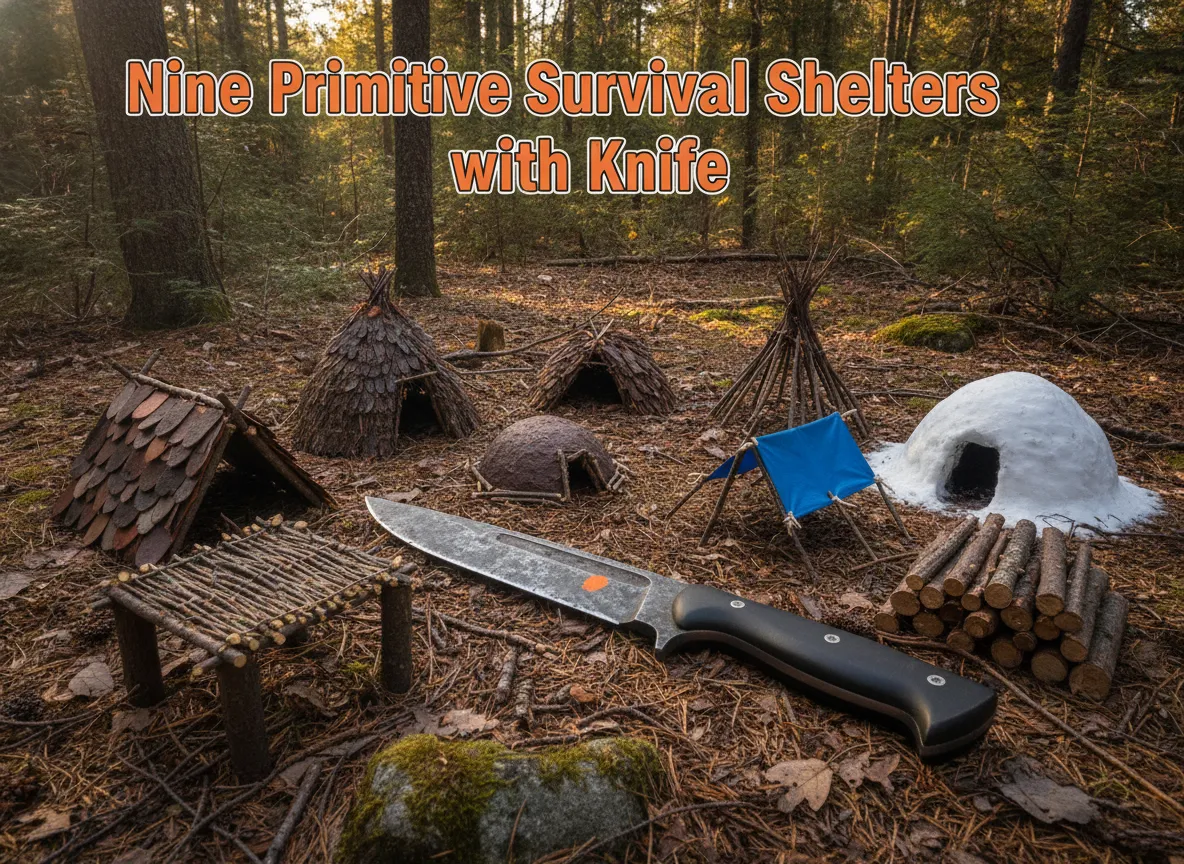
A fixed-blade knife is the single most versatile survival tool ever designed, and in a genuine wilderness emergency, it can be the only tool standing between a person and hypothermia. Research from wilderness survival instructors consistently shows that exposure kills faster than dehydration or starvation, making shelter the first priority in any survival scenario. The good news is that the 9 primitive survival shelters you can build with just a knife covered in this guide require no axe, no saw, and no pre-cut lumber, only a reliable blade, natural materials, and the knowledge to use them.
Disclosure: This post contains affiliate links. As an Amazon Associate, we earn from qualifying purchases, and at no extra cost to you.
Whether a hiker is stranded after a wrong turn or a prepper is stress-testing minimalist skills, understanding these knife-only shelter designs is a foundational competency. Each shelter type below has been selected based on its feasibility with a single knife, its effectiveness against the elements, and the speed at which a solo builder can realistically complete it [8][10].
Key Takeaways
- A full-tang fixed-blade knife of 4 to 6 inches is sufficient to cut structural branches, carve notches, process cordage, and drive stakes for all nine shelter types listed here.
- The lean-to and debris hut are the fastest knife-only builds and should be the first two designs any survival student masters.
- Ground insulation is as critical as overhead coverage, a thick layer of dry leaves, grass, or pine needles prevents dangerous heat loss through the cold ground.
- More complex designs like the wickiup and round lodge offer superior long-term comfort but demand significantly more time and material gathering.
- Every primitive shelter should be tested with at least one overnight stay and then adjusted based on real-world performance, not just theoretical design.
Why a Knife Is Enough to Build Primitive Survival Shelters
Before diving into the nine designs, it helps to understand exactly what a knife can accomplish in a shelter-building context. A quality fixed-blade knife with a full-tang blade between 4 and 6 inches can perform every critical construction task in the field [10].
Core knife tasks in shelter construction:
- Cutting and notching structural branches and saplings
- Splitting thin wood for lashing and binding strips
- Carving stakes and sharpening their tips for ground driving
- Using the butt of the handle as a hammer to drive stakes
- Processing bark, roots, and plant fibers into natural cordage
- Harvesting large leaves, bark sheets, and bundles of grass for roofing
“The knife is not a compromise tool in shelter building, it is the primary tool. Every other implement is a convenience.”
Solo builders in documented knife-only shelter challenges have consistently completed overnight-capable shelters using nothing but a bushcraft knife, though the process is more time- and energy-intensive than working with a saw or axe [2][5][6][7]. The key insight from these real-world tests is that design simplicity and smart site selection matter more than the number of tools available.
Adding a tarp and cordage to the kit dramatically speeds up construction, but the knife remains the enabling tool, it carves the stakes that anchor the tarp and processes any natural material needed to supplement it [10].
The 9 Primitive Survival Shelters You Can Build With Just a Knife
The following nine designs are arranged roughly from fastest to build to most complex, making the list a natural learning progression for anyone developing primitive shelter skills.
1. The Lean-To
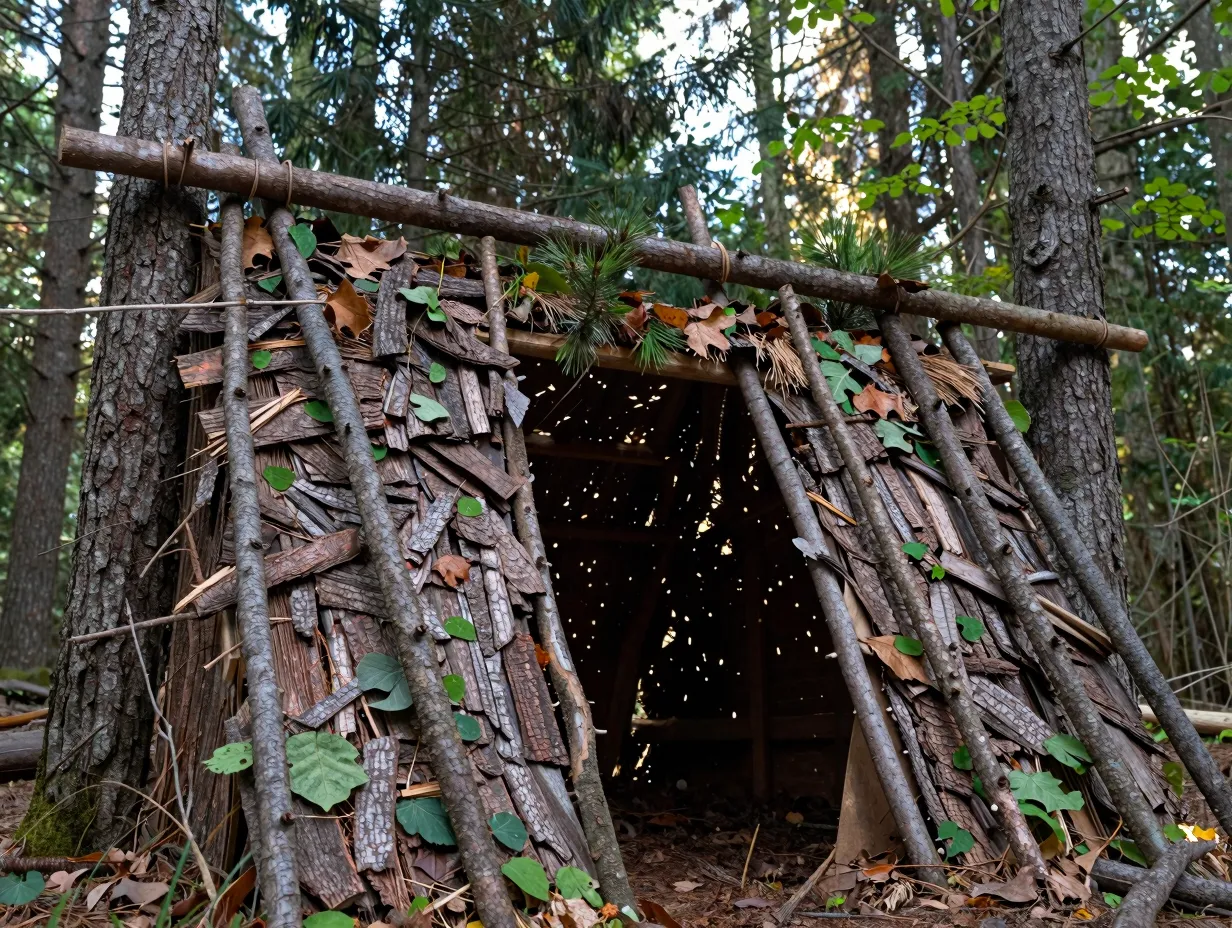
The lean-to is the most widely taught primitive shelter for good reason: it can be built in under two hours with a knife and basic natural materials. The design is a simple angled roof supported by a horizontal ridgepole lashed between two trees or propped on forked uprights.
Construction steps:
- Select two trees roughly 8 to 10 feet apart or cut and drive two forked uprights.
- Lash or notch a horizontal ridgepole at shoulder height.
- Lean a series of branches against the ridgepole at a 45-degree angle.
- Layer bark, large leaves, or pine boughs over the frame from bottom to top, like roof shingles.
- Build up a 6 to 12-inch-thick debris layer for waterproofing.
The lean-to offers excellent ventilation and easy fire-side access, but it provides only one-sided wind and rain protection. Orienting the back wall toward the prevailing wind direction is essential [8][13]. A knife is used to cut the ridgepole, notch the uprights, and process roofing material throughout the build.
2. The A-Frame Wedge Hut
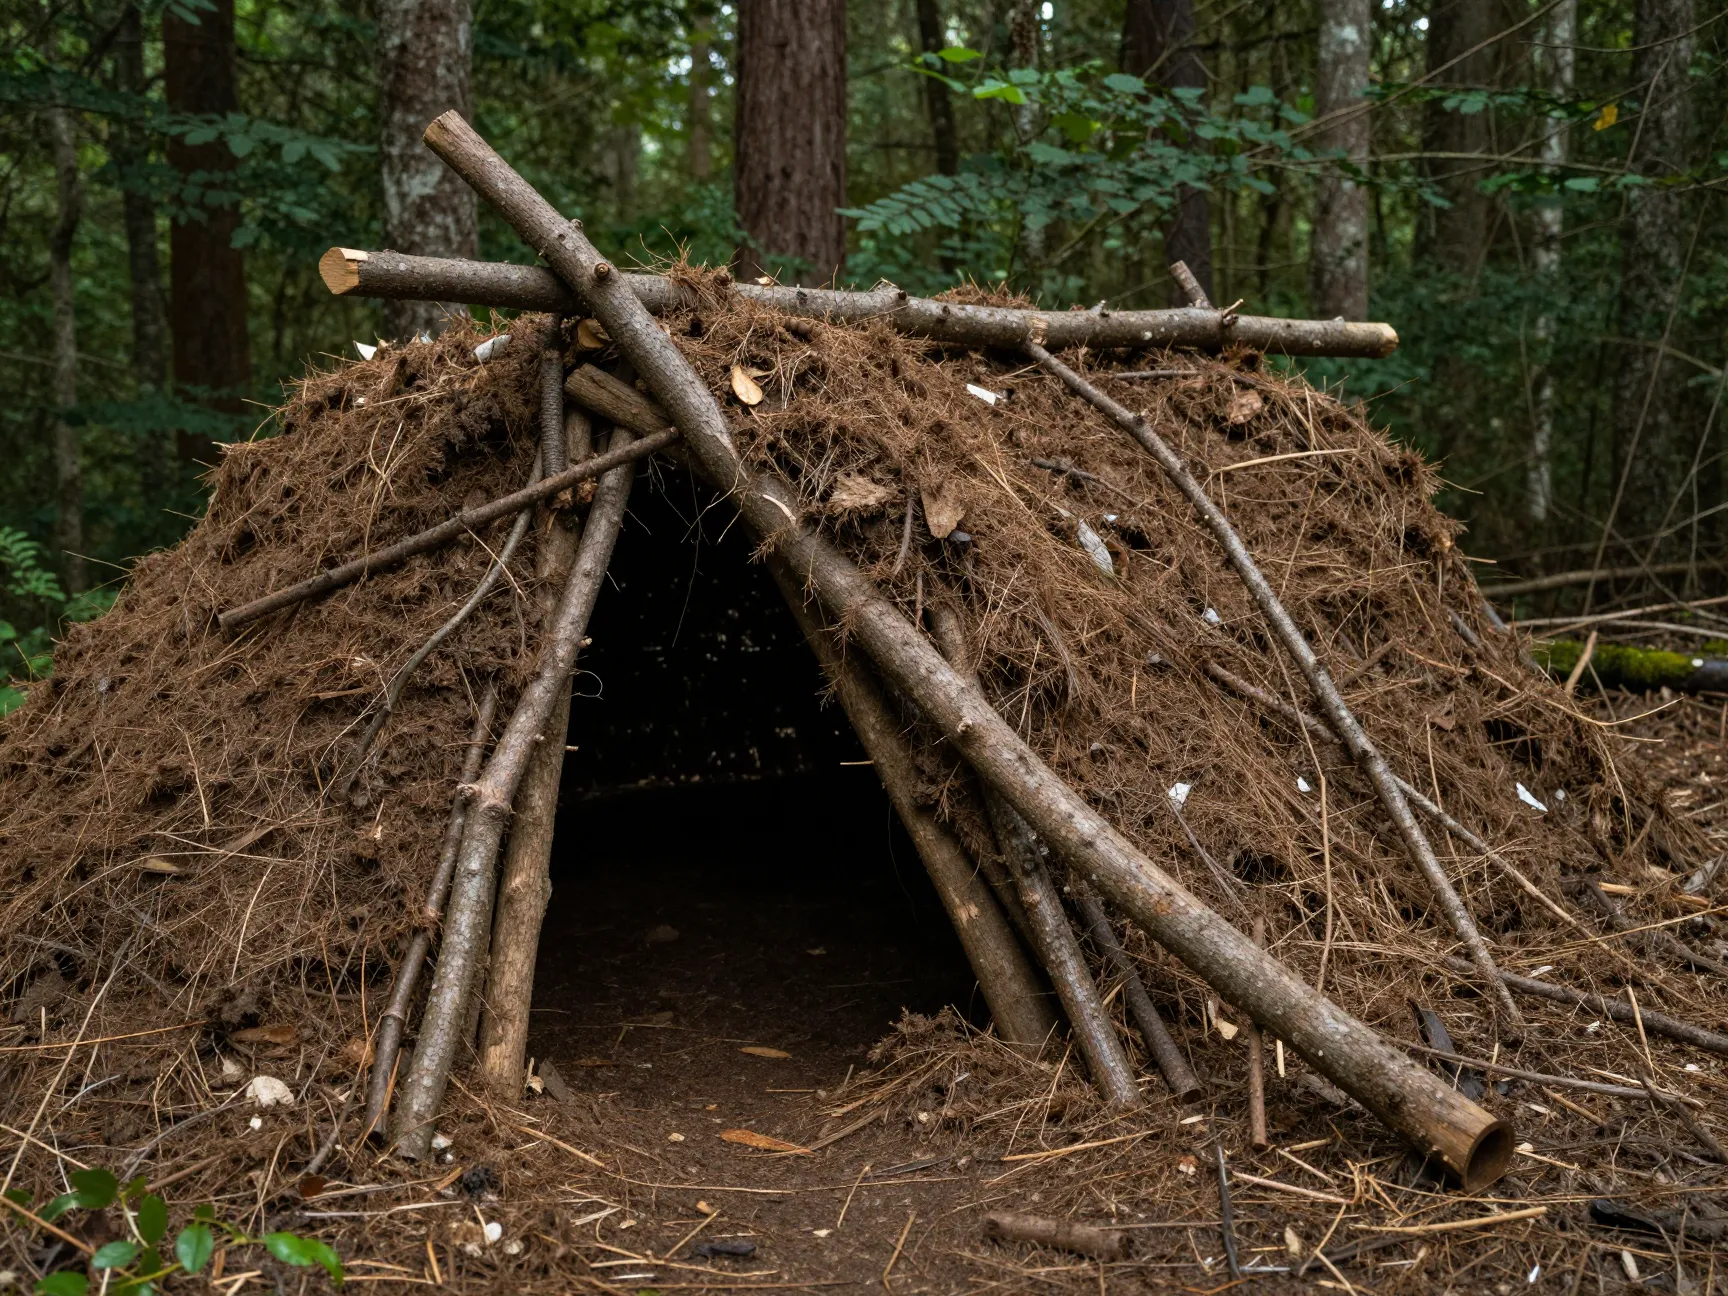
The A-frame, sometimes called a wedge hut, encloses the builder on three sides and overhead, making it significantly warmer than a lean-to in cold conditions. A long ridgepole is propped at one end on a forked stick or tree branch and rests on the ground at the other, forming a low triangular tunnel.
Key construction notes:
- The ridgepole should be at least 9 feet long and sturdy enough to bear the weight of a debris layer.
- Branches are leaned against both sides of the ridgepole to form the walls.
- The debris layer should be at least 2 feet thick to achieve meaningful insulation.
- The entry end should face away from the prevailing wind.
The enclosed design traps body heat effectively. The knife is used to cut the ridgepole to length, trim side branches for a cleaner frame, and harvest roofing debris [8].
3. The Debris Hut
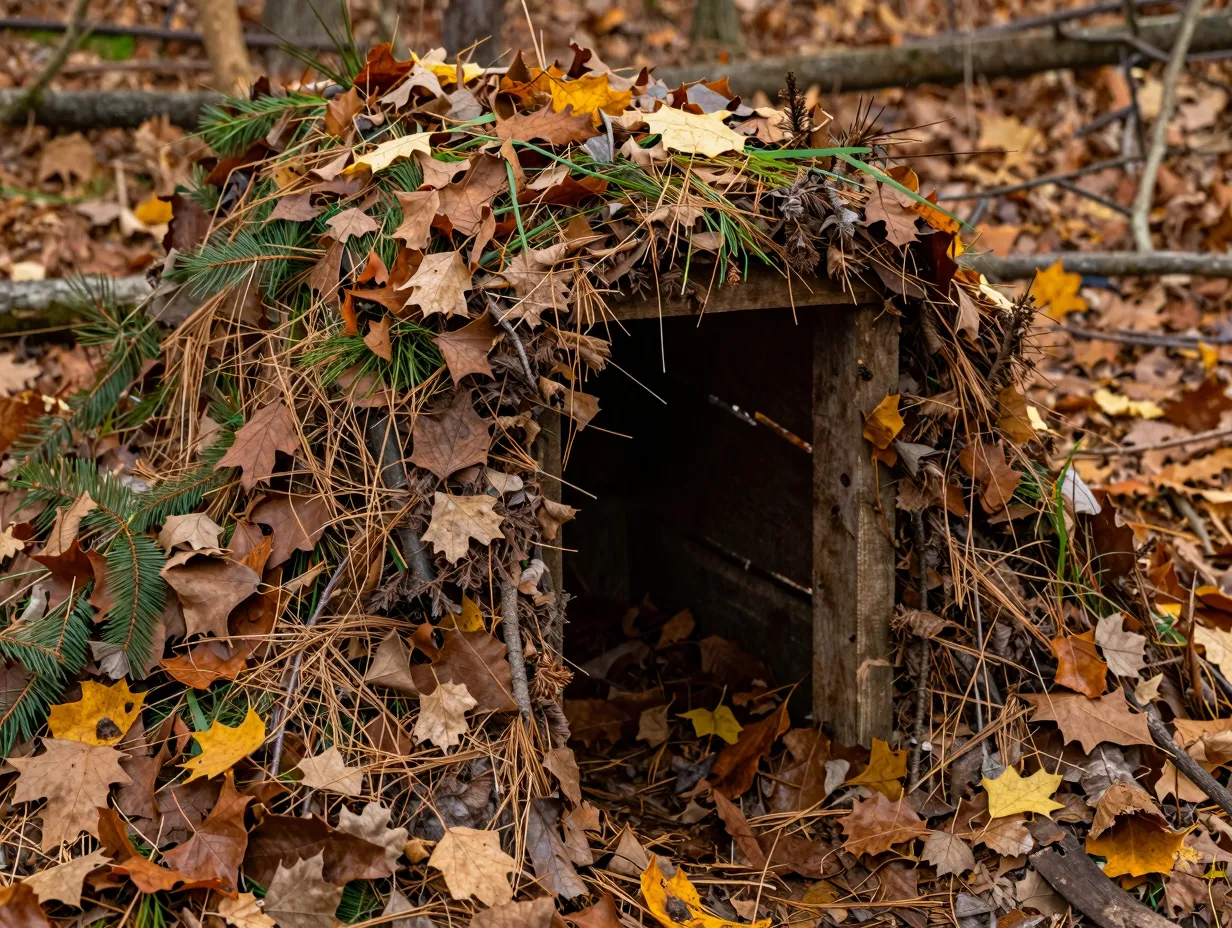
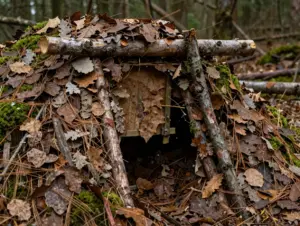
The debris hut is the gold standard of primitive emergency shelters when insulation is the top priority. It is essentially a body-sized A-frame packed so densely with natural debris, leaves, grass, pine needles, bracken, that it functions like a sleeping bag made of forest material.
Critical design parameters:
- The interior should be just wide and tall enough for the builder to fit inside. Excess airspace wastes body heat.
- The debris layer on the outside must be at least 2 to 3 feet thick in cold climates.
- The floor inside must be cleared of rocks and sticks, then layered with 4 to 6 inches of dry insulating material [10].
- A plug of debris at the entrance seals in warmth overnight.
Documented knife-only builds confirm that a debris hut can be constructed solo in 3 to 5 hours, depending on the availability of dry leaf litter [5][6]. The knife processes the ridgepole, trims the frame, and cuts armfuls of leafy branches to accelerate debris gathering.
4. The Tarp Lean-To
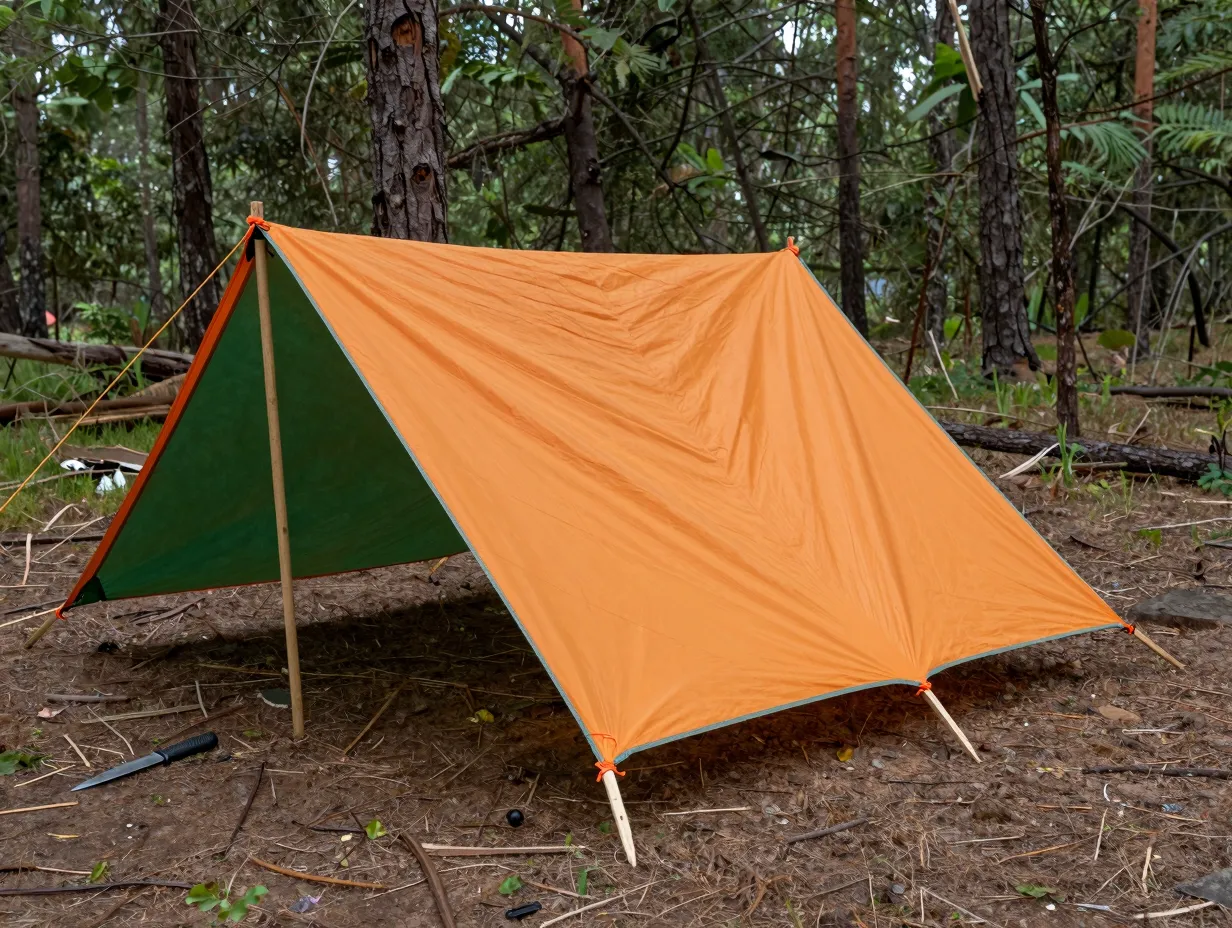
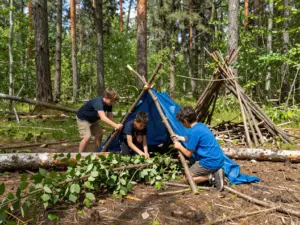
When a tarp is available alongside the knife, the tarp lean-to becomes the fastest possible shelter build, often completable in under 30 minutes. This design earns its place on a list of knife-built shelters because the knife is still the primary construction tool: it carves and sharpens all the stakes that anchor the tarp, and it cuts any cordage or natural lashing needed [10].
Setup overview:
- Carve four to six pointed stakes from thumb-thick branches using the knife.
- Drive the stakes at the rear corners and front corners of the intended shelter footprint.
- Rig the tarp in a classic lean-to angle, high at the back and low at the front, or in an A-frame configuration over a ridgeline between two trees.
- Adjust the pitch based on rain intensity, a steeper angle sheds water faster.
The tarp lean-to is the preferred emergency setup recommended by multiple gear and training sources because it combines speed with reliable weatherproofing [10].
5. The Wickiup (Conical Tipi Frame)
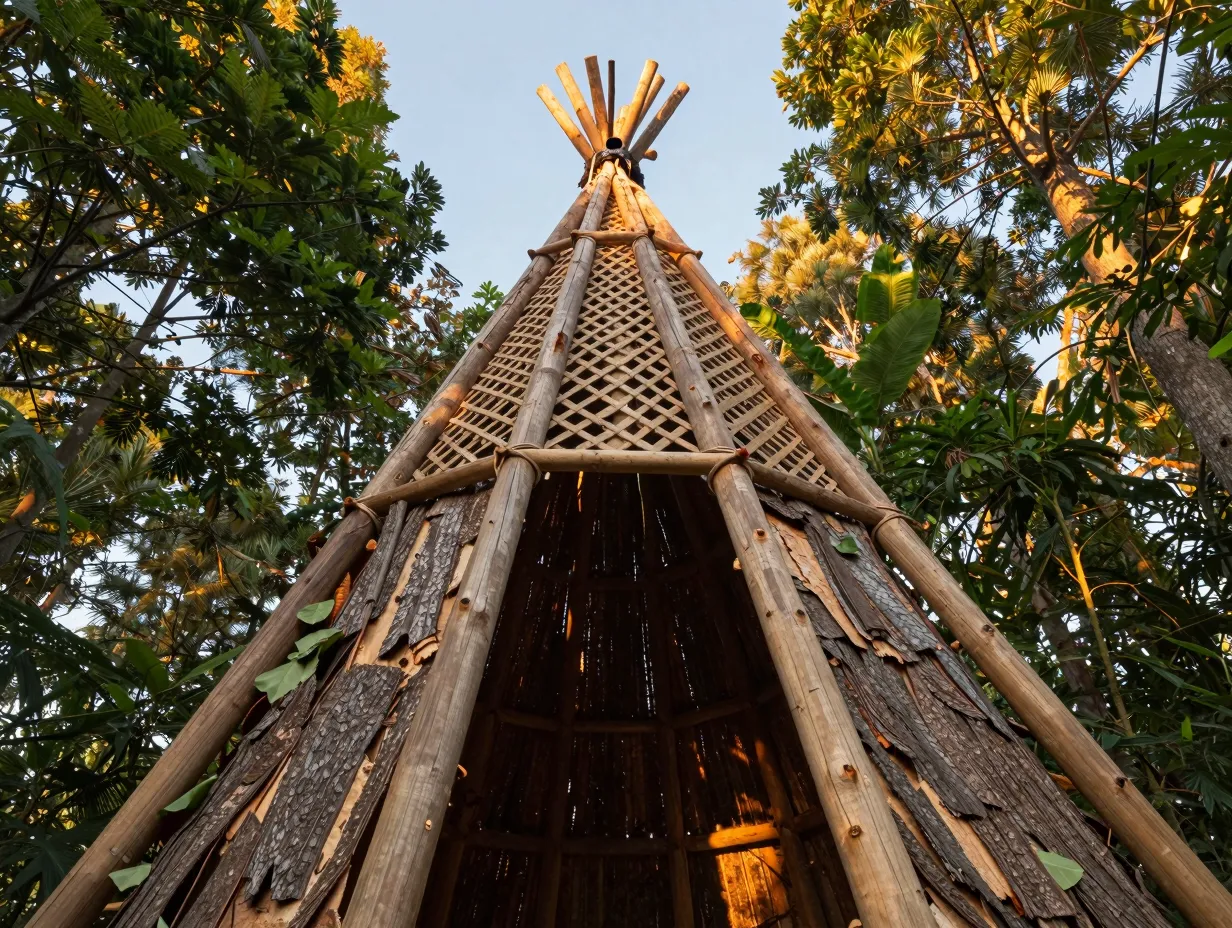
The wickiup is a conical shelter made by lashing a cluster of long poles together at the top and spreading their bases in a circle. It is the primitive shelter with the best interior headroom and the most natural ventilation, making it suitable for longer stays where a fire inside the shelter is desired.
Construction overview:
- Cut 8 to 12 poles of roughly equal length, ideally 10 to 14 feet, using the knife to notch and snap or score-and-bend green saplings.
- Lash the tops together with bark strips or root cordage processed with the knife.
- Stand the bundle upright and spread the base poles in an even circle.
- Cover the frame with bark sheets, large leaves, or grass bundles, starting at the base and overlapping upward.
- Leave a small smoke hole at the apex if a fire will be used inside.
The wickiup takes considerably longer to build than a lean-to or debris hut, typically 4 to 8 hours for a solo builder, but it offers superior long-term comfort and weather resistance [15].
6. The Roundhouse Lodge
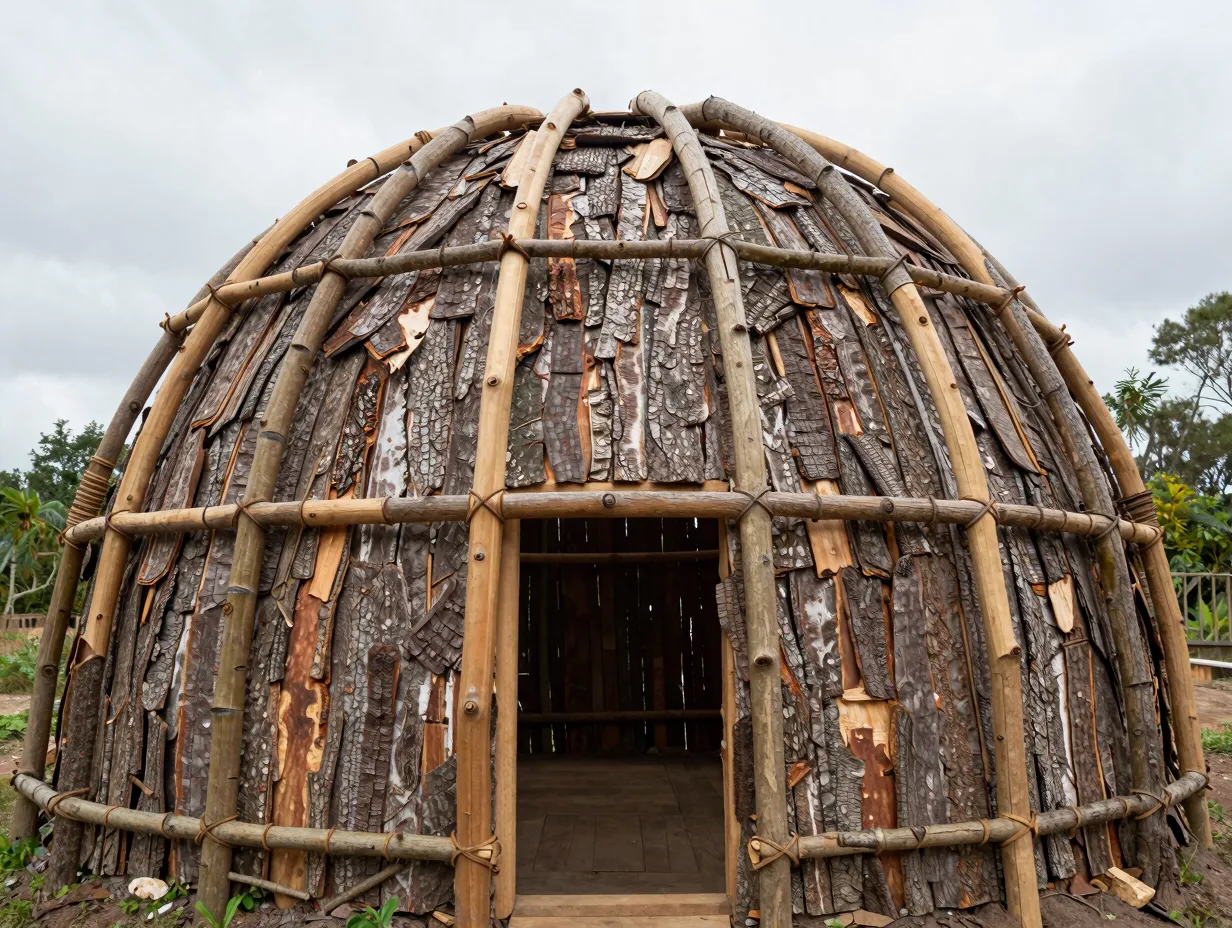
The round lodge is a dome-shaped or cylindrical structure built by bending flexible saplings into arches and lashing them together to form a lattice frame, which is then covered with bark, hides, or woven grass mats. It is one of the most structurally sound primitive shelters and can withstand significant wind and snow loads.
Frame construction with a knife:
- Select a circle of young, flexible saplings growing close together, or cut and drive a ring of uprights.
- Bend opposing uprights toward each other and lash their tops to form arches.
- Weave horizontal branches through the vertical arches to stiffen the lattice.
- Cover the exterior with overlapping bark sheets or thatched grass bundles.
The round lodge is a longer-term survival or bushcraft camp shelter. A knife is essential for harvesting and processing the saplings, carving lashing notches, and cutting bark panels to size [8][15]. Expect to invest a full day or more in a quality build.
7. The Swamp Bed (Elevated Platform Shelter)
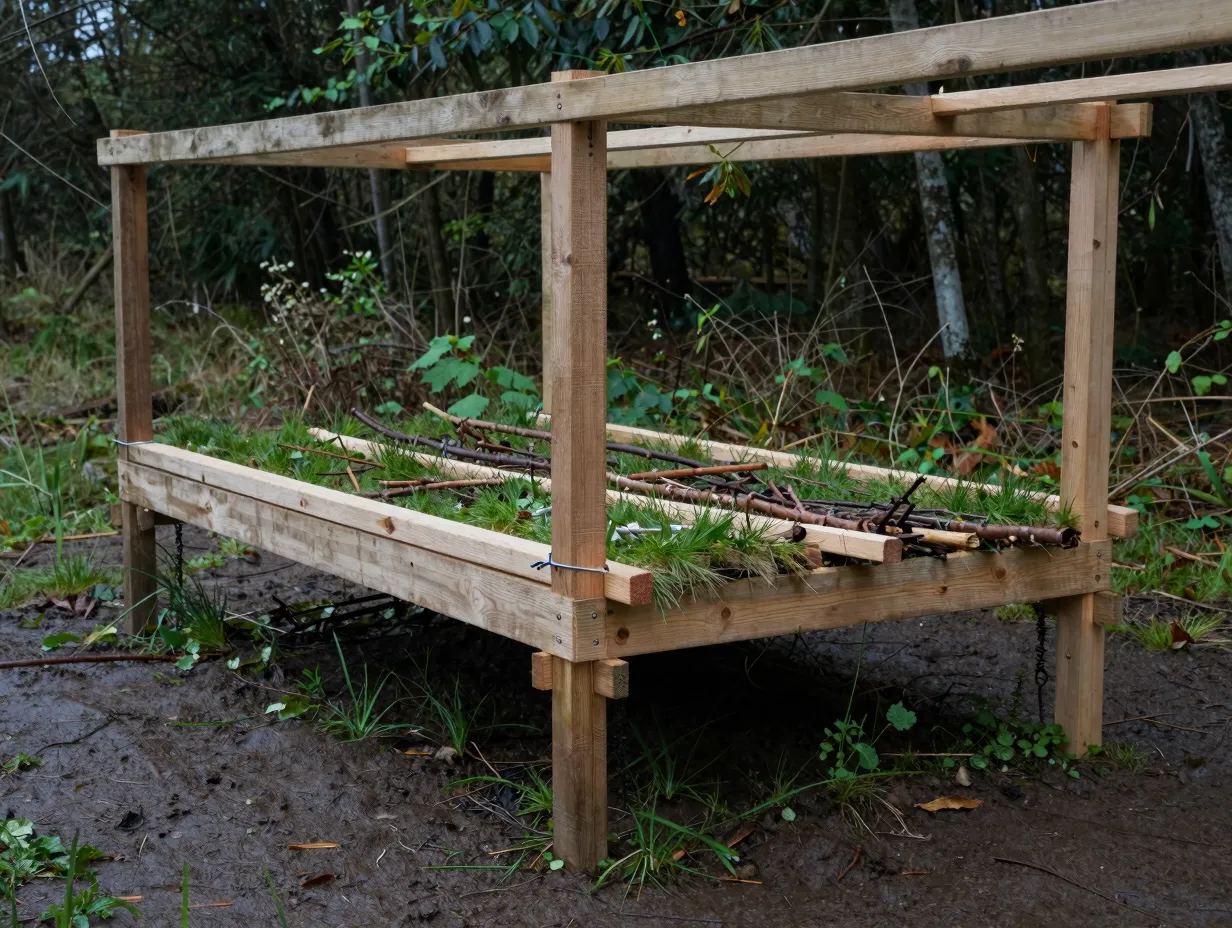
In wet lowland environments, sleeping on the ground is not just uncomfortable, it can be dangerous due to flooding, insects, and ground moisture. The swamp bed is an elevated sleeping platform built from lashed branches, raising the sleeper 12 to 18 inches above the ground.
Construction with a knife:
- Cut four sturdy upright posts and drive them into the ground in a rectangular arrangement sized to fit the body.
- Lash two horizontal side rails between the uprights at the desired height.
- Lay a series of cross-poles across the rails, spaced 2 to 3 inches apart.
- Add a layer of springy branches, grass, or bark on top for comfort and insulation.
The swamp bed is often combined with a lean-to or A-frame overhead cover to form a complete shelter system. The knife handles every cut and carves the notches that keep the lashing from slipping [3][4].
8. The Snow Quinzhee
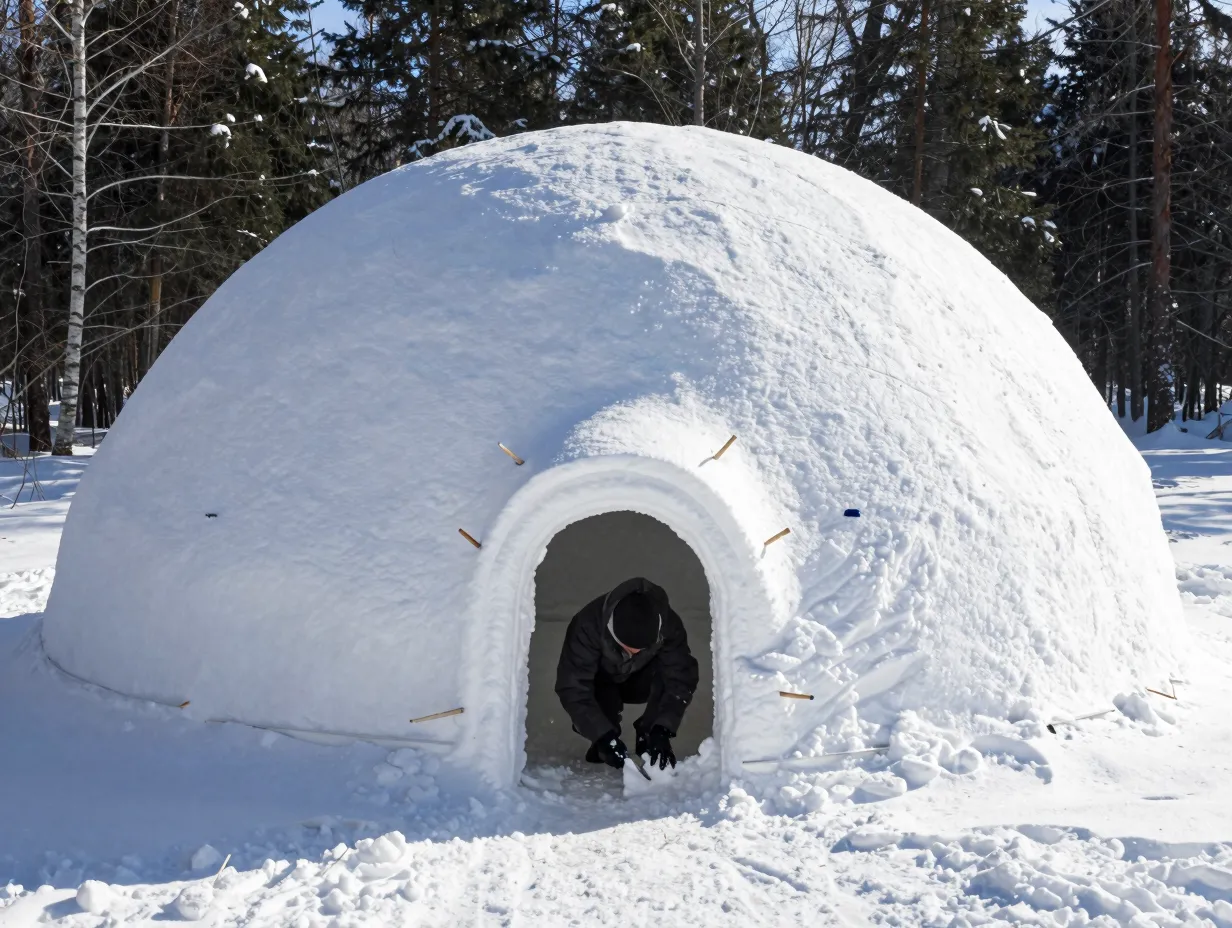
In winter survival scenarios, snow itself becomes one of the best insulating building materials available. A quinzhee is a hollowed-out snow mound, distinct from an igloo, which is built from cut blocks, and it requires almost no tools to construct. The knife’s role here is primarily in carving depth-gauge sticks and clearing the entrance tunnel.
Build process:
- Pile snow into a dome roughly 8 feet in diameter and 5 feet tall.
- Allow the pile to sinter (harden) for at least 2 hours.
- Insert a series of 12-inch sticks around the exterior as depth gauges.
- Hollow out the interior from one side, stopping when the stick tips are reached, leaving a shell roughly 12 inches thick.
- Poke a small ventilation hole through the roof with the knife blade.
Interior temperatures in a quinzhee hover around 32 degrees Fahrenheit regardless of outside conditions, which is dramatically warmer than exposed winter air [15]. The knife carves the depth-gauge sticks and clears compacted snow from the entrance.
9. The Snow Cave

The snow cave is the most thermally efficient of all nine primitive survival shelters you can build with just a knife in winter conditions. It requires a deep, stable snowpack, typically found on a hillside or in a large drift, and a knife for carving and shaping the interior.
Construction steps:
- Locate a slope with at least 6 to 8 feet of consolidated snow depth.
- Dig horizontally into the slope, then curve the tunnel upward into a sleeping chamber above the entrance level. This traps warm air inside.
- Smooth the ceiling into a dome shape to prevent drip points.
- Poke a ventilation hole through the roof with the knife.
- Mark the entrance with a ski pole, branch, or bright object so rescuers or companions can locate it.
The raised sleeping platform inside the cave keeps the occupant above the coldest air layer. As with the quinzhee, interior temperatures remain near freezing even when outside temperatures drop to extreme lows [15]. The knife is used to carve and smooth the interior, cut ventilation holes, and process any branch material needed for a sleeping platform.
Choosing the Right Shelter for the Situation
Not every shelter suits every environment or emergency. The table below provides a quick reference for matching shelter type to conditions.
| Shelter | Best Conditions | Build Time (Solo) | Warmth Rating |
|---|---|---|---|
| Lean-To | Mild, dry, fire available | 1 to 2 hours | Low |
| A-Frame Wedge Hut | Cool, light rain | 2 to 3 hours | Medium |
| Debris Hut | Cold, no fire | 3 to 5 hours | High |
| Tarp Lean-To | Rain, speed priority | Under 30 min | Medium |
| Wickiup | Long-term, fire inside | 4 to 8 hours | Medium-High |
| Round Lodge | Extended stay, wind | Full day+ | High |
| Swamp Bed | Wet lowlands | 2 to 4 hours | Medium |
| Snow Quinzhee | Winter, deep snow | 3 to 4 hours | High |
| Snow Cave | Extreme cold, hillside snow | 2 to 3 hours | Very High |
Essential Principles That Apply to All 9 Primitive Survival Shelters You Can Build With Just a Knife
Mastering individual shelter designs is only part of the equation. The following principles apply universally across all nine builds and are consistently emphasized by experienced bushcraft practitioners and survival instructors.
Site selection is the first decision, not the last. Before cutting a single branch, evaluate the ground for natural drainage, wind direction, proximity to water (close enough to access, far enough to avoid flooding), and available building materials. A poor site can make even a well-built shelter dangerous.
Ground insulation is non-negotiable. Cold ground conducts heat away from the body far faster than cold air. Clearing rocks and sticks from the shelter floor and laying a minimum 4-inch layer of dry leaves, grass, or pine needles is a critical step that many beginners skip [10].
Debris thickness determines warmth. For any debris-covered shelter, the general rule is: if the debris pile looks like enough, double it. A 2-foot-thick debris roof on a debris hut or A-frame is not excessive, it is the minimum for cold-weather performance [8].
Test before relying on the shelter. Expert commentary from shelter-building practitioners consistently stresses the importance of spending at least one night in any primitive shelter before depending on it in a real emergency. Testing reveals gaps in the debris layer, cold spots on the floor, and entryway design flaws that are invisible during daylight construction [13].
The knife is a system, not just a blade. In a knife-only survival scenario, the same blade used to build the shelter also processes firewood, digs test holes to locate groundwater, and fabricates other tools. Keeping the blade sharp throughout the build is essential, a dull knife wastes energy and increases the risk of injury [14].
Conclusion
The 9 primitive survival shelters you can build with just a knife represent a complete toolkit for staying alive in the wilderness across nearly every climate and season. From the fast, fire-friendly lean-to to the thermally superior snow cave, each design has a specific role and a specific set of conditions where it excels.
Actionable next steps for 2026:
- Start with the lean-to and debris hut. Practice building both designs in a backyard or local forest before any backcountry trip.
- Invest in a quality full-tang fixed-blade knife in the 4-to-6-inch range. This single tool enables every shelter on this list.
- Practice natural cordage-making. The ability to process bark and roots into usable lashing with a knife dramatically expands construction options.
- Run at least one overnight test in a self-built primitive shelter before relying on the skill in a real emergency.
- Study site selection as a standalone skill. The best-built shelter on a flood plain or in a wind tunnel will still fail.
Survival skills degrade without practice. The most effective approach is to treat these nine shelter designs as a rotation, building and testing each one across different seasons and environments until the techniques become second nature. A knife and the knowledge to use it are, together, the most powerful survival kit available [2][5][8][10].
References
[1] Watch – https://www.youtube.com/watch?v=9OfBeQYowKQ
[2] Watch – https://www.youtube.com/watch?v=gMYxphzdnvI
[3] Watch – https://www.youtube.com/watch?v=Z9Vyjqx2dEs
[4] Watch – https://www.youtube.com/watch?v=DElEu4dI_aA
[5] Watch – https://www.youtube.com/watch?v=aydOT9POBq0
[6] Watch – https://www.youtube.com/watch?v=DqCQFK8MHZ0
[7] Watch – https://www.youtube.com/watch?v=vuclpH2Lh_w
[8] Watch – https://www.youtube.com/watch?v=yGtgCggL7J4
[9] Watch – https://www.youtube.com/watch?v=r34LFjMCEZc
[10] How To Build The Best Shelter With Only A Knife And A Tarp – https://www.naturereadyoutdoors.com/post/how-to-build-the-best-shelter-with-only-a-knife-and-a-tarp