9 Steps to Master Salt Water Fish Drawing and Sketch Marine Life
Only about 20 percent of the ocean floor has been mapped in high resolution, yet artists have been capturing saltwater creatures on paper for centuries, long before underwater cameras existed. That tension between mystery and observation is exactly what makes marine life drawing so compelling. Whether the goal is scientific illustration, concept art, or personal enrichment, following the 9 Steps to Master Salt Water Fish Drawing and Sketch Marine Life gives any artist a structured, repeatable method for rendering ocean creatures with confidence and accuracy.
Disclosure: This post contains affiliate links. As an Amazon Associate, we earn from qualifying purchases, and at no extra cost to you.
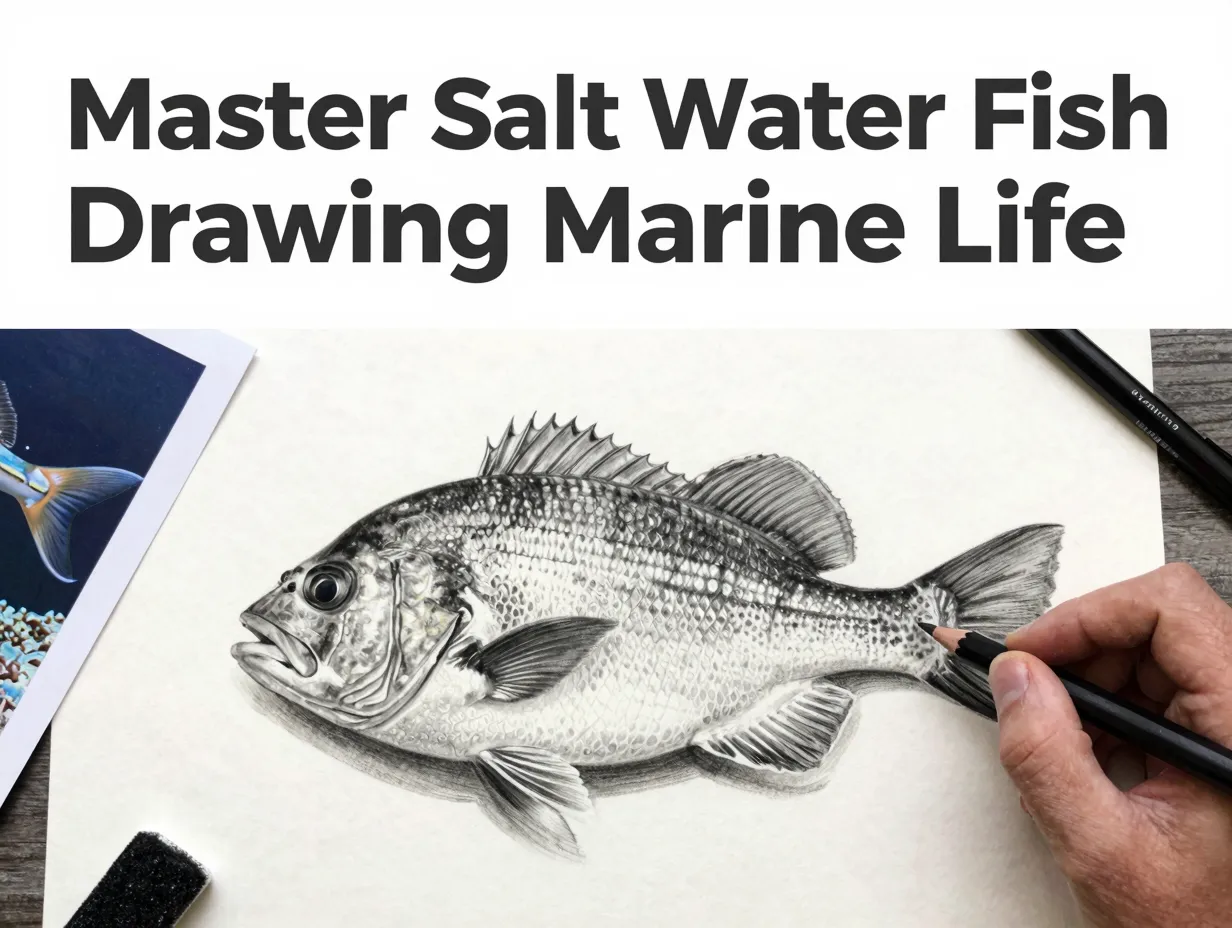
This guide breaks the process into nine clear, numbered steps, each building on the last. Beginners will find a reliable foundation, while intermediate artists will discover techniques to sharpen their observational skills and push their work toward professional quality.
Key Takeaways
- Mastering saltwater fish drawing requires both anatomical knowledge and consistent observational practice.
- Starting with simple geometric shapes before adding detail prevents common proportion errors.
- Reference materials, including photographs, museum specimens, and aquarium visits, are essential tools, not shortcuts.
- Texture, light, and shadow are what separate a flat diagram from a compelling marine life sketch.
- Regular, focused practice sessions of even 20 minutes per day produce measurable skill gains within weeks.
Why Saltwater Fish Are Among the Most Rewarding Subjects in Nature Drawing
Saltwater fish present a unique challenge that sharpens every foundational drawing skill simultaneously. Their bodies require accurate elliptical forms, their scales demand patience with repetitive texture, their fins test understanding of translucency, and their coloration pushes tonal range to its limits. Unlike still-life objects, fish have bilateral symmetry disrupted by perspective, which forces artists to think in three dimensions even on a flat page.
Marine life drawing also has practical applications beyond fine art. Scientific illustrators, game concept artists, textile designers, and tattoo artists all rely on the ability to render fish convincingly. The global marine aquarium industry, valued at over $1 billion annually, generates constant demand for accurate species illustrations used in guides, signage, and educational materials.
The 9 Steps to Master Salt Water Fish Drawing and Sketch Marine Life outlined in this article are sequenced deliberately. Skipping steps, especially the early structural ones, is the most common reason artists plateau. Each step addresses a specific skill gap, and together they form a complete workflow from blank page to finished sketch.
The Complete 9 Steps to Master Salt Water Fish Drawing and Sketch Marine Life
1. Gather the Right Materials Before Touching the Page

The quality of tools directly affects the quality of learning. This does not mean expensive materials are required, but it does mean having the right range of tools available.
Essential materials for marine life sketching:
| Tool | Recommended Grade/Type | Purpose |
|---|---|---|
| Graphite pencils | HB, 2B, 4B, 6B | Line work and tonal range |
| Kneaded eraser | Standard | Lifting highlights |
| Fine-liner pen | 0.1mm, 0.3mm | Ink detail work |
| Sketchbook | 130-160 gsm cartridge | Dry media drawing |
| Watercolor paper | 300 gsm cold press | Wet media and wash |
| Blending stump | Small/medium | Smooth graphite transitions |
Avoid starting with a single HB pencil and a thin notebook. The inability to achieve dark tones or lift clean highlights creates frustration that is often mistaken for lack of talent. Investing in a basic pencil set with a range of grades removes that barrier immediately.
2. Study Real Fish Anatomy Before Drawing From Imagination
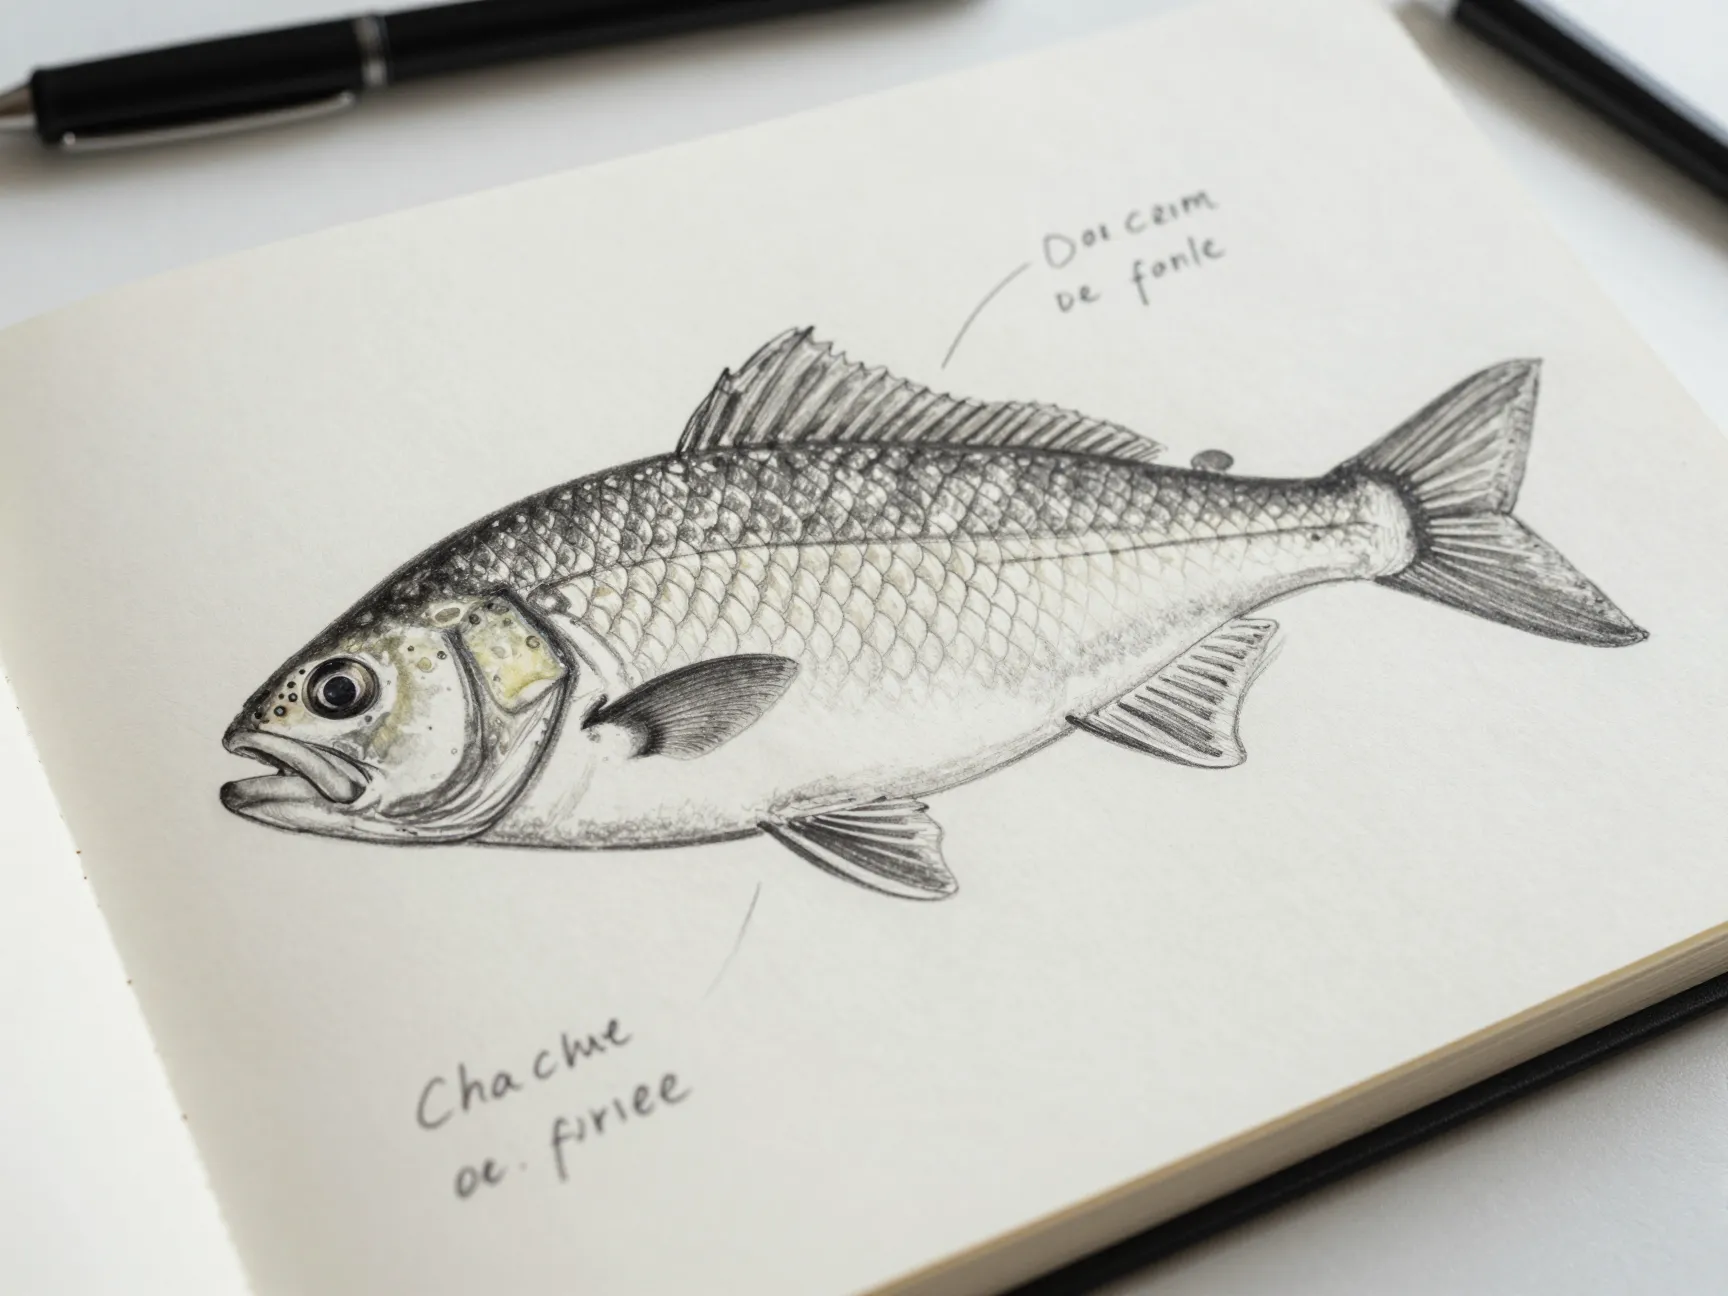
Every convincing saltwater fish drawing is grounded in anatomical knowledge. The major structural elements every artist should understand include:
- The lateral line, a sensory canal running from head to tail that creates a visible line on many species
- Dorsal, pectoral, pelvic, anal, and caudal fins, each with distinct shapes and attachment points
- Operculum, the bony gill cover that defines the head-to-body transition
- Scale patterns, cycloid, ctenoid, and ganoid scales each create different surface textures
The best way to build this knowledge is through direct observation. Visits to public aquariums, fish markets, and natural history museums provide access to real specimens. Photographic references from resources such as the Smithsonian Ocean Portal or FishBase (a global database of fish species) supplement in-person study.
“Drawing what you know, not just what you see, is the difference between a symbol of a fish and an actual fish.”, Common principle in observational drawing pedagogy
3. Choose a Reference Image With Strong Lighting and Clear Detail
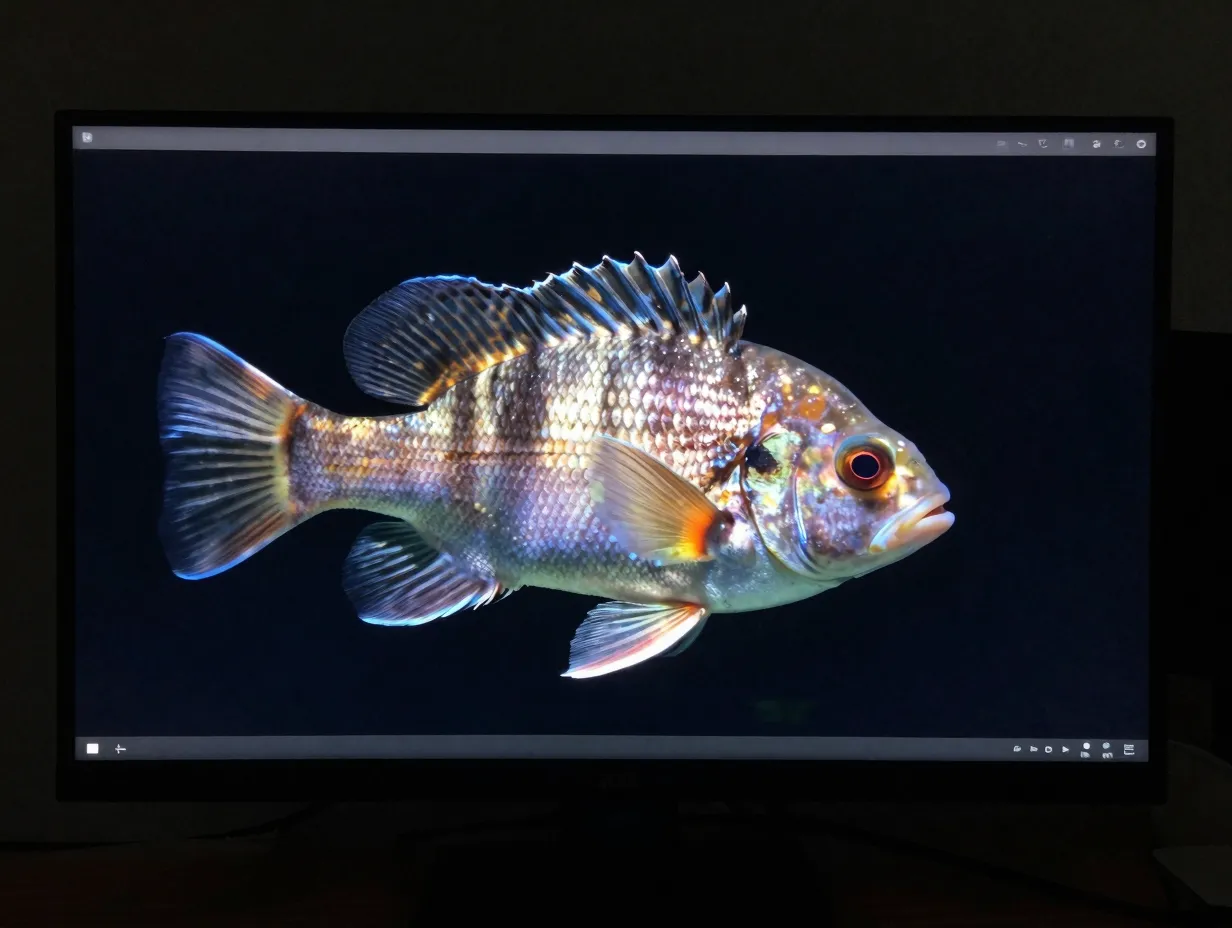
Reference selection is a skill in itself. A blurry, low-contrast photograph will produce a blurry, low-contrast drawing. When selecting reference images for saltwater fish drawing, prioritize:
- Side-profile (lateral) views for initial practice, as they show the full body shape without foreshortening
- High-resolution images that reveal individual scale rows and fin ray structure
- Strong directional lighting that creates clear shadows and defines the three-dimensional form
- Single-species images rather than crowded reef scenes when starting out
Free, high-quality reference images are available through platforms such as iNaturalist, which hosts millions of georeferenced wildlife observations including fish photographs submitted by researchers and naturalists worldwide.
4. Block in the Basic Geometric Shape of the Body
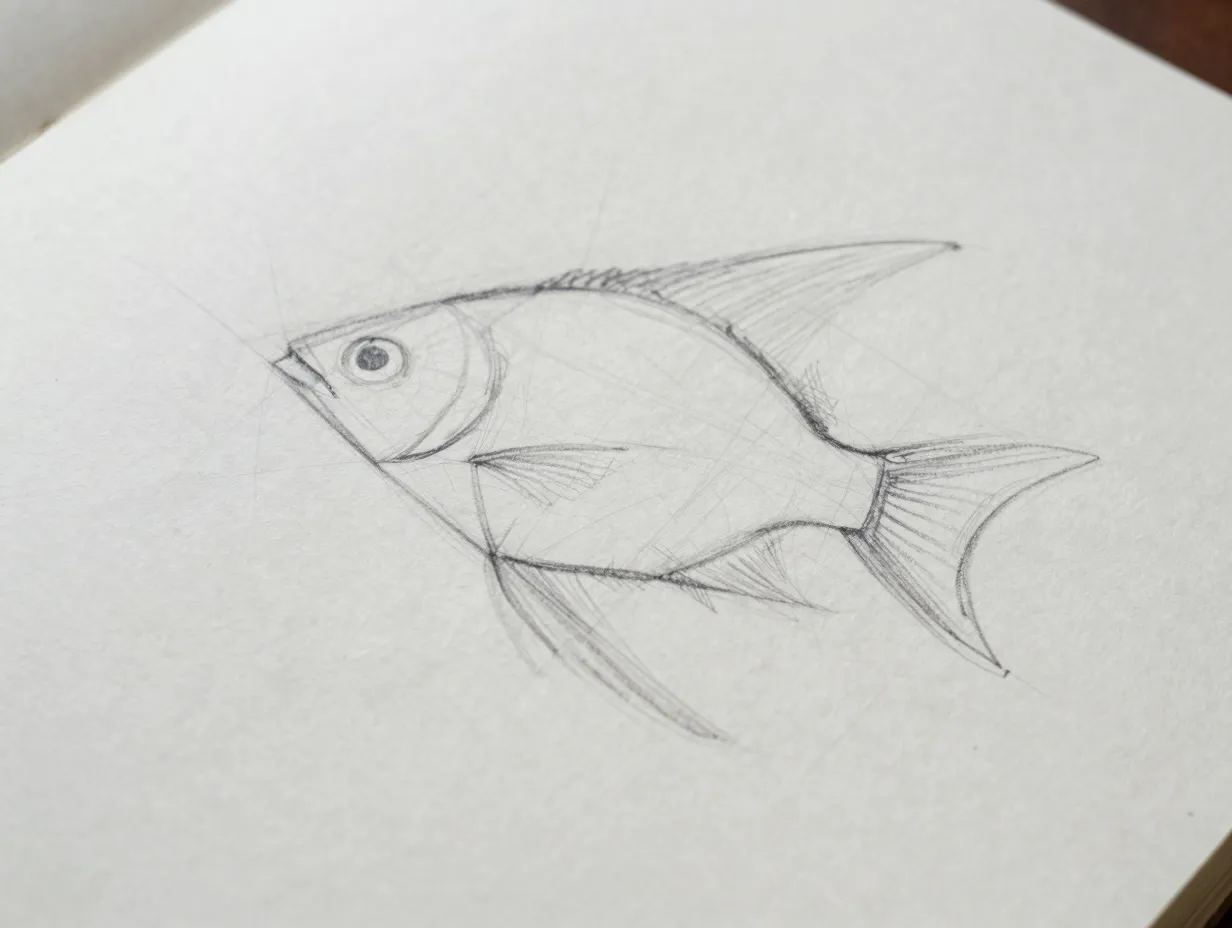
This is where the drawing physically begins. Before any detail is added, the overall body mass must be established as a simple geometric form.
Most saltwater fish bodies fit within one of these primary shapes:
- Oval/ellipse, tuna, snapper, grouper
- Compressed diamond, angelfish, butterflyfish, discus
- Elongated torpedo, barracuda, needlefish, wahoo
- Rounded rectangle, boxfish, pufferfish, trunkfish
Draw the chosen shape lightly with an HB pencil. This is a construction line, not a final outline. The goal is to establish the correct proportions, the ratio of body length to body height, before committing to any detail. Most beginners draw fish heads too large relative to the body; measuring with a pencil held at arm’s length against the reference image corrects this quickly.
5. Establish Proportional Guidelines for Fin and Feature Placement
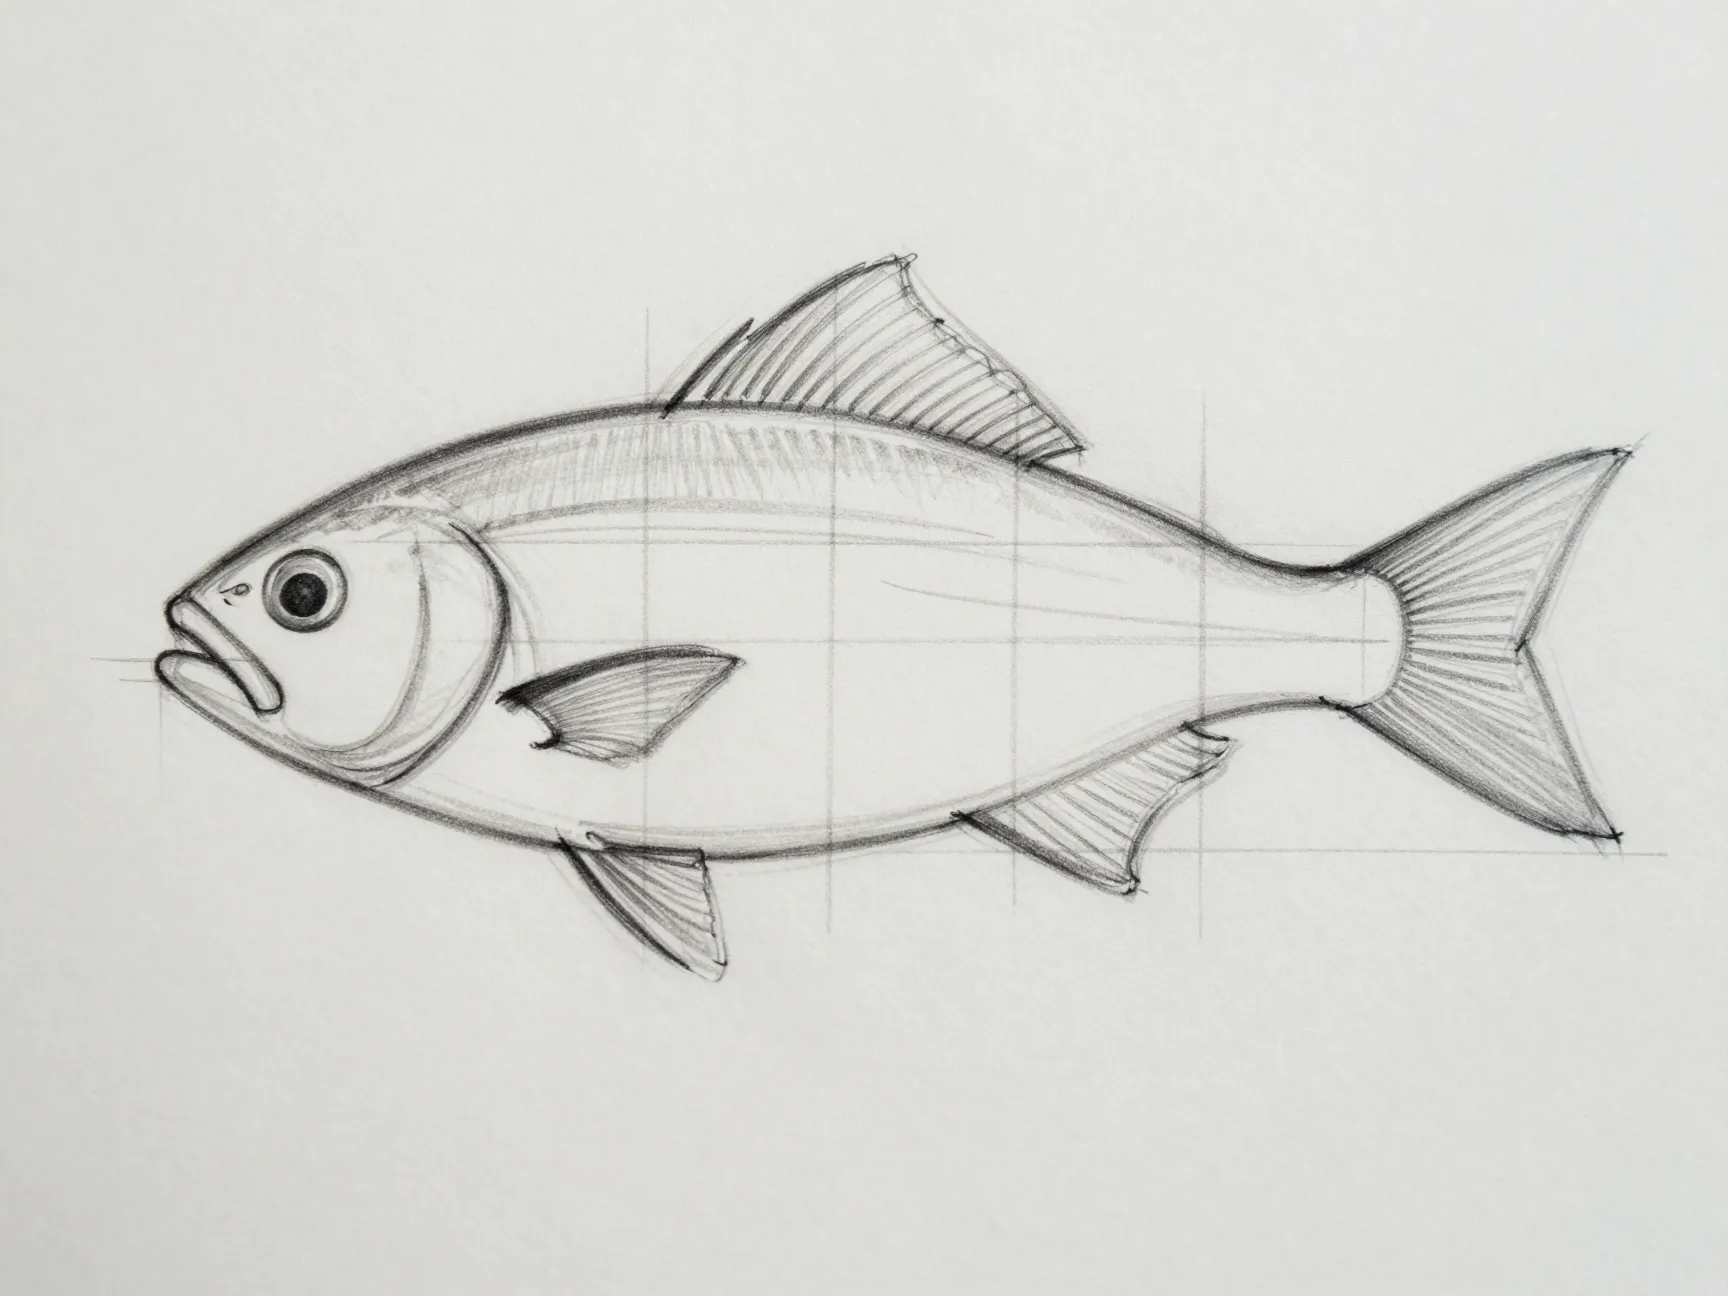
With the body shape blocked in, the next step is to divide it into zones using light construction lines. These guidelines act as a map for placing fins, eyes, and the mouth accurately.
Standard proportion guidelines for a lateral-view fish:
- The eye typically sits approximately one eye-diameter from the front of the head and one eye-diameter from the top of the head
- The dorsal fin originates roughly one-third of the body length from the snout
- The pectoral fin attaches just behind the operculum
- The caudal peduncle (the narrow section before the tail) begins at approximately 80 percent of the total body length
These are generalizations, every species varies. The purpose of guidelines is to create a proportional framework that can then be adjusted to match the specific reference. Artists who skip this step and draw features freehand consistently place the eye too far forward and the tail fin too large.
6. Refine the Contour Lines and Add Primary Fin Shapes
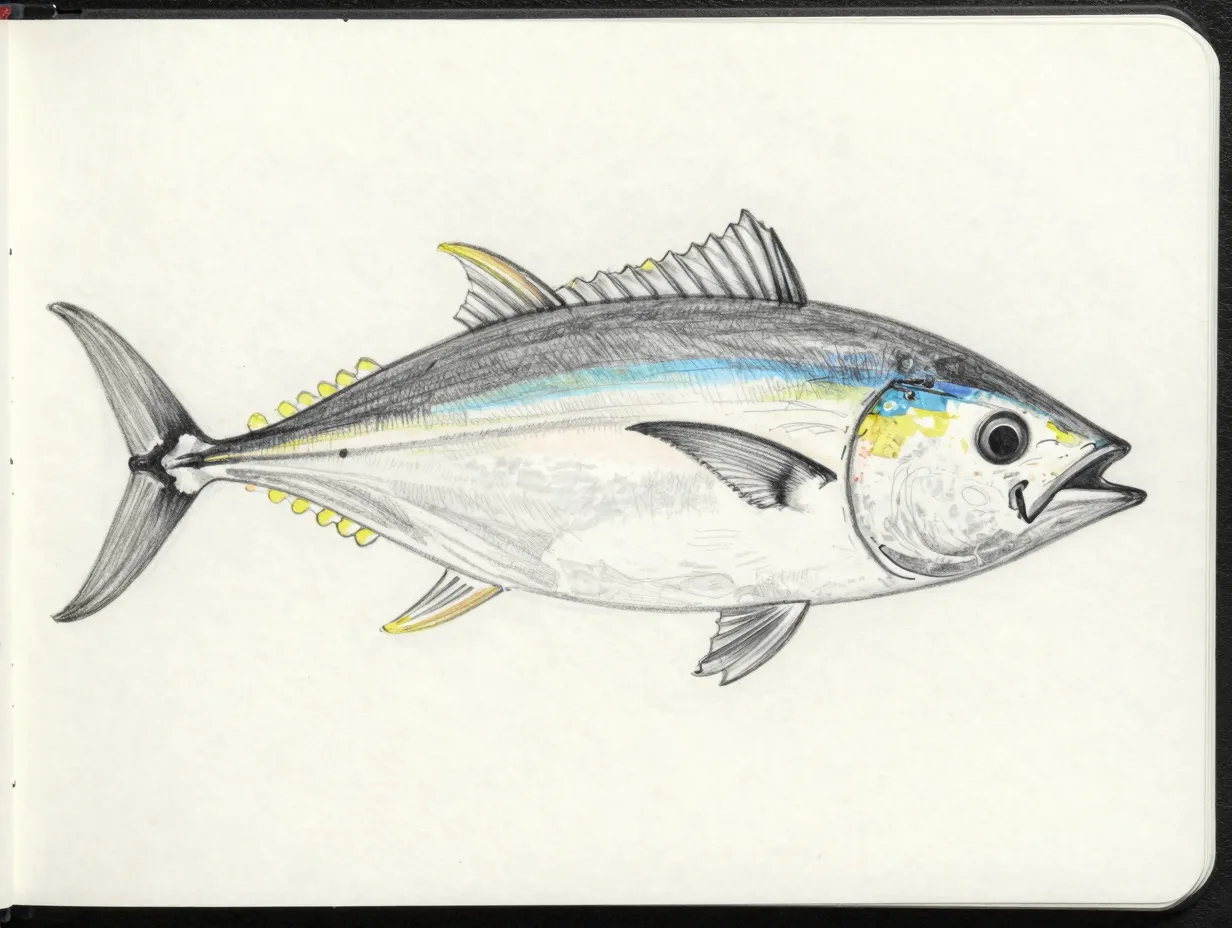
Once the guidelines are in place, the construction shapes can be refined into the actual contour of the fish. This is the step where the generic oval becomes a recognizable species.
Work around the entire body outline first, adjusting the silhouette to match the reference. Then add the primary fin shapes as flat, simplified outlines, do not attempt to draw individual fin rays yet. Key contour refinement techniques include:
- Varying line weight, heavier lines along the belly and back, lighter lines where fins meet the body
- Breaking the outline at fin attachment points to suggest the fin is a separate structure
- Indicating the operculum with a curved line that separates the head from the body
At this stage, the drawing should be recognizable as the target species even without any internal detail. If it is not, the proportions in steps 4 and 5 need adjustment before proceeding.
7. Add Texture, Scale Patterns, and Fin Ray Detail
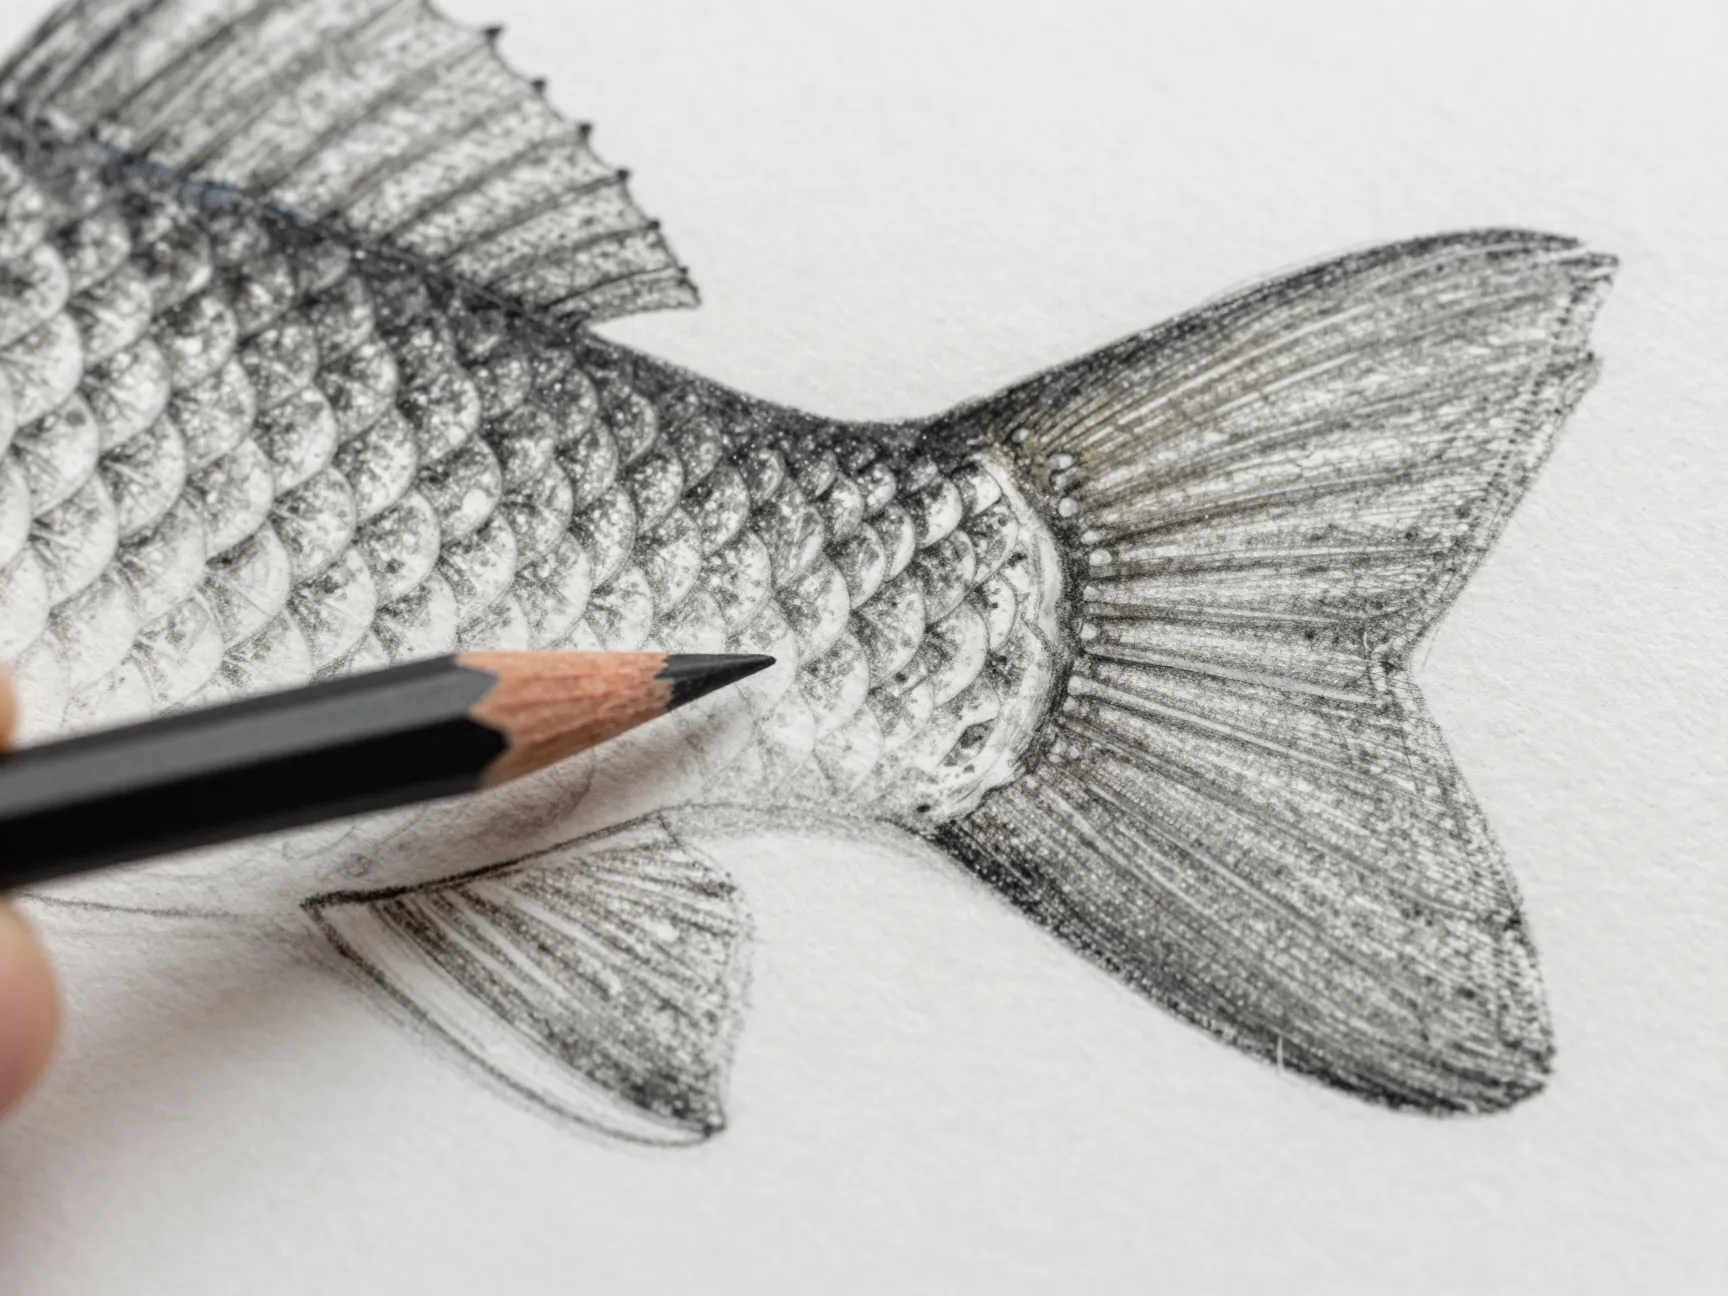
This is the most time-intensive step and the one that most dramatically transforms a sketch into a finished-looking drawing. Texture work requires patience and a systematic approach.
Scale rendering method:
Work from the lateral line outward in both directions, toward the belly and toward the back. Draw rows of small, overlapping arcs, each one slightly offset from the row above, like roof tiles. The scale size should decrease slightly toward the head and tail. Use a 2B pencil for this work; an HB creates lines too faint to read at normal viewing distance.
Fin ray technique:
Fin rays (the bony spines and soft rays that support fins) run from the fin base to the outer edge. Draw them as slightly curved parallel lines that fan outward. Spiny rays are stiffer and straighter; soft rays curve more. Leave small gaps between rays to suggest translucency, this is one of the details that makes a fin look like a fin rather than a solid shape.
Common texture mistakes to avoid:
- Drawing scales as complete circles rather than overlapping arcs
- Making all scales the same size across the entire body
- Drawing fin rays as perfectly straight parallel lines
- Ignoring the texture change at the head, where scales are often smaller or absent
8. Apply Tonal Shading to Create Depth and Form
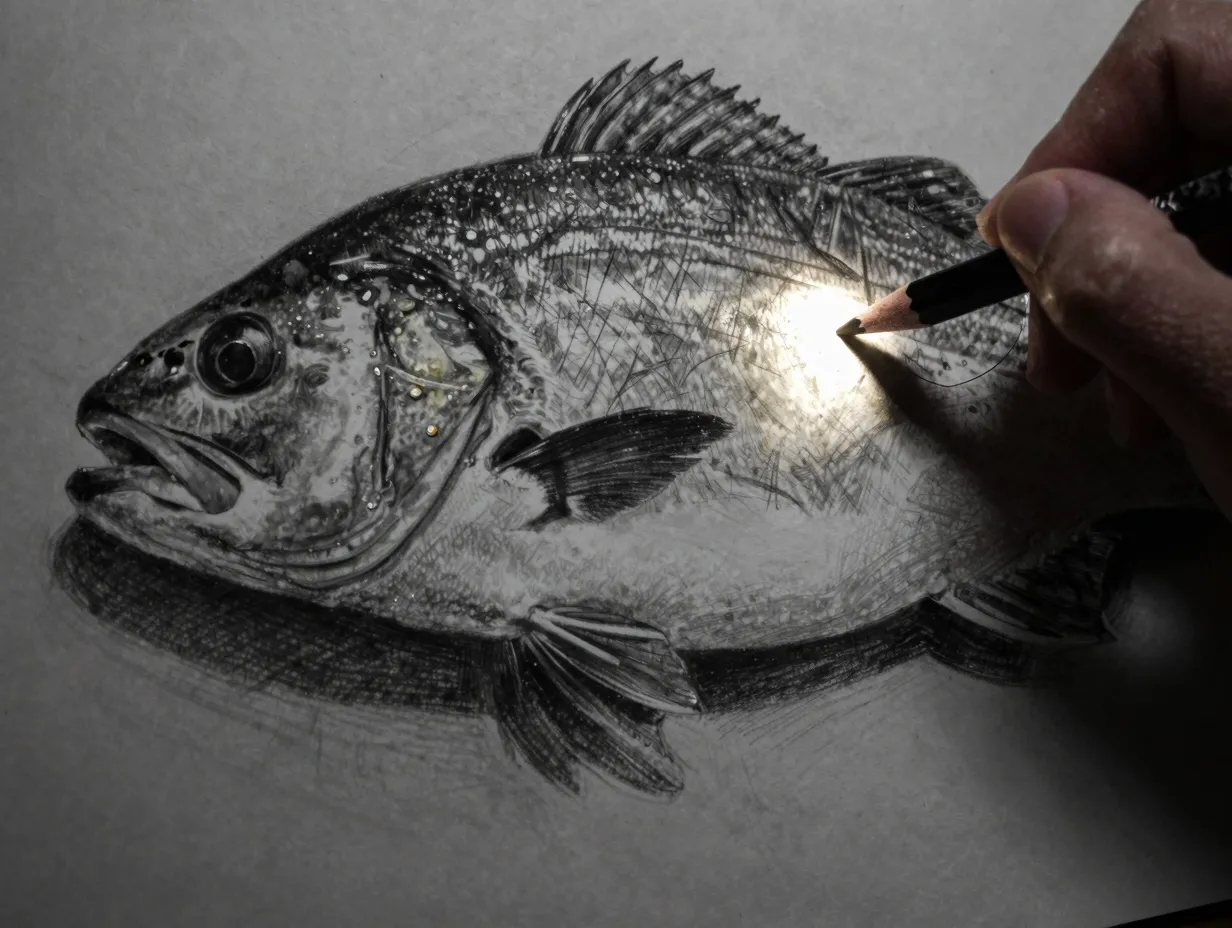
Shading is what converts a flat outline drawing into a three-dimensional representation. For saltwater fish drawing, understanding how light behaves on a curved, wet surface is essential.
Basic shading principles for fish:
- Identify the primary light source in the reference image before making a single shading mark
- The belly of most fish is lighter (countershading, a natural camouflage adaptation)
- The dorsal surface (top of the back) is typically the darkest area
- Fins are semi-transparent, they should be shaded more lightly than the body, with the fin rays slightly darker than the membrane between them
Shading tools and techniques:
Use a 4B pencil for the darkest shadow areas and a 2B for mid-tones. A blending stump smooths graphite in large tonal areas such as the belly. A kneaded eraser, shaped to a point, lifts highlights on the eye, along the lateral line, and on the leading edges of fins.
The eye of a fish is one of the most important details in the entire drawing. A well-rendered eye, with a dark pupil, a bright specular highlight, and a subtle iris, gives the fish life. A flat, uniform circle kills it.
9. Review, Refine, and Build a Consistent Practice Routine
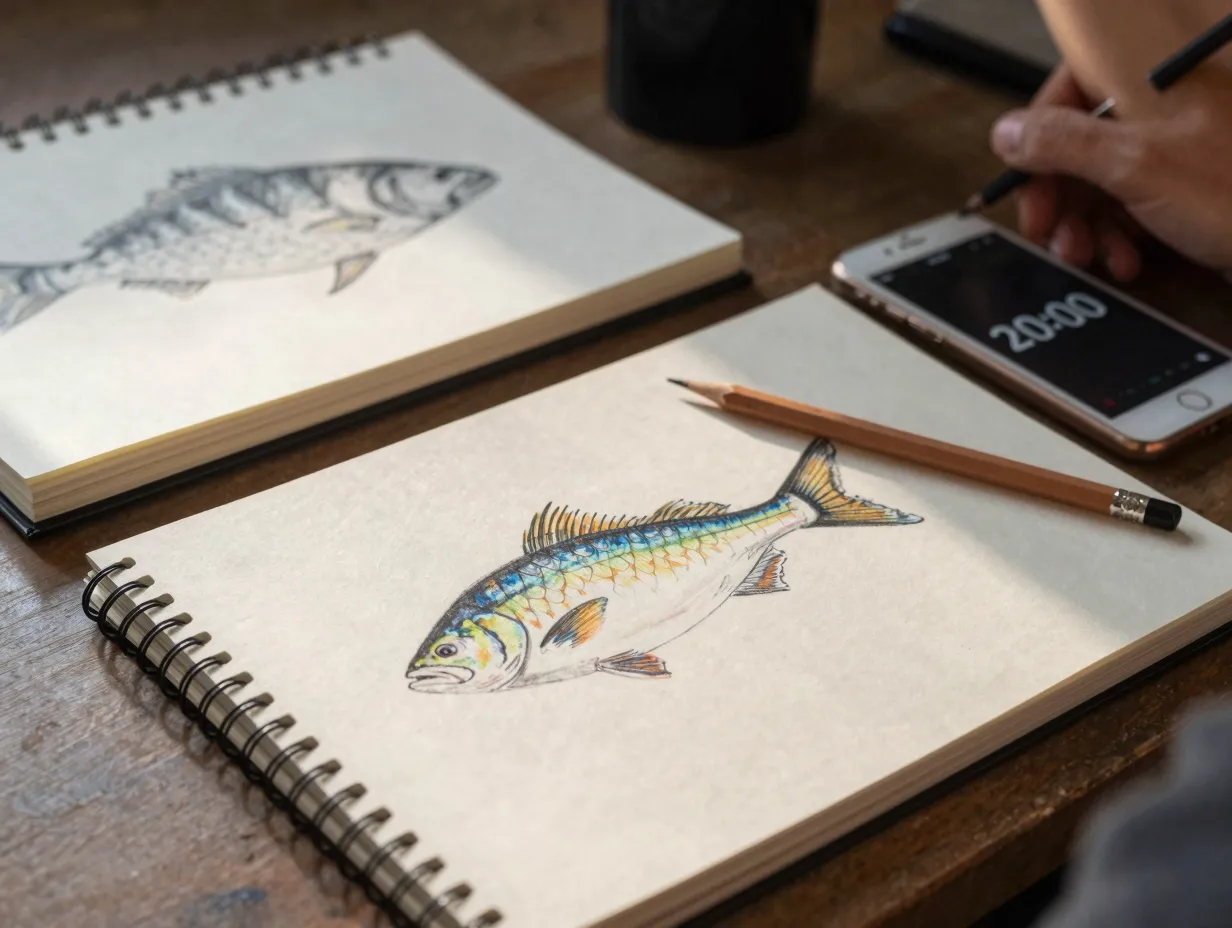
The final step in the 9 Steps to Master Salt Water Fish Drawing and Sketch Marine Life is not a single action but an ongoing discipline. Completing one drawing is a milestone; building a practice is what produces mastery.
Post-drawing review checklist:
- Does the overall silhouette match the reference species accurately?
- Are the proportions of head, body, and tail correct?
- Do the fins attach at the right points and display the correct shapes?
- Is the scale texture consistent and correctly sized?
- Does the shading create a convincing sense of three-dimensional form?
- Is the eye rendered with sufficient detail to give the fish life?
Building a sustainable practice routine:
Consistency outperforms intensity. A 20-minute daily sketch session produces more skill development than a single 3-hour session once a week. Dedicated marine life sketchbooks, used exclusively for fish and ocean creature studies, create a visual record of progress that is both motivating and instructive.
Structured practice challenges that accelerate development include:
- Drawing the same species from three different angles in one session
- Sketching a new species every day for 30 days
- Copying master scientific illustrations from natural history archives to study technique
- Drawing from live specimens at an aquarium without reference photos
Advanced Techniques for Sketching Marine Life Beyond Basic Fish
Once the nine-step workflow is internalized, artists can expand their marine life drawing practice to more complex subjects and media.
Working With Watercolor Washes
Saltwater fish are among the most colorful animals on earth. Adding watercolor washes to a graphite or ink sketch introduces the vibrancy that pencil alone cannot achieve. The key principle is to complete all line work and ink detail before applying any water-based media, as watercolor will cause graphite to smear and lift if applied over unfinished pencil work.
Wet-on-wet technique, applying wet paint to a pre-wetted paper surface, creates the soft, diffused color blending seen in the flanks of species like the queen angelfish or the mandarinfish. Wet-on-dry technique, applied over a dry base wash, creates the sharp-edged markings of species like the clownfish or the moorish idol.
Drawing Coral Reef Ecosystems
Individual fish drawings are excellent for building technical skill, but marine life exists within complex ecosystems. Reef scene composition requires understanding of:
- Atmospheric perspective, distant reef elements should be lighter and less detailed than foreground subjects
- Overlapping forms, coral branches, fish, and invertebrates overlap in complex ways that create depth
- Value hierarchy, the focal species (usually a fish) should have the highest contrast in the composition
Scientific Illustration Standards
Artists interested in scientific illustration should study the conventions used by natural history institutions. Scientific fish illustrations typically show the specimen in a strict lateral view, with all fins fully spread and supported, against a plain white background. Color is applied to match preserved or live specimen records. Organizations such as the Guild of Natural Science Illustrators provide resources and training for artists pursuing this specialization.
Common Mistakes That Prevent Progress in Marine Life Drawing
Understanding failure modes is as valuable as understanding best practices. The most common errors in saltwater fish drawing include:
Proportion errors:
- Drawing the head too large relative to the body (the most universal beginner mistake)
- Making the caudal fin (tail) too symmetrical, most fish tails have a slightly larger upper lobe
Texture errors:
- Applying uniform scale size across the entire body
- Drawing scales as solid circles rather than overlapping arcs
- Ignoring the scale-free areas around the head and fins of many species
Shading errors:
- Shading without identifying a consistent light source
- Making fins as dark as the body, destroying the sense of translucency
- Neglecting the specular highlight on the eye
Reference errors:
- Drawing from memory before building a sufficient visual library
- Using low-resolution or poorly lit reference photographs
- Copying other artists’ drawings rather than working from primary sources (photographs or live specimens)
Recommended Resources for Saltwater Fish Drawing
Building a strong reference library accelerates skill development significantly. The following resources are well-regarded within the scientific illustration and nature drawing communities:
- FishBase (fishbase.se), a global database containing photographs and anatomical data for over 35,000 fish species
- iNaturalist (inaturalist.org), community-submitted wildlife photographs with species identification
- Smithsonian Ocean Portal (ocean.si.edu), high-quality editorial photography and species profiles
- “The Laws Guide to Nature Drawing and Journaling” by John Muir Laws, a widely used reference for naturalist sketching technique
- Natural history museum digital collections, institutions including the Natural History Museum London and the Smithsonian Institution provide open-access specimen photography
Conclusion
The 9 Steps to Master Salt Water Fish Drawing and Sketch Marine Life provide a clear, sequential framework that removes guesswork from the learning process. Starting with the right materials, building anatomical knowledge, selecting strong references, and working through construction, contour, texture, shading, and review creates a repeatable workflow applicable to any saltwater species.
Actionable next steps:
- Gather a basic pencil set (HB through 6B) and a 130 gsm sketchbook this week.
- Visit a local aquarium or fish market to make observational sketches from life, even rough ones.
- Choose one saltwater species and complete a full nine-step drawing using a high-resolution reference photograph.
- Review the finished drawing against the post-drawing checklist in Step 9.
- Commit to a 20-minute daily sketching session for 30 days and document progress in a dedicated marine life sketchbook.
Marine life drawing rewards patience and systematic practice above all else. The ocean contains an estimated 20,000 to 33,000 fish species, more than enough subjects to sustain a lifetime of study and artistic growth.