8 Steps to the Perfect Kayak Fishing Gear Setup for Beginners
Kayak fishing participation in North America has grown by more than 30 percent over the past decade, yet surveys consistently show that first-time anglers spend hundreds of dollars on the wrong gear before ever catching a fish. The difference between a frustrating first season and a genuinely productive one almost always comes down to setup decisions made before the kayak ever touches the water. Following the 8 Steps to the Perfect Kayak Fishing Gear Setup for Beginners outlined in this guide removes the guesswork, cuts unnecessary spending, and gets new anglers on the water with confidence. Each step builds on the last, creating a logical, budget-conscious progression from choosing the right hull to rigging a fully functional fishing platform. [6][7]
Disclosure: This post contains affiliate links. As an Amazon Associate, we earn from qualifying purchases, and at no extra cost to you.
Key Takeaways
- Stability and hull size matter more than features when choosing a first fishing kayak.
- A properly fitted PFD is the single most important piece of gear on any kayak.
- One versatile spinning combo outperforms a quorum of cheap, mismatched rods for beginners.
- Anchoring and boat control tools are often overlooked but dramatically improve catch rates.
- Building a gear setup in deliberate steps prevents costly over-buying and equipment regret.
Why a Structured Approach to Kayak Fishing Setup Matters
Retail fishing stores and online marketplaces are filled with kayak-specific accessories that range from genuinely useful to completely unnecessary for a beginner. Without a clear framework, new anglers routinely buy rod holders before they own a rod, or purchase a fish finder before they have mastered basic boat control. A structured, step-by-step approach solves this problem by prioritizing the gear that delivers the highest return on investment early in the learning curve.
The 8 Steps to the Perfect Kayak Fishing Gear Setup for Beginners presented here are sequenced deliberately. Safety comes before comfort, boat control comes before electronics, and versatility comes before specialization. This sequence reflects the real-world priorities of experienced kayak anglers who have already made the expensive mistakes beginners are trying to avoid. [7][8]
The 8 Steps to the Perfect Kayak Fishing Gear Setup for Beginners
1. Choose a Stable, Entry-Level Fishing Kayak
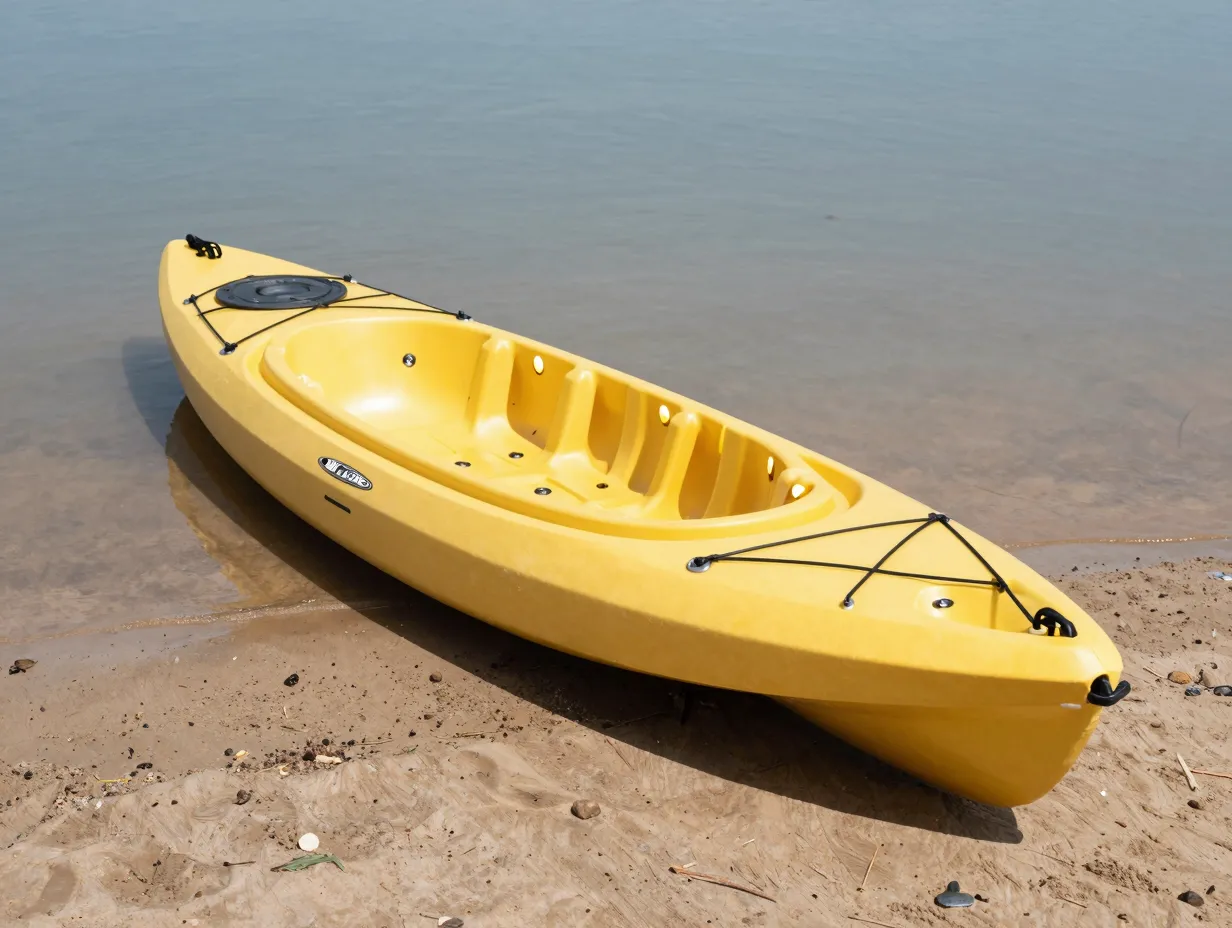
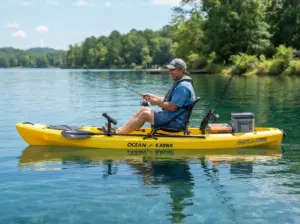
The kayak itself is the foundation of every other decision. For beginners, the most important specification is stability, not speed, not weight, not storage capacity. A sit-on-top fishing kayak in the 10- to 12-foot range with a wide beam (typically 30-34 inches) provides the platform stability needed to cast, fight fish, and handle gear without the constant anxiety of tipping. [7]
Key hull characteristics to prioritize:
- Length of 10-12 feet for a balance of tracking and maneuverability
- Beam width of at least 30 inches for primary stability
- Sit-on-top design for easy re-entry after a capsize
- Built-in rod holders and gear tracks as standard features
- Weight capacity that comfortably exceeds the angler’s body weight plus gear (add at least 50-75 lbs of buffer)
Sit-on-top kayaks are the near-universal recommendation for beginner fishing because they drain automatically through scupper holes, allow the angler to sit higher for better visibility, and are far easier to recover from if a capsize occurs. [7][8]
“The best fishing kayak for a beginner is not the most feature-rich model, it is the most stable one they can confidently paddle and fish from.”
Recreational fishing kayaks in this category typically range from entry-level rotomolded polyethylene models to mid-range thermoformed options. Beginners should resist the temptation to buy a used kayak with unknown hull damage or to jump straight to a premium pedal-drive model before understanding their paddling needs.
2. Make Safety Gear Non-Negotiable
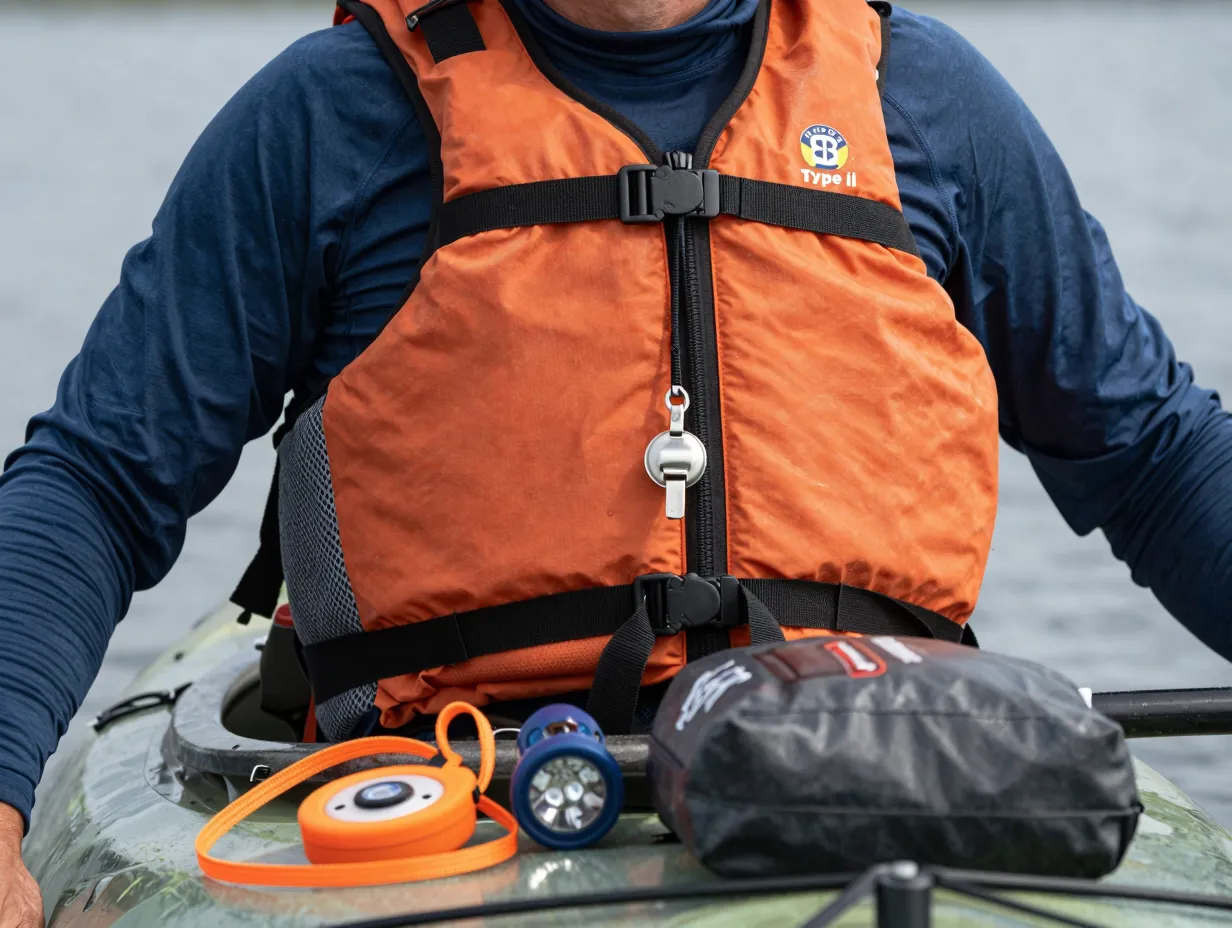
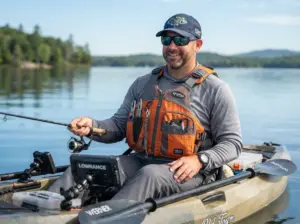
No piece of fishing gear matters more than a properly fitted personal flotation device (PFD). This is not a suggestion, it is the baseline requirement before any kayak fishing trip begins. In most jurisdictions, a Coast Guard-approved Type III PFD is legally required to be on board at all times, and wearing it rather than simply carrying it is the only position that saves lives. [7][8]
A functional beginner safety kit includes:
- A Type III or Type V PFD designed specifically for paddling (not a bulky boating vest)
- A whistle or audible signaling device attached to the PFD
- A waterproof light for low-visibility conditions
- A bilge pump or paddle float (less critical on sit-on-tops but still useful)
- A dry bag for phone, keys, and emergency supplies
- Sun protection: UV-rated shirt, polarized sunglasses, hat, and sunscreen
Kayak-specific PFDs are cut higher in the torso to allow full paddle strokes without chafing. They often include pockets for small tools and a spot for a hydration bladder, features that make them far more practical than standard boating life jackets. [8]
Beginners should also file a float plan with a trusted contact before every outing, noting the launch location, intended route, and expected return time. This costs nothing and dramatically improves emergency response times.
3. Get the Right Paddle or Pedal Drive and Secure It
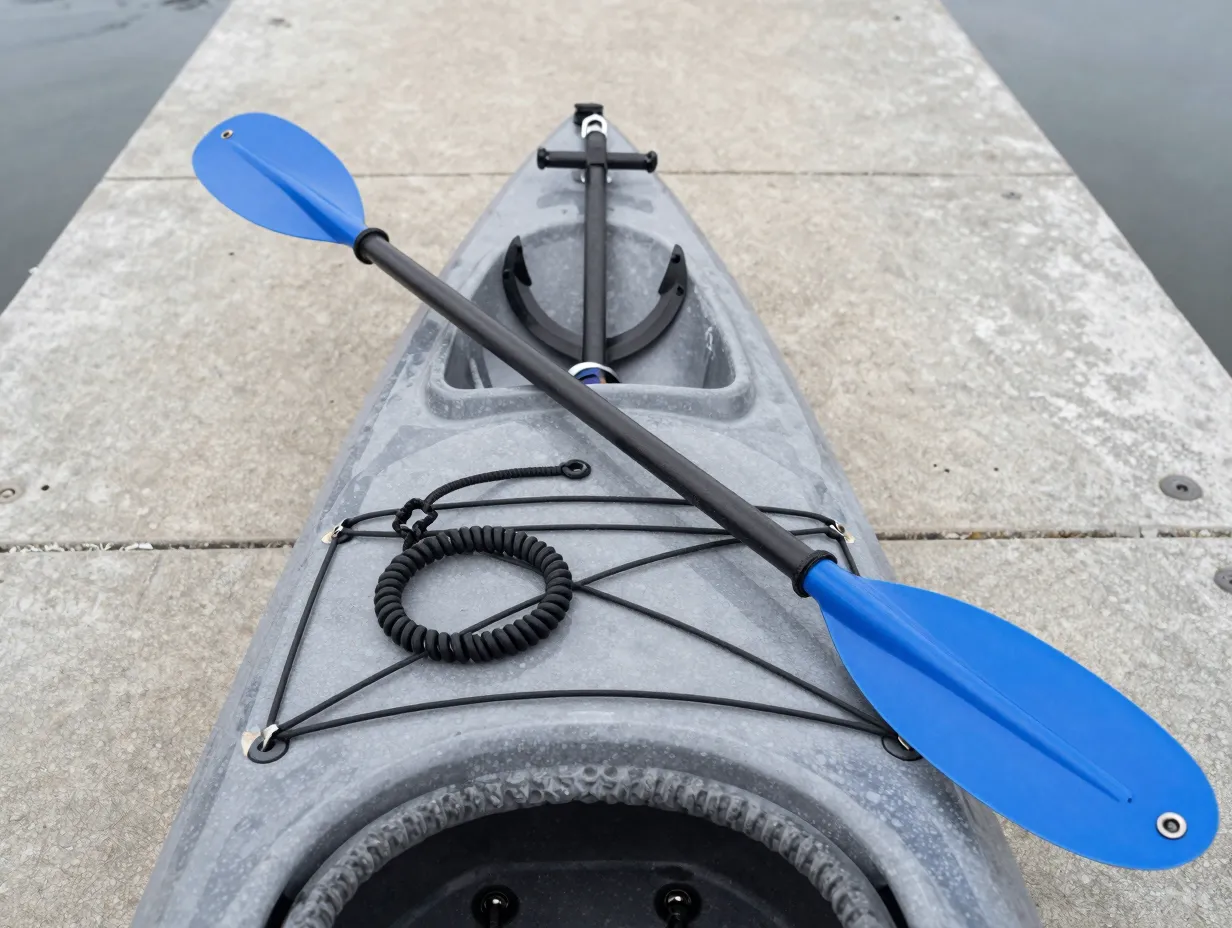
Propulsion is the second structural decision after the kayak itself. Most entry-level fishing kayaks are paddle-driven, and choosing the right paddle has a measurable impact on fatigue, efficiency, and time spent fishing versus repositioning.
Paddle selection guidelines for beginners:
| Angler Height | Kayak Width | Recommended Paddle Length |
|---|---|---|
| Under 5’6″ | Under 28″ | 220 cm |
| 5’6″, 6’0″ | 28-32″ | 230 cm |
| Over 6’0″ | Over 32″ | 240-250 cm |
A fiberglass or carbon shaft paddle is lighter and reduces arm fatigue on longer outings, but an aluminum-shaft paddle is a perfectly acceptable starting point for budget-conscious beginners. The blade shape matters too, a low-angle blade with a narrower profile is more efficient for the relaxed, touring-style strokes common in fishing. [7]
Pedal-drive systems (either fin-drive or propeller-drive) are increasingly popular because they free both hands for fishing. However, they add significant cost and weight, and they are not ideal for very shallow water. Beginners on a budget should start with a quality paddle and consider a pedal-drive upgrade after gaining experience.
Regardless of propulsion type, a paddle leash is mandatory. Losing a paddle in current or wind is a genuine safety emergency. A coiled leash clipped to the kayak and the paddle shaft costs under $20 and eliminates this risk entirely. [6]
4. Start with One Versatile Rod and Reel
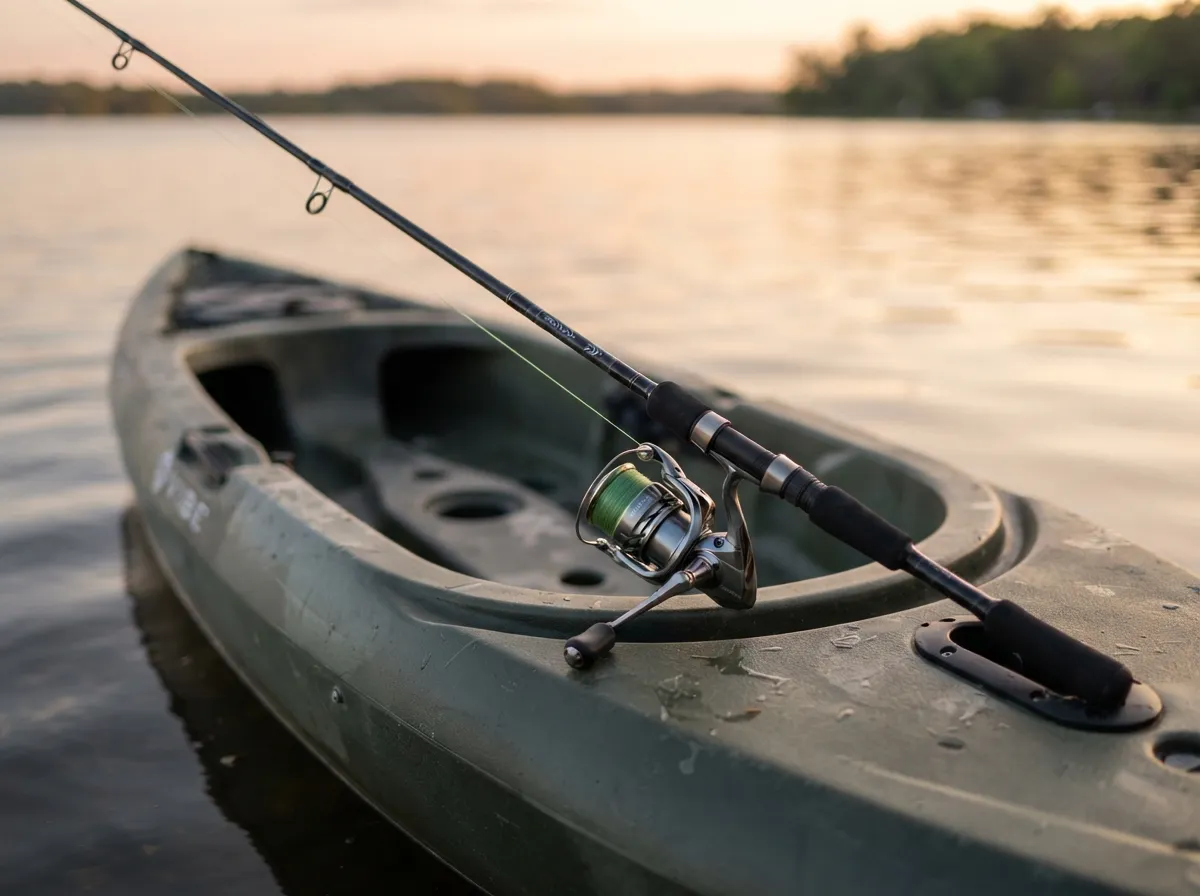
One of the most common and expensive mistakes beginner kayak anglers make is buying multiple specialized rods before they understand what they actually need. Space on a kayak is limited, and managing several rods while paddling, anchoring, and fighting fish is genuinely difficult for newcomers.
The optimal starting point is a single, versatile spinning combo that handles the widest range of freshwater and inshore situations. A 6’6″ to 7′ medium or medium-heavy spinning rod paired with a size 2500-3000 spinning reel covers bass, walleye, pike, and most inshore species with equal competence. [7][8]
Rod and reel specifications for beginners:
- Rod length: 6’6″ to 7′ (shorter rods are easier to manage in a confined kayak cockpit)
- Rod power: Medium or medium-heavy
- Rod action: Fast or moderate-fast for sensitivity and hook-setting
- Reel size: 2500-3000 class spinning reel with a smooth drag system
- Line: 10-15 lb monofilament or fluorocarbon for general freshwater use [8]
Braided line in the 20-30 lb test range (with a fluorocarbon leader) is an excellent alternative for anglers targeting heavier cover or inshore saltwater species, offering superior sensitivity and a thinner diameter for longer casts.
A second rod is acceptable as a backup or to pre-rig a different lure, but beginners should resist filling every rod holder before mastering the primary combo. [7]
5. Carry a Minimal Tackle Kit Tailored to Target Species
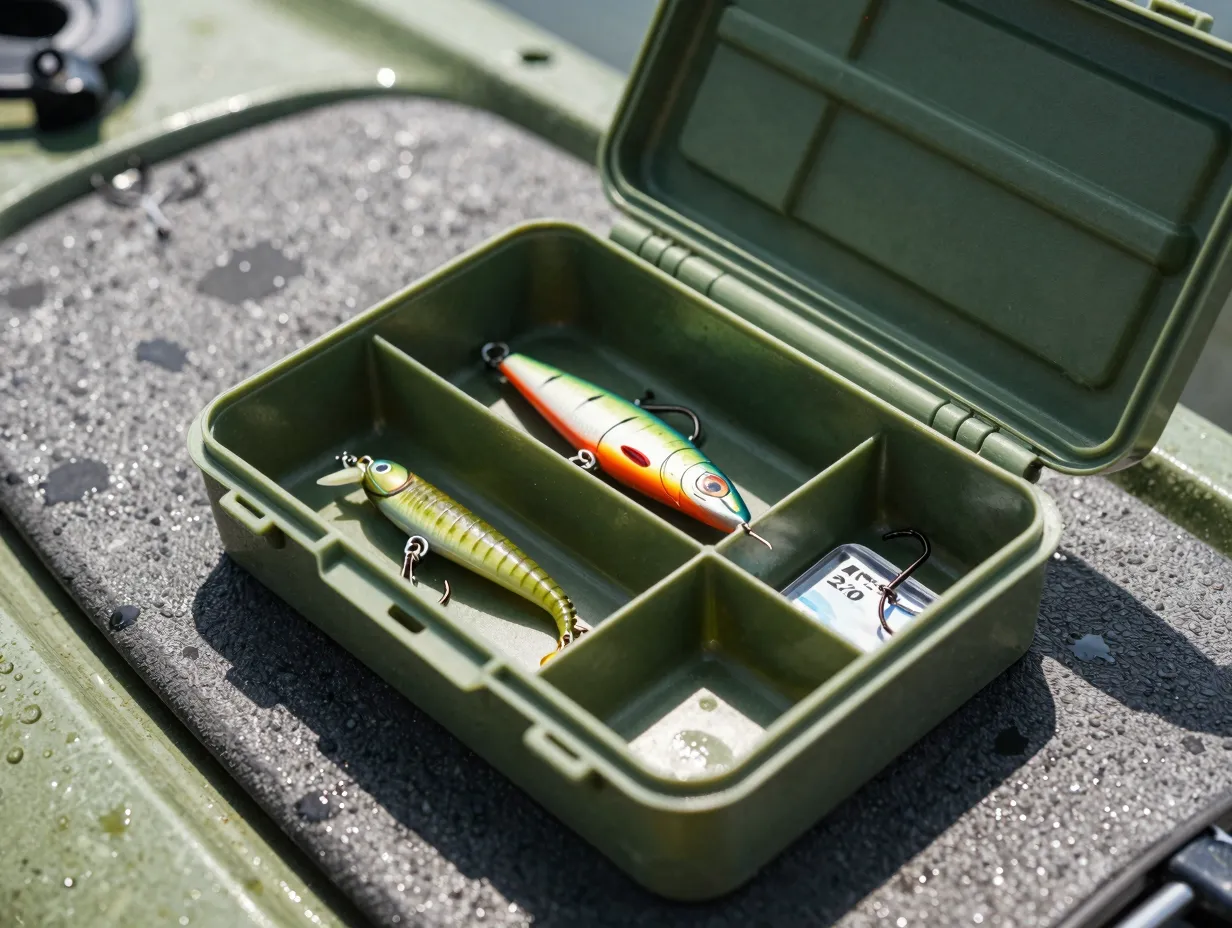
A tackle box the size of a carry-on suitcase has no place on a beginner’s kayak. Overpacking tackle creates clutter, adds weight, and makes it harder to find the right lure when it matters. The goal at this stage is a compact, curated selection that covers the most productive presentations for the target species in the local fishery.
A beginner freshwater tackle kit might include:
- Soft plastic worms and creature baits (4-6 inch, in natural colors)
- A selection of jig heads (1/8 oz to 3/8 oz)
- Two or three hard-body crankbaits in shad and crawfish patterns
- A small selection of topwater lures for early morning and evening
- Inline spinners for covering water quickly
- A pack of offset worm hooks (sizes 1/0 and 2/0)
- Split shot weights and a few bobbers for finesse presentations
For inshore saltwater beginners, substitute soft plastic paddle tails on jig heads, a few popping corks, and a selection of small spoons. [6]
Keep tackle in a small, waterproof utility box that fits in the kayak’s bow hatch or a deck bag. Waterproof tackle storage is not optional, a single wave or rain shower can destroy paper-packaged hooks and corrode unprotected metal lures in minutes. [10]
6. Add Anchoring and Boat Control Tools
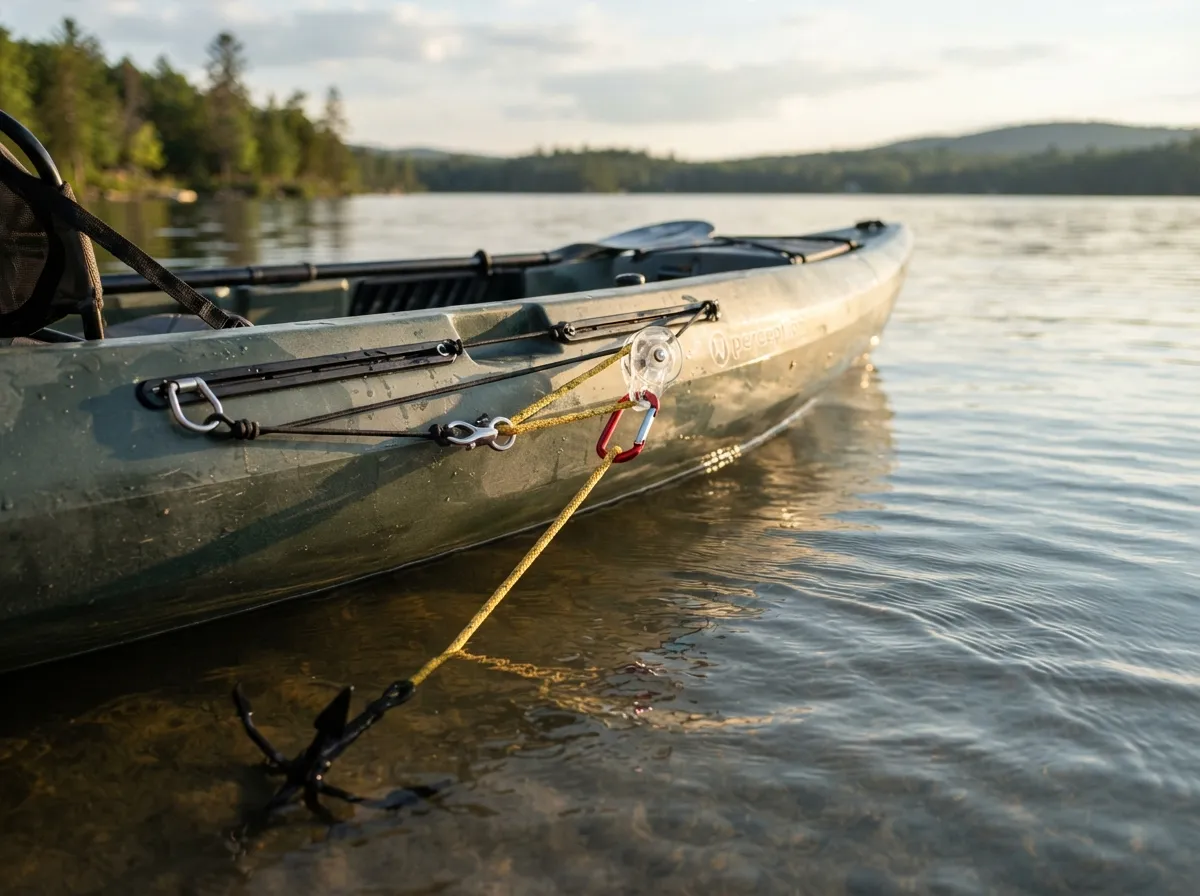
Boat control is the skill that separates consistently productive kayak anglers from those who drift past fish without presenting a lure properly. Beginners often underestimate how much wind and current affect a kayak, and they overestimate their ability to hold position with paddle strokes alone while simultaneously fishing.
A folding grapnel anchor in the 3-5 lb range is the standard recommendation for lakes and calm inshore waters. Rivers with significant current or exposed coastal areas call for a heavier option in the 5-8 lb range. [7]
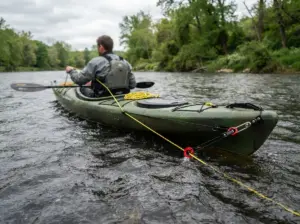
The anchor trolley system is the most important boat control accessory a beginner can add to their kayak. It consists of a rope loop running along the side of the kayak through two pulleys, allowing the anchor line attachment point to be adjusted from bow to stern without moving the anchor. This lets the angler position the kayak at any angle relative to the wind or current while staying anchored. [7][6]
Boat control toolkit for beginners:
- Folding grapnel anchor (3-5 lb for calm water, 5-8 lb for current)
- 30-50 feet of anchor rope with a carabiner clip
- Anchor trolley system (DIY or pre-made kit)
- Stake-out pole for shallow water (an inexpensive alternative to anchoring in water under 4 feet deep)
A stake-out pole, essentially a fiberglass or carbon rod pushed into the bottom, is faster to deploy than an anchor and leaves no bottom disturbance, making it ideal for shallow flats fishing. [6]
7. Install Rod Holders and Basic Rigging Accessories
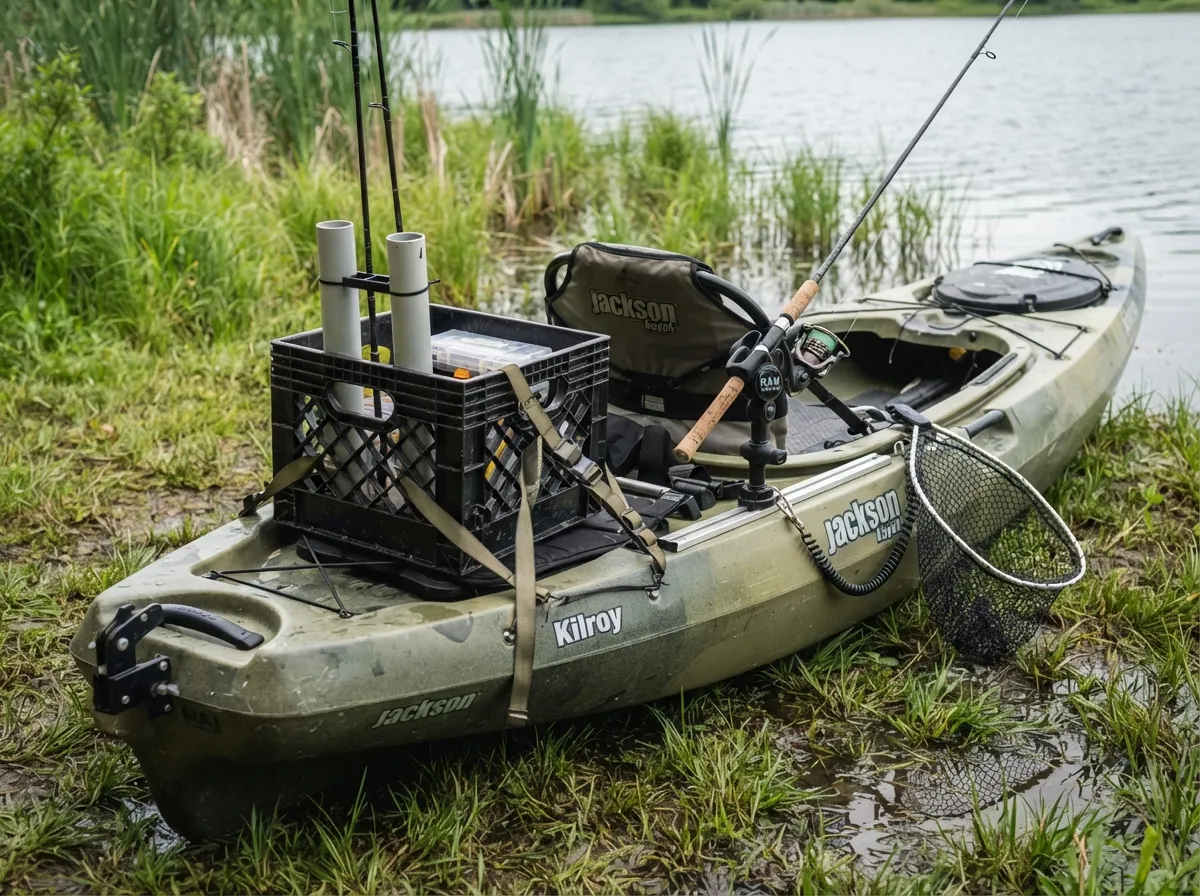
Once the core safety, propulsion, fishing, and anchoring systems are in place, it is time to address the rigging that makes the kayak functional as a fishing platform. Rod holders are the first priority. Most entry-level fishing kayaks include at least two flush-mount rod holders, but adding one or two adjustable rail-mount holders dramatically increases versatility.
Essential rigging accessories for a beginner fishing kayak:
- Two flush-mount rod holders (usually factory-installed)
- One or two adjustable 360-degree rod holders for trolling or active fishing positions
- A gear track or rail system for mounting accessories (many kayaks ship with these)
- A small crate or milk-crate-style storage unit for the stern (holds rods, tools, and a small tackle bag)
- A fish ruler or measuring board mounted to the deck for quick measurements
- A net with a rubber mesh to reduce hook tangling and protect fish for catch-and-release
Leash everything. On a kayak, any item that is not leashed or clipped will eventually end up at the bottom of the water. Pliers, fish grips, and even small tackle boxes should be tethered to the kayak or the angler’s PFD with a short coiled leash. [6][10]
A kayak crate mounted to the stern is one of the most cost-effective storage solutions available. A standard milk crate fits most kayak sterns, holds multiple rod tubes, and can be customized with PVC pipe holders, bungee cord loops, and small tackle bags for under $30 in materials. [7]
8. Add Electronics and Comfort Upgrades Strategically
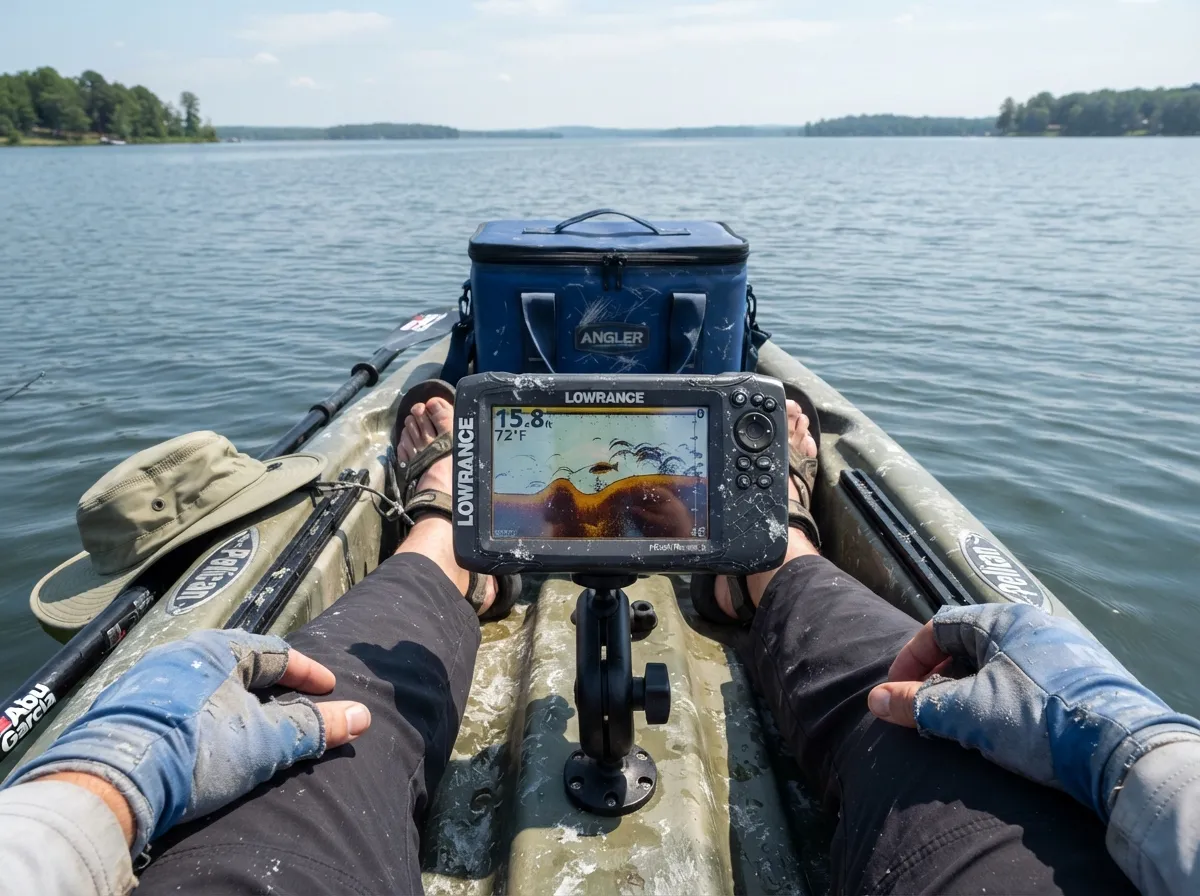
Electronics and comfort accessories are the final layer of a beginner kayak fishing setup, not the first. Many new anglers make the mistake of investing in a fish finder before they have mastered reading water visually or understanding fish behavior. Electronics amplify skill; they do not replace it.
That said, once the foundational gear is in place and the angler has spent time on the water, a few targeted upgrades make a meaningful difference.
Priority electronics and comfort upgrades:
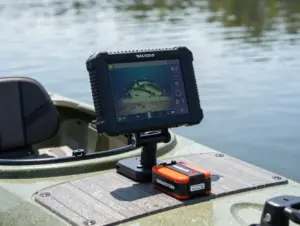
- A compact fish finder/depth sounder (2D sonar is sufficient for most beginners; side-imaging is a later upgrade)
- A RAM mount or similar arm-and-ball mounting system to position the fish finder display at eye level
- A waterproof phone mount for navigation apps
- A small 12V lithium battery (7-10 Ah) to power the fish finder
- A kayak seat upgrade with lumbar support (the factory seat on most entry-level kayaks is adequate but not comfortable for all-day fishing)
- A cooler or insulated bag that fits the kayak’s storage configuration for keeping fish or drinks cold [10]
Sun and weather protection should not be overlooked at this stage either. A quality buff or neck gaiter, UV-protective gloves, and a wide-brim hat are not luxury items, they are functional gear that extends time on the water and prevents long-term sun damage.
“Electronics are the last layer of a kayak fishing setup, not the first. Build the foundation before adding the technology.”
Beginners should also consider a waterproof dry bag or hatch liner for the bow and stern hatches. Even kayaks marketed as having watertight hatches can allow water intrusion in rough conditions, and protecting electronics, extra clothing, and emergency supplies is worth the small investment. [6][10]
Building Your Setup Over Time
Following the 8 Steps to the Perfect Kayak Fishing Gear Setup for Beginners does not require purchasing everything at once. A practical approach is to complete Steps 1 through 4 before the first outing, kayak, safety gear, propulsion, and a primary rod combo. Steps 5 and 6 (tackle and anchoring) can be assembled in the first week of fishing. Steps 7 and 8 (rigging and electronics) can be added progressively over the first season as the angler develops a clearer picture of their specific needs and target fisheries.
Estimated beginner gear budget breakdown:
| Category | Budget Range |
|---|---|
| Entry-level fishing kayak | $400, $900 |
| PFD and safety kit | $60, $150 |
| Paddle | $50, $150 |
| Rod and reel combo | $60, $150 |
| Tackle kit | $30, $80 |
| Anchor and trolley | $40, $100 |
| Rod holders and rigging | $30, $80 |
| Fish finder and electronics | $100, $300 |
| Total estimated range | $770, $1,910 |
This range reflects realistic entry-level pricing in 2026 for new equipment. Used kayaks and combo deals can reduce the total significantly without sacrificing functionality.
Conclusion
The 8 Steps to the Perfect Kayak Fishing Gear Setup for Beginners provide a clear, logical roadmap from first purchase to fully rigged fishing platform. The sequence matters: stability and safety first, propulsion and fishing tackle second, boat control and rigging third, and electronics last. Beginners who follow this progression avoid the two most common failure modes, overspending on gear before developing skills, and underspending on safety before understanding the risks.
Actionable next steps:
- Visit a local kayak dealer or outfitter and sit in several entry-level fishing kayaks before buying, stability feels different in person than it reads in a spec sheet.
- Purchase a Coast Guard-approved Type III PFD before the kayak arrives, and wear it on every outing without exception.
- Assemble a single versatile spinning combo with 10-15 lb line before buying any additional rods.
- Join a local kayak fishing club or online community to learn about productive local fisheries and get gear recommendations specific to the target species and water conditions.
- Commit to the first five steps before spending a dollar on electronics or comfort upgrades.
Kayak fishing rewards patience, preparation, and deliberate skill-building. A well-executed beginner setup, built step by step, creates the foundation for a lifetime of productive time on the water.
References
[6] Best Kayak Fishing Gear – https://knots.fish/gear/best-kayak-fishing-gear/
[7] How To Fish From A Kayak Complete Beginners Guide – https://fishingkayakadvisor.com/how-to-fish-from-a-kayak-complete-beginners-guide/
[8] Fishing From Kayak – https://www.paddleroundthepier.com/fishing-from-kayak/
[10] Best Kayak Fishing Accessories 5 Must Haves For 2026 – https://www.whiskeyriff.com/2026/04/29/best-kayak-fishing-accessories-5-must-haves-for-2026/