8 Steps to Plan and Build Your Dream Custom Fishing Kayak
Fewer than 10% of anglers who fish from kayaks own a vessel that was built specifically for their body, their water, and their fishing style, yet a custom-built fishing kayak can outperform any mass-produced model at a fraction of the long-term cost. Following the 8 steps to plan and build your dream custom fishing kayak covered in this guide, any motivated builder with basic woodworking skills can produce a seaworthy, rod-ready craft that fits perfectly. Whether the goal is a sleek cedar-strip hull for calm lakes or a wide, stable platform for coastal flats fishing, the process is methodical, rewarding, and entirely achievable.
Disclosure: This post contains affiliate links. As an Amazon Associate, we earn from qualifying purchases, and at no extra cost to you.
Key Takeaways
- A well-planned custom fishing kayak starts with honest self-assessment of skill level, budget, and intended water type before a single board is cut.
- Hull design directly determines stability, speed, and load capacity, choosing the wrong profile is the most common and costly beginner mistake.
- Cedar strip and stitch-and-glue are the two most beginner-friendly construction methods, each with distinct trade-offs in time, cost, and finish quality.
- Fishing-specific outfitting, rod holders, hatches, anchor systems, and seating, should be planned at the design stage, not added as an afterthought.
- Proper waterproofing and finishing with marine-grade epoxy and UV-resistant varnish is non-negotiable for long-term hull integrity.
Why Build Instead of Buy? The Case for a Custom Fishing Kayak
Off-the-shelf kayaks are designed for the broadest possible market. That means compromises in beam width, cockpit layout, storage placement, and weight capacity that rarely match any individual angler’s needs perfectly. A custom build eliminates those compromises entirely.
Cost comparison at a glance:
| Build Type | Estimated Material Cost | Comparable Retail Kayak |
|---|---|---|
| Stitch-and-glue plywood | $300 – $600 | $900 – $1,800 |
| Cedar strip | $500 – $1,200 | $1,500 – $3,500 |
| Fiberglass layup | $400 – $900 | $1,200 – $2,800 |
Beyond cost, a hand-built kayak carries real weight-saving advantages. Builders control every component, which means a finished vessel can weigh 20-30% less than a comparable rotomolded plastic model, a significant benefit for solo car-topping and portaging [6].
“A kayak you built yourself will always fit you better than one built for everyone.”, Common wisdom in the DIY paddling community
The 8 steps to plan and build your dream custom fishing kayak outlined below follow a proven sequence: plan first, design second, gather materials third, and build in a logical order that avoids expensive rework.
The Complete 8 Steps to Plan and Build Your Dream Custom Fishing Kayak
1. Define Your Fishing Environment and Goals
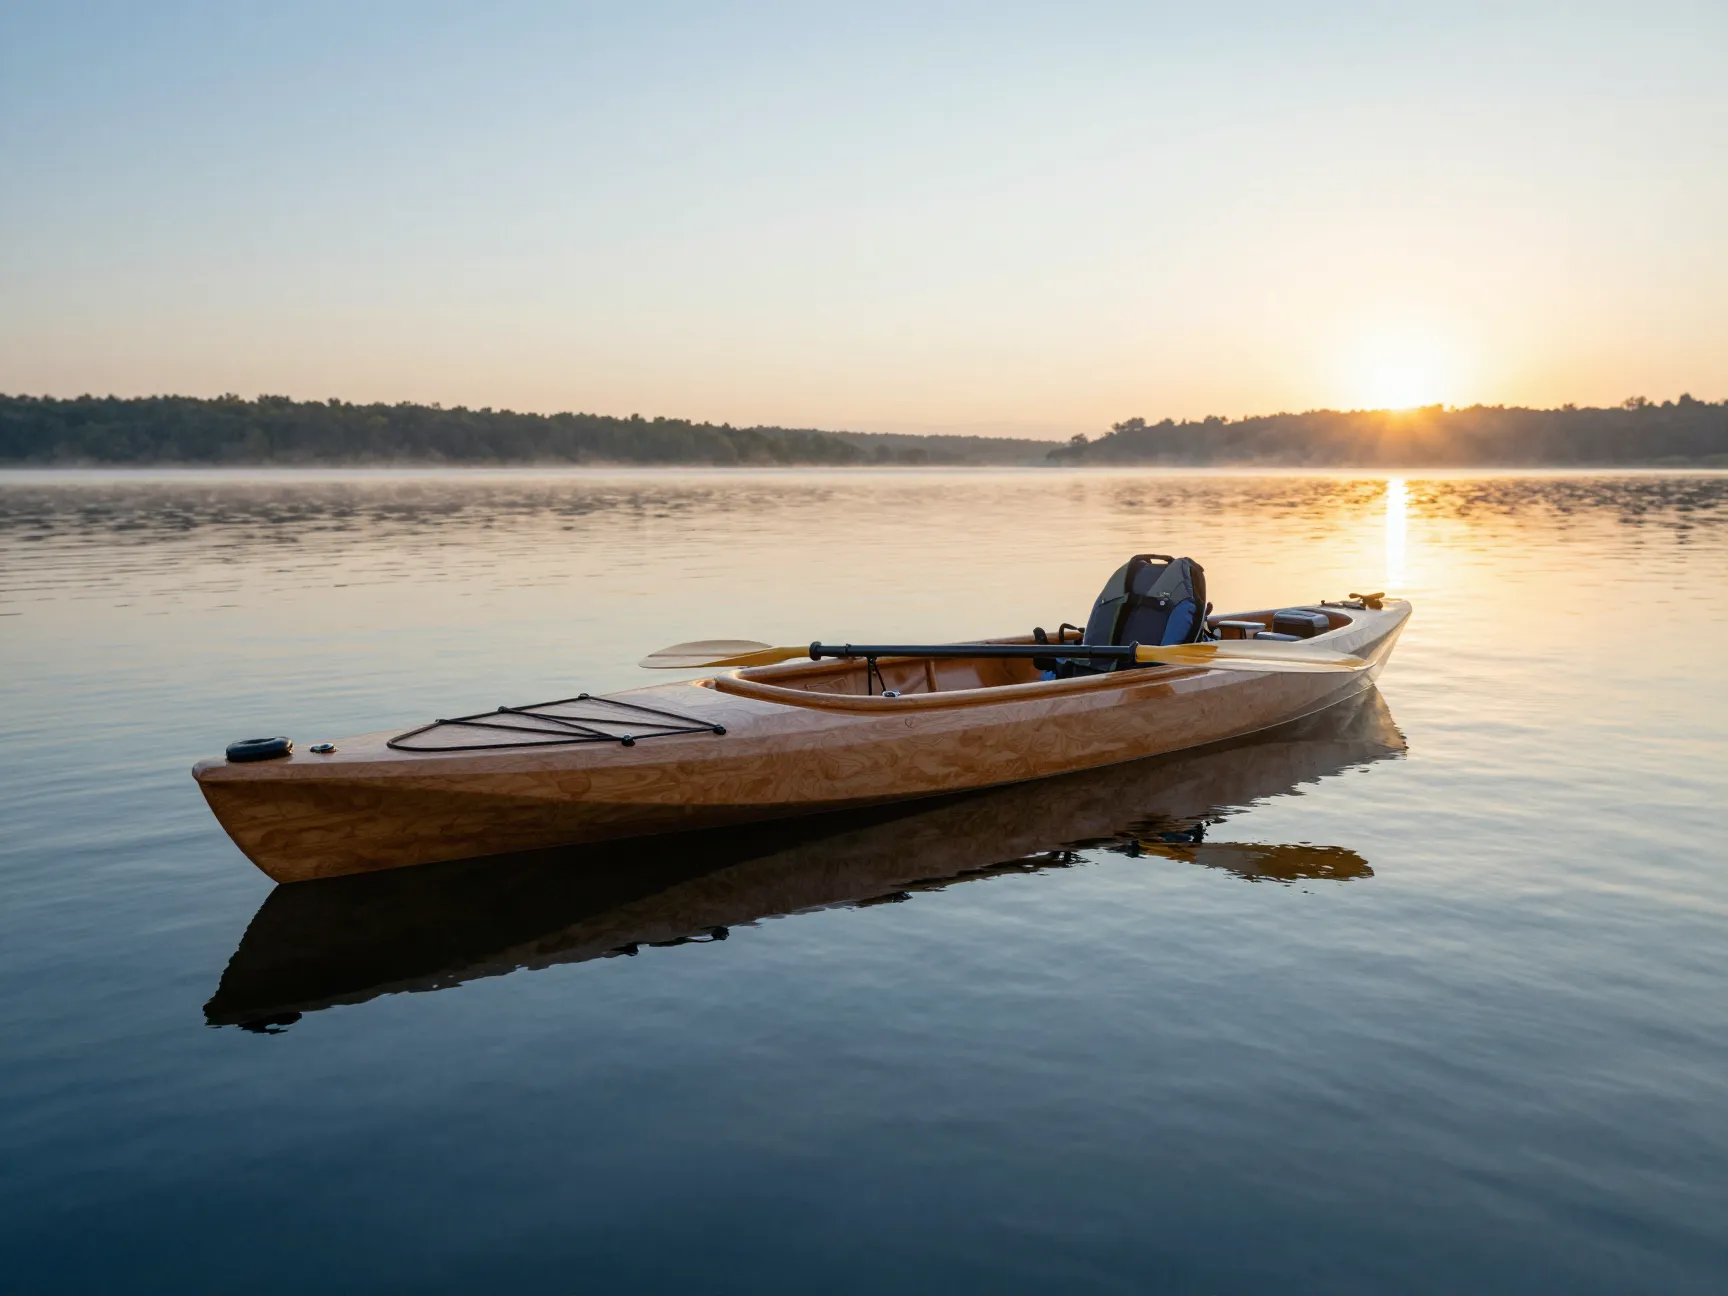
Every successful build begins with a clear, honest answer to one question: where and how will this kayak be used?
Key variables to define before anything else:
- Primary water type: flatwater lakes, slow rivers, coastal bays, open ocean
- Typical trip duration: day trips vs. multi-day expeditions
- Solo or tandem paddling
- Target species and gear load (heavier tackle requires more buoyancy)
- Paddler weight plus expected gear weight (total load capacity needed)
A kayak designed for bass fishing on a calm reservoir will have a very different hull profile than one intended for surf-zone redfish. Mixing up these requirements at step one leads to a vessel that underperforms in every condition [8].
Write these answers down. They become the specification document that guides every subsequent decision.
2. Choose the Right Hull Design
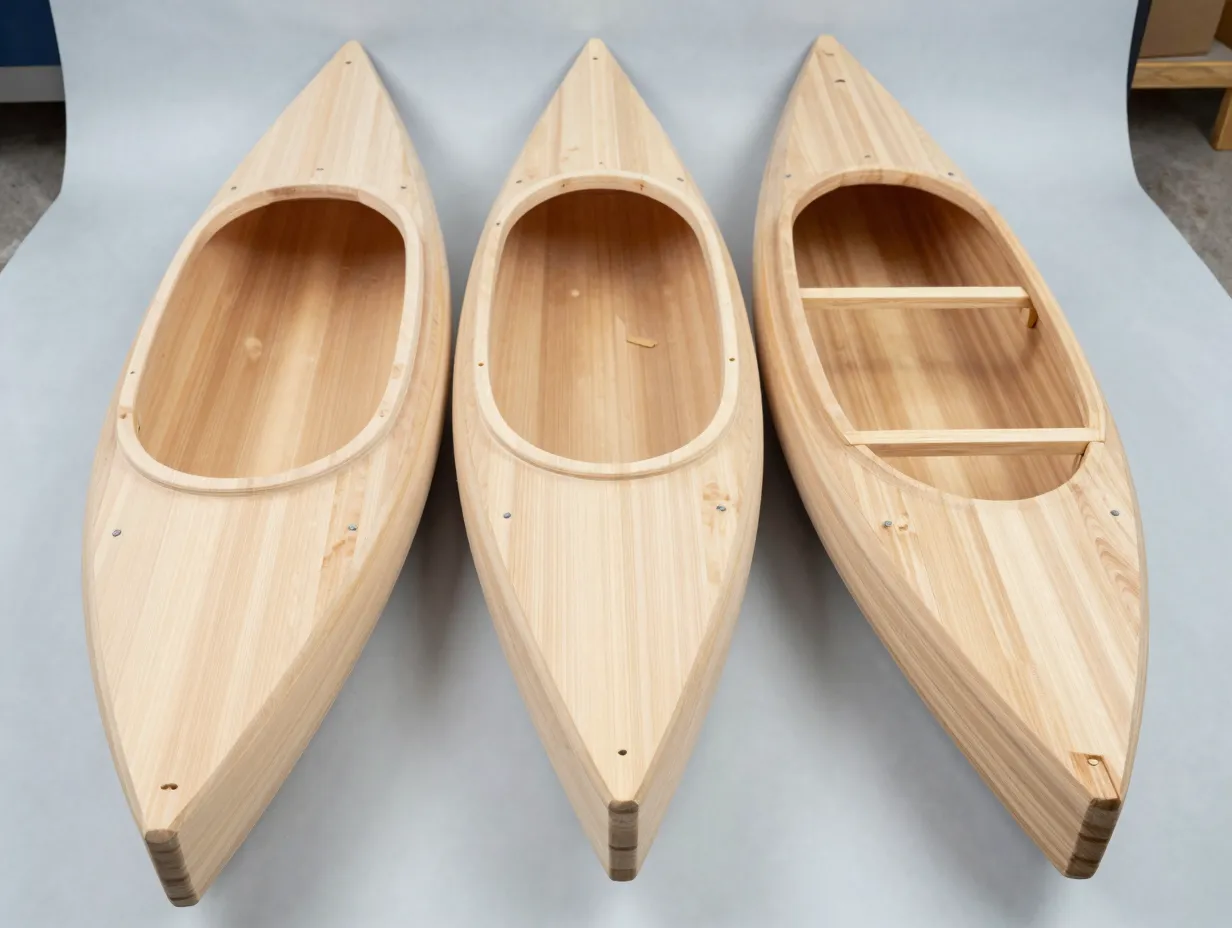
Hull geometry is the single most important technical decision in the entire build. Three primary hull characteristics govern how a kayak performs:
Primary stability refers to how steady the kayak feels when sitting flat on calm water. Wide, flat hulls offer high primary stability, ideal for standing to cast.
Secondary stability refers to how the hull resists capsizing when leaned or hit by a wave. Rounded or V-shaped hulls with good secondary stability are safer in rough water even if they feel tippy at rest.
Rocker is the upward curve of the hull from bow to stern. High rocker improves maneuverability in tight spaces; low rocker improves straight-line tracking in open water.
For fishing kayaks specifically, a beam (width) of 28 to 34 inches is the most common sweet spot, balancing stability for casting with enough speed to cover water efficiently [8].
Hull profile comparison:
| Hull Type | Best For | Trade-off |
|---|---|---|
| Flat bottom | Standing, calm water | Poor in chop |
| Pontoon / tunnel | Maximum stability | Slower, heavier |
| V-hull | Rough water, speed | Less initial stability |
| Rounded chine | All-around touring | Moderate everything |
Free hull design software such as Delftship or Hulls is widely used by amateur builders to model hull shapes and calculate displacement before committing to a build [8].
3. Select Your Construction Method and Materials
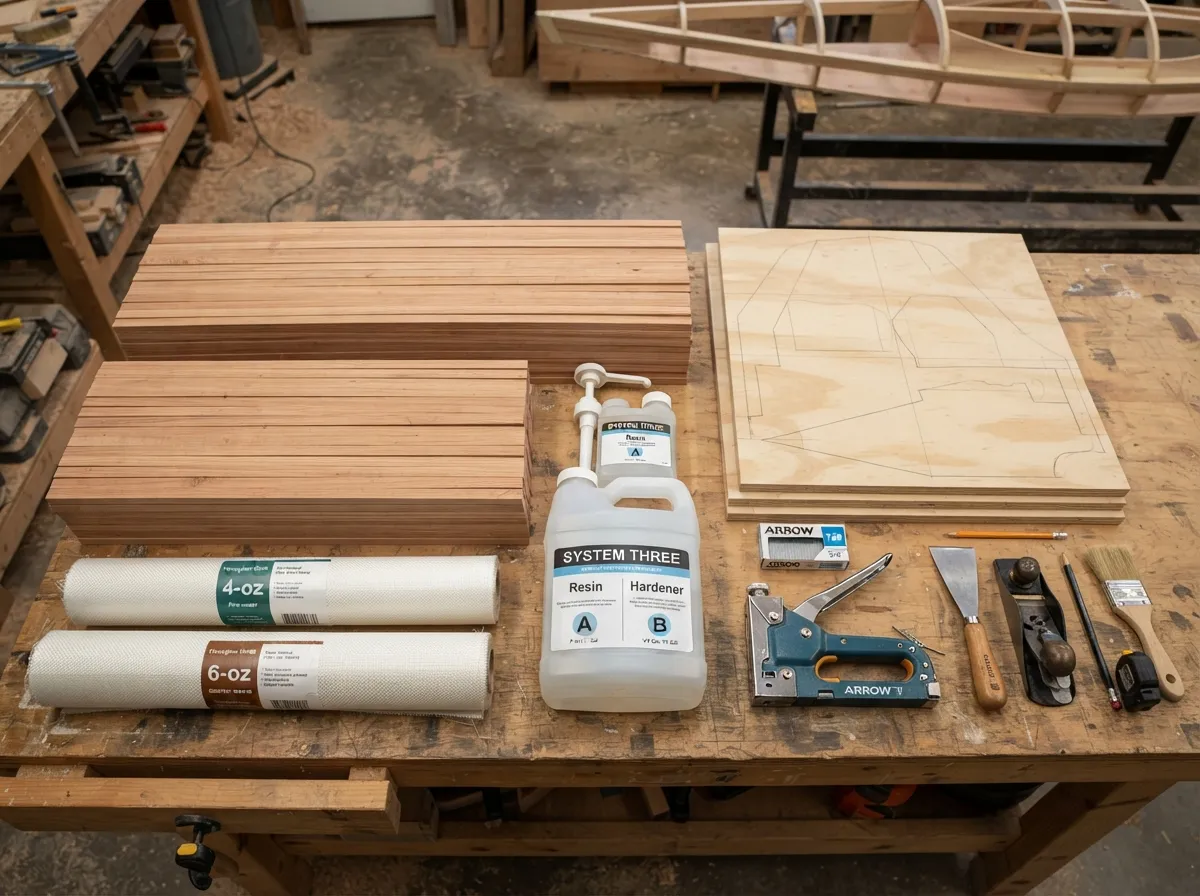
The construction method determines the tools needed, the skill level required, and the finished weight and durability of the kayak. Three methods dominate DIY fishing kayak builds:
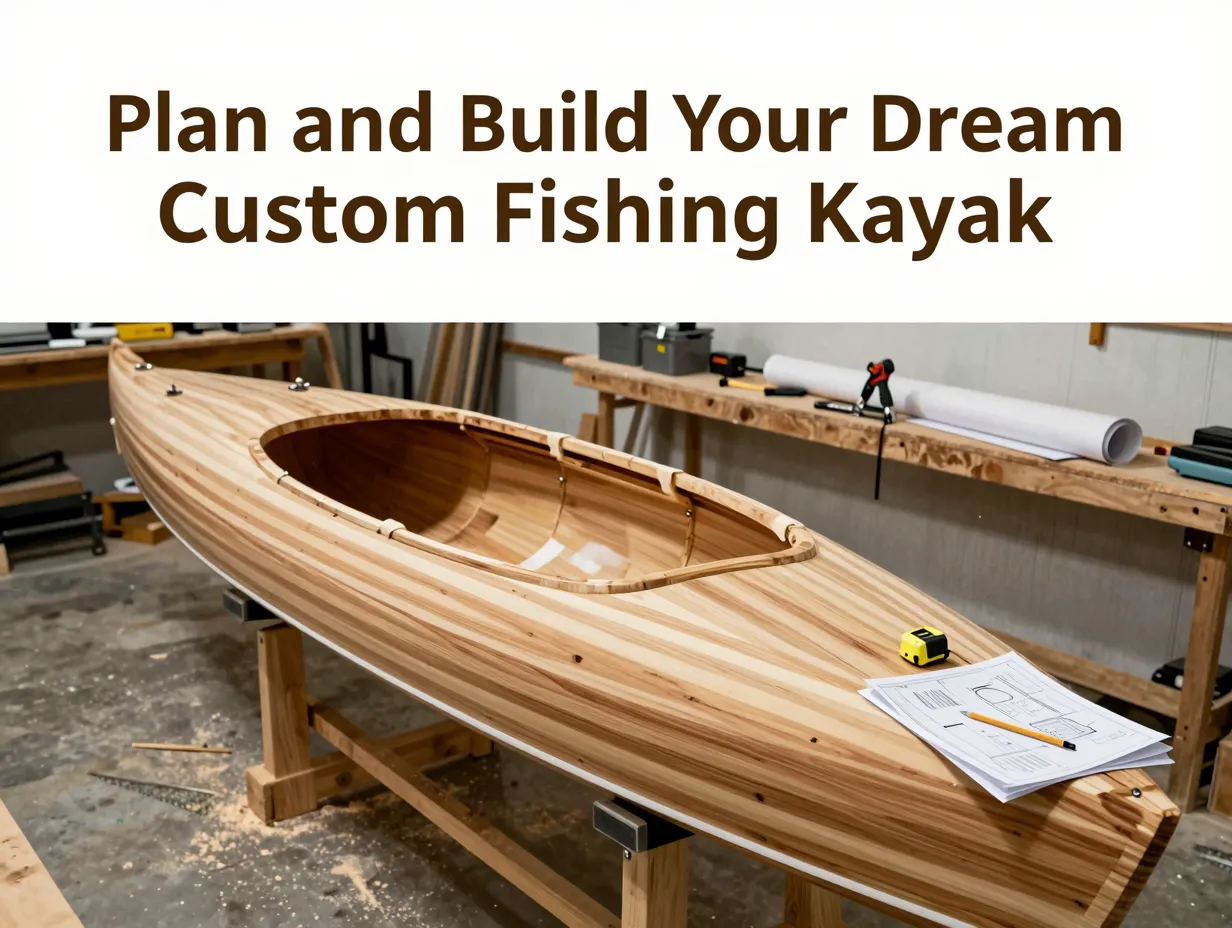
Stitch-and-glue plywood is the fastest method. Panels of marine-grade plywood (typically 4mm or 6mm) are cut to shape, stitched together with copper wire, and bonded with fiberglass and epoxy. Build times of 80 to 150 hours are realistic for a first-time builder [9].
Cedar strip construction produces the most visually stunning results. Thin strips of western red cedar (typically 3/4″ x 1/4″) are stapled over a series of temporary molds, then sheathed inside and out with fiberglass cloth and epoxy. This method requires more time, often 200 to 400 hours, but produces a lightweight, strong, and beautiful hull [10].
Fiberglass layup over a foam core is a middle path that offers excellent strength-to-weight ratios and is particularly well-suited to builders who want a more production-like finish.
Material checklist for a cedar strip build:
- Western red cedar strips (approximately 250 linear feet for a 14-foot kayak)
- 4-oz and 6-oz fiberglass cloth (interior and exterior)
- Marine-grade epoxy resin and hardener
- Temporary mold forms (cut from cheap pine or MDF)
- Staple gun and staples (to be removed after gluing)
- Cabinet scrapers, random orbital sander, and hand planes [10]
4. Draft a Detailed Build Plan and Budget
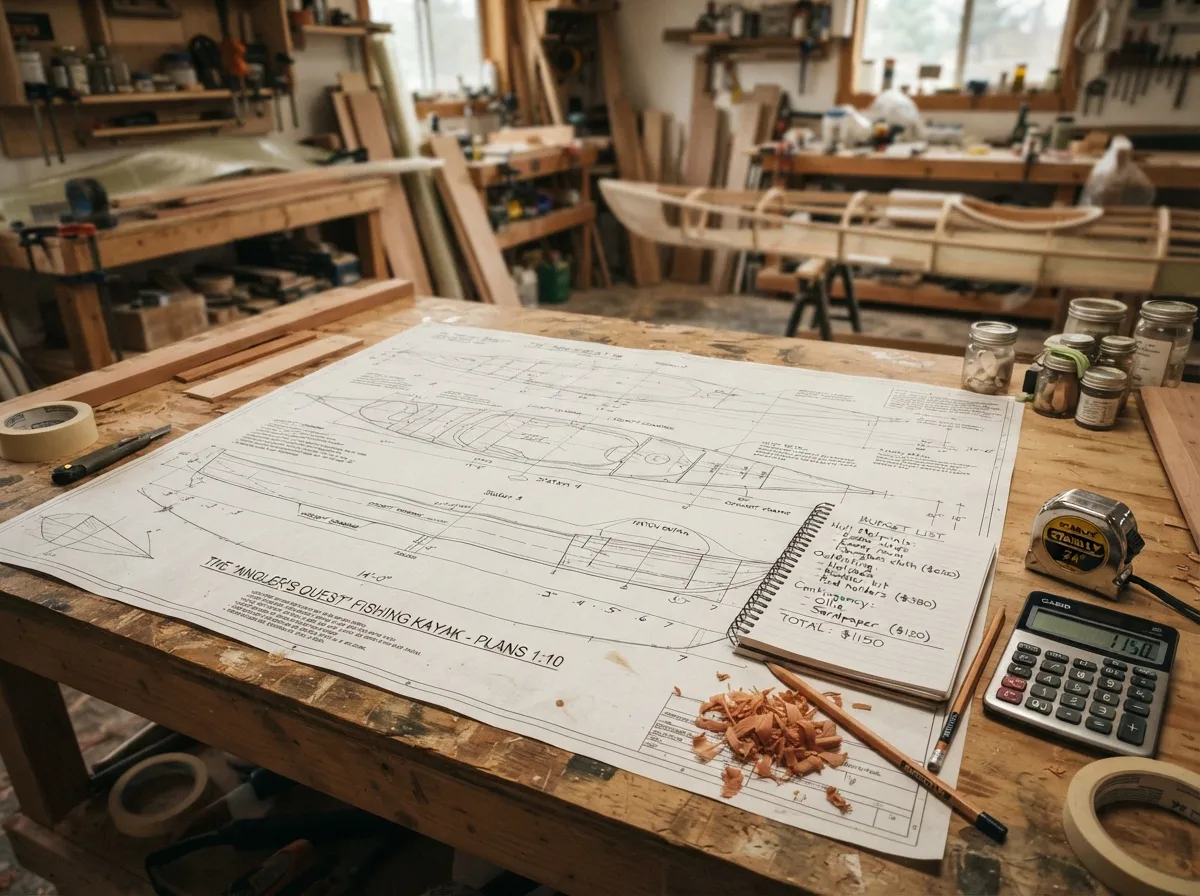
Enthusiasm without a budget is a reliable path to an unfinished kayak sitting in the garage. Before purchasing any materials, draft a complete bill of materials and a realistic timeline.
Budget categories to account for:
- Hull materials (wood, fiberglass, epoxy)
- Tooling (molds, jigs, clamps, sanding equipment)
- Fishing outfitting hardware (rod holders, hatches, tracks, seat)
- Finishing materials (varnish, UV protectant, paint)
- Safety equipment (flotation foam, grab handles, drain plug)
- Contingency buffer (typically 15-20% of total material cost)
A realistic first-time stitch-and-glue build budget runs $400 to $700 all-in for materials, assuming basic woodworking tools are already available [9]. Cedar strip builds typically run $700 to $1,400 depending on epoxy costs, which fluctuate significantly.
Set a build timeline with weekly milestones. Most builders who fail to finish do so because the project loses momentum after the initial excitement fades. A written schedule with specific goals, “molds complete by week 2,” “strips laid by week 6”, keeps the project moving [6].
5. Build the Molds and Set Up the Strong Back
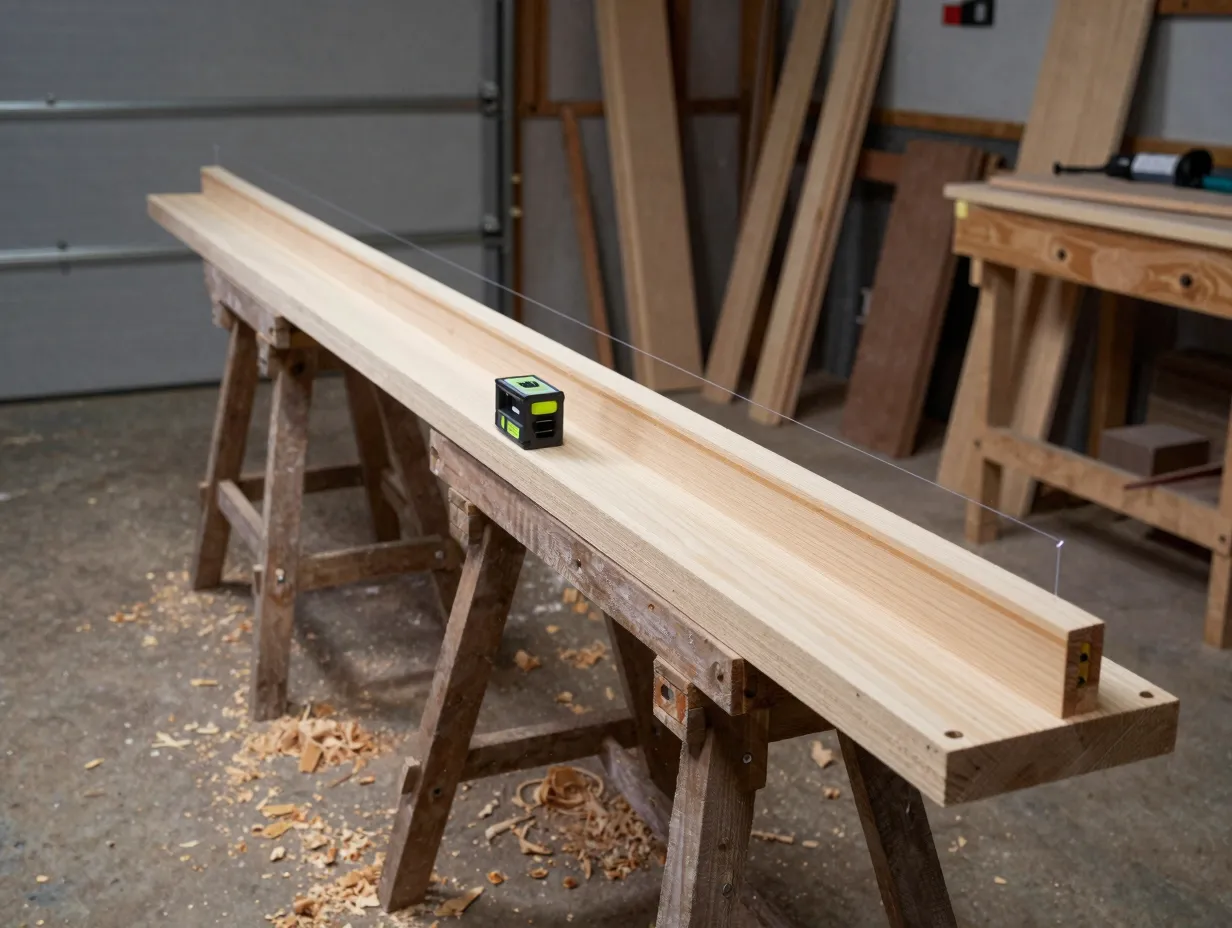
The strong back is the backbone of the build: a straight, level beam (typically a 2×6 or 2×8 lumber spine) that holds the temporary mold stations in precise alignment. Every hull shape error can be traced back to a poorly set-up strong back.
Strong back setup steps:
- Lay the strong back on a flat surface (a level garage floor or sawhorses)
- Check for twist using winding sticks or a laser level
- Mark station positions along the strong back according to the plans
- Cut mold forms from the plans using a jigsaw or bandsaw
- Mount molds perpendicular to the strong back and verify alignment
For stitch-and-glue builds, the molds are replaced by panel shapes cut directly from the plans. For cedar strip builds, the molds define the hull’s cross-sectional shape at each station and are removed after the hull is complete [10].
Precision at this stage pays dividends throughout the build. A hull that is twisted or asymmetrical will track poorly on the water and may require significant corrective work during finishing.
6. Build the Hull
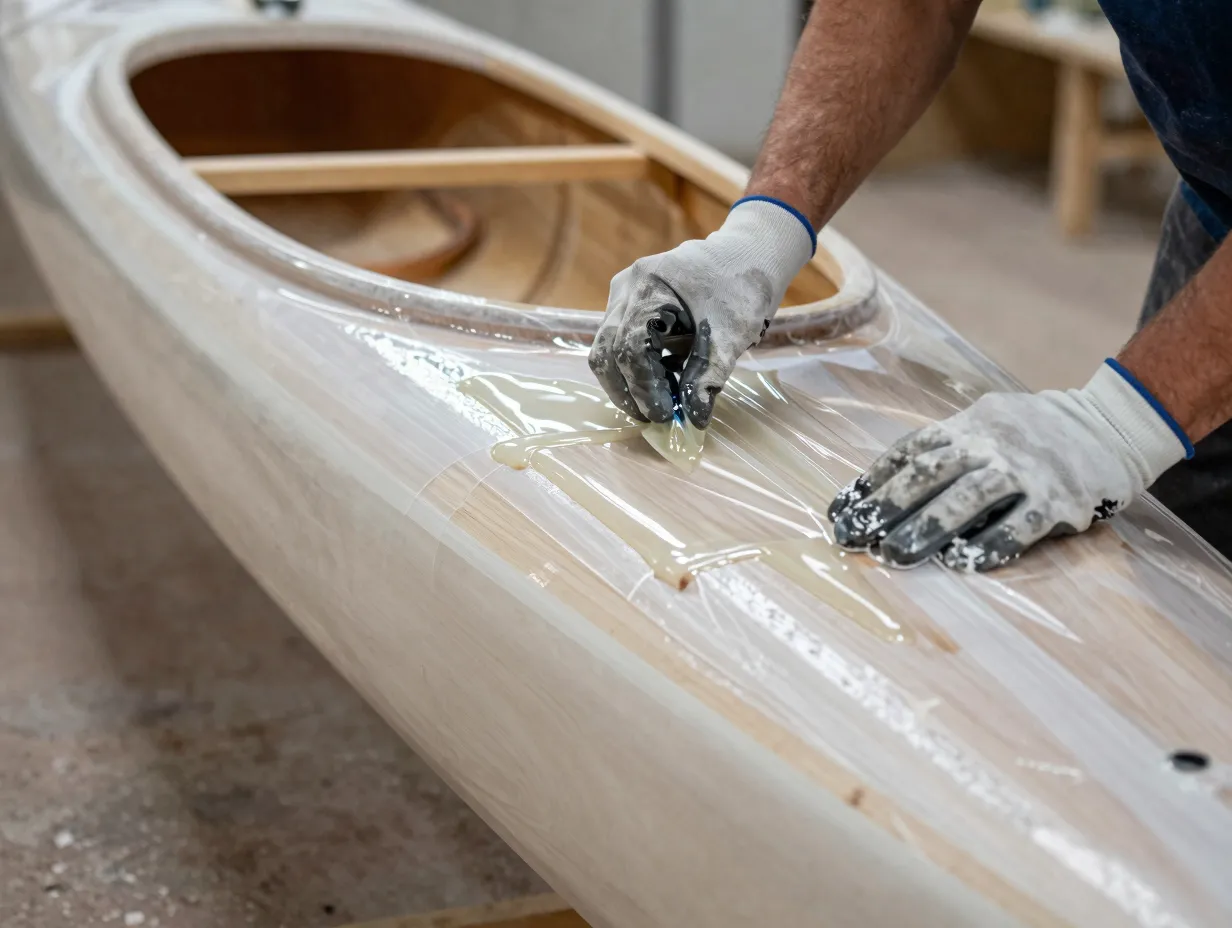
This is the longest and most hands-on phase of the build. The specific process differs by construction method, but the sequence follows the same logic: establish the hull shape, bond the structure, and reinforce with fiberglass.
For cedar strip construction:
- Begin laying strips at the sheer line (the top edge of the hull) and work toward the keel
- Apply waterproof wood glue between each strip and staple temporarily until cured
- Use a hand plane and cabinet scraper to fair (smooth) the hull surface before glassing
- Apply 4-oz fiberglass cloth to the exterior, wet out with epoxy, and allow to cure
- Remove from molds, flip, and repeat the glassing process on the interior [10]
For stitch-and-glue construction:
- Cut all panels according to the plan dimensions
- Stitch panels together with copper wire at the seams
- Apply fiberglass tape and epoxy to all interior seams (fillets)
- Remove copper wire, fair the exterior, and apply exterior fiberglass cloth [9]
Critical epoxy application tips:
- Work in temperatures between 60°F and 80°F for optimal cure
- Apply epoxy in thin fill coats (3 to 4 coats) for a waterproof, clear finish
- Sand between coats with 120-grit, finishing with 220-grit before varnishing [6]
7. Install Fishing-Specific Outfitting
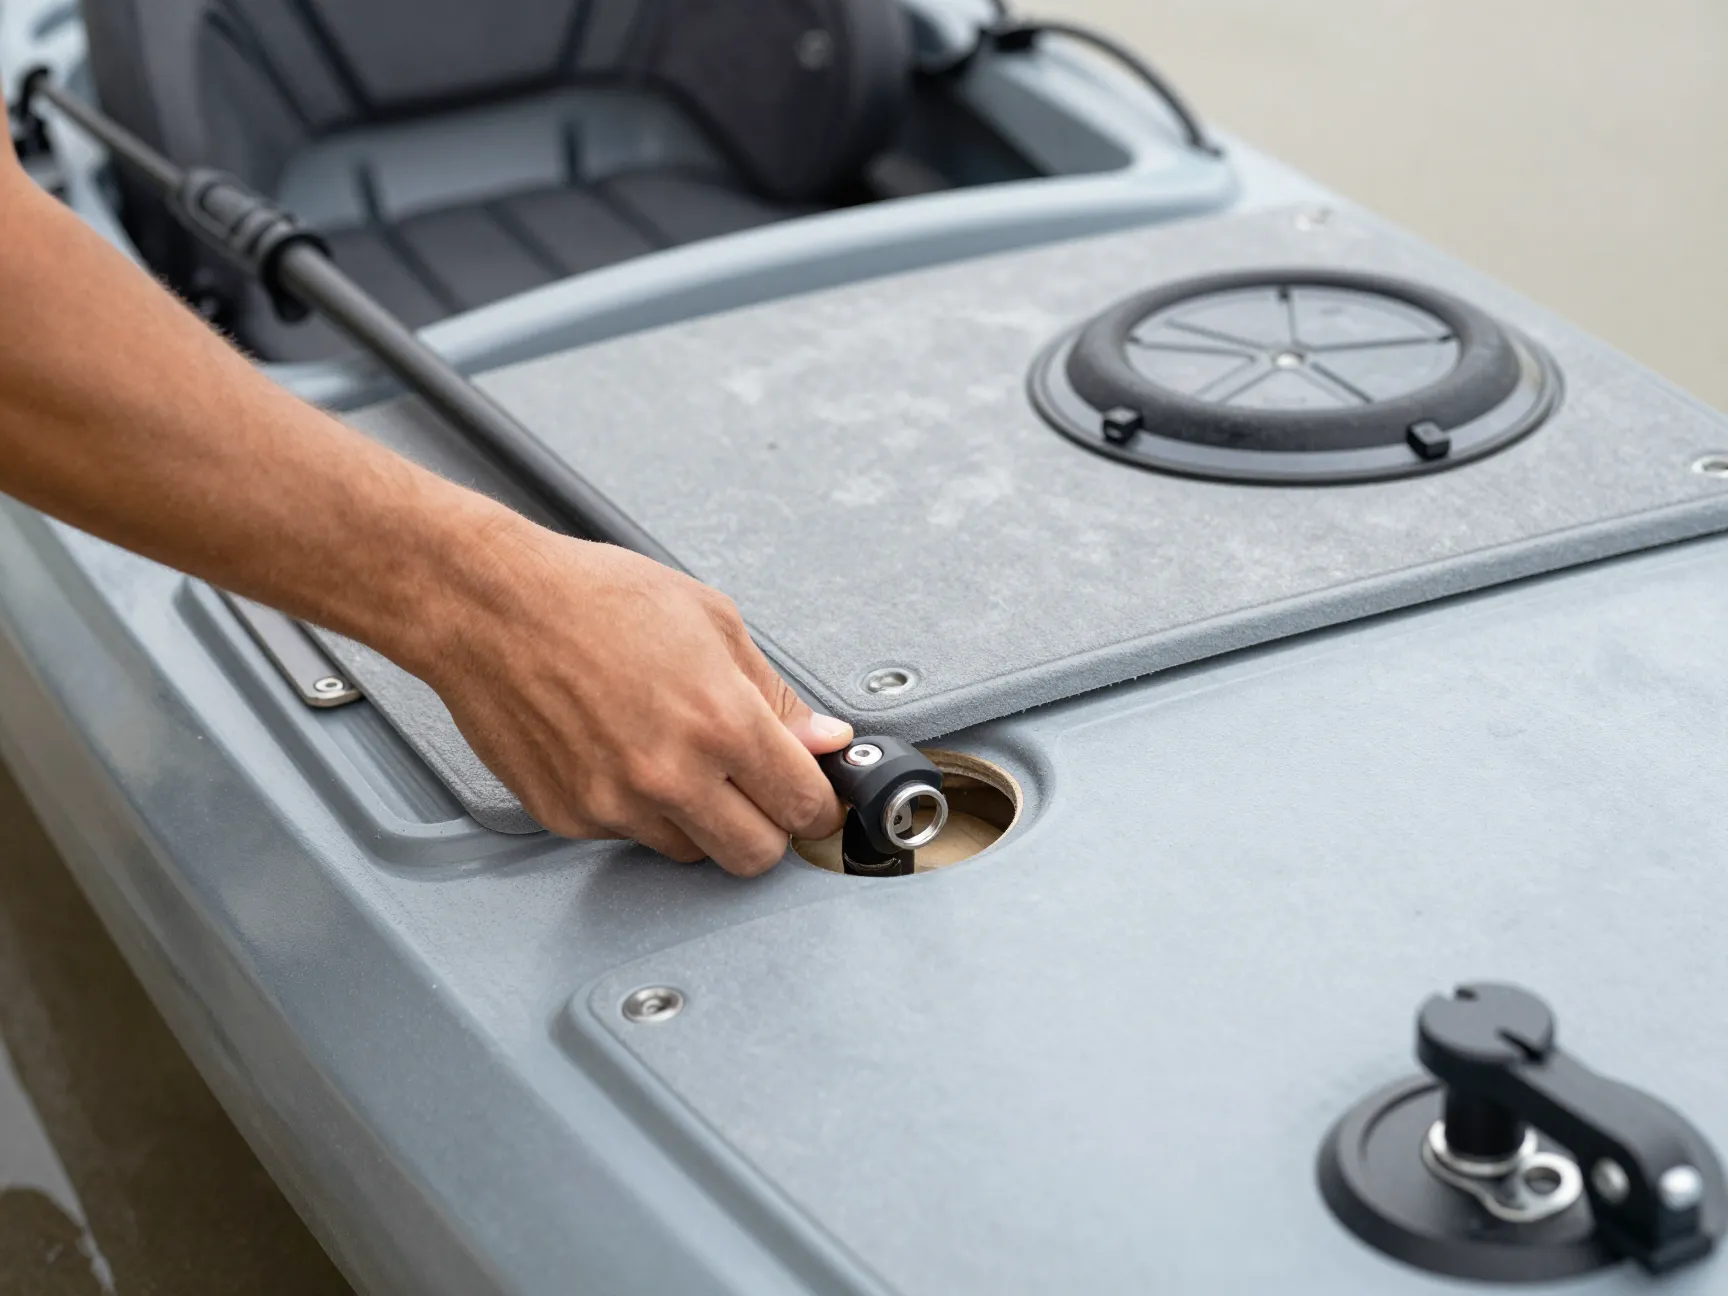
This is where a generic kayak build becomes a purpose-built fishing machine. Every fitting should be planned during step 2 and step 4, because retrofitting hardware to a finished hull is significantly more difficult than installing it during the build.
Essential fishing outfitting components:
- Rod holders: Flush-mount or adjustable tube holders installed through the deck with backing plates for strength. Position at least two behind the cockpit and two forward for trolling [7].
- Hatch system: Watertight hatches fore and aft for dry storage. Use neoprene-gasket hatch covers rated for immersion.
- Seat and seating platform: A raised seat (4 to 6 inches above the deck) dramatically improves casting leverage and visibility. Build from marine-grade plywood with foam padding and a breathable mesh cover [7].
- Anchor trolley: A simple pulley system running along the gunwale allows the anchor line to be repositioned from bow to stern without moving, keeping the kayak positioned correctly relative to wind and current.
- Track systems: T-track or Scotty-style mounting tracks bonded to the deck allow accessories, fish finders, camera mounts, gear organizers, to be repositioned without drilling new holes.
- Flotation foam: Pack closed-cell foam into bow and stern compartments. This is a safety requirement, not an option. A swamped kayak with flotation foam will float at the surface; one without may sink entirely [9].
A fishing kayak without proper outfitting is just a paddling kayak. The hardware transforms it into a functional angling platform.
8. Finish, Test, and Refine
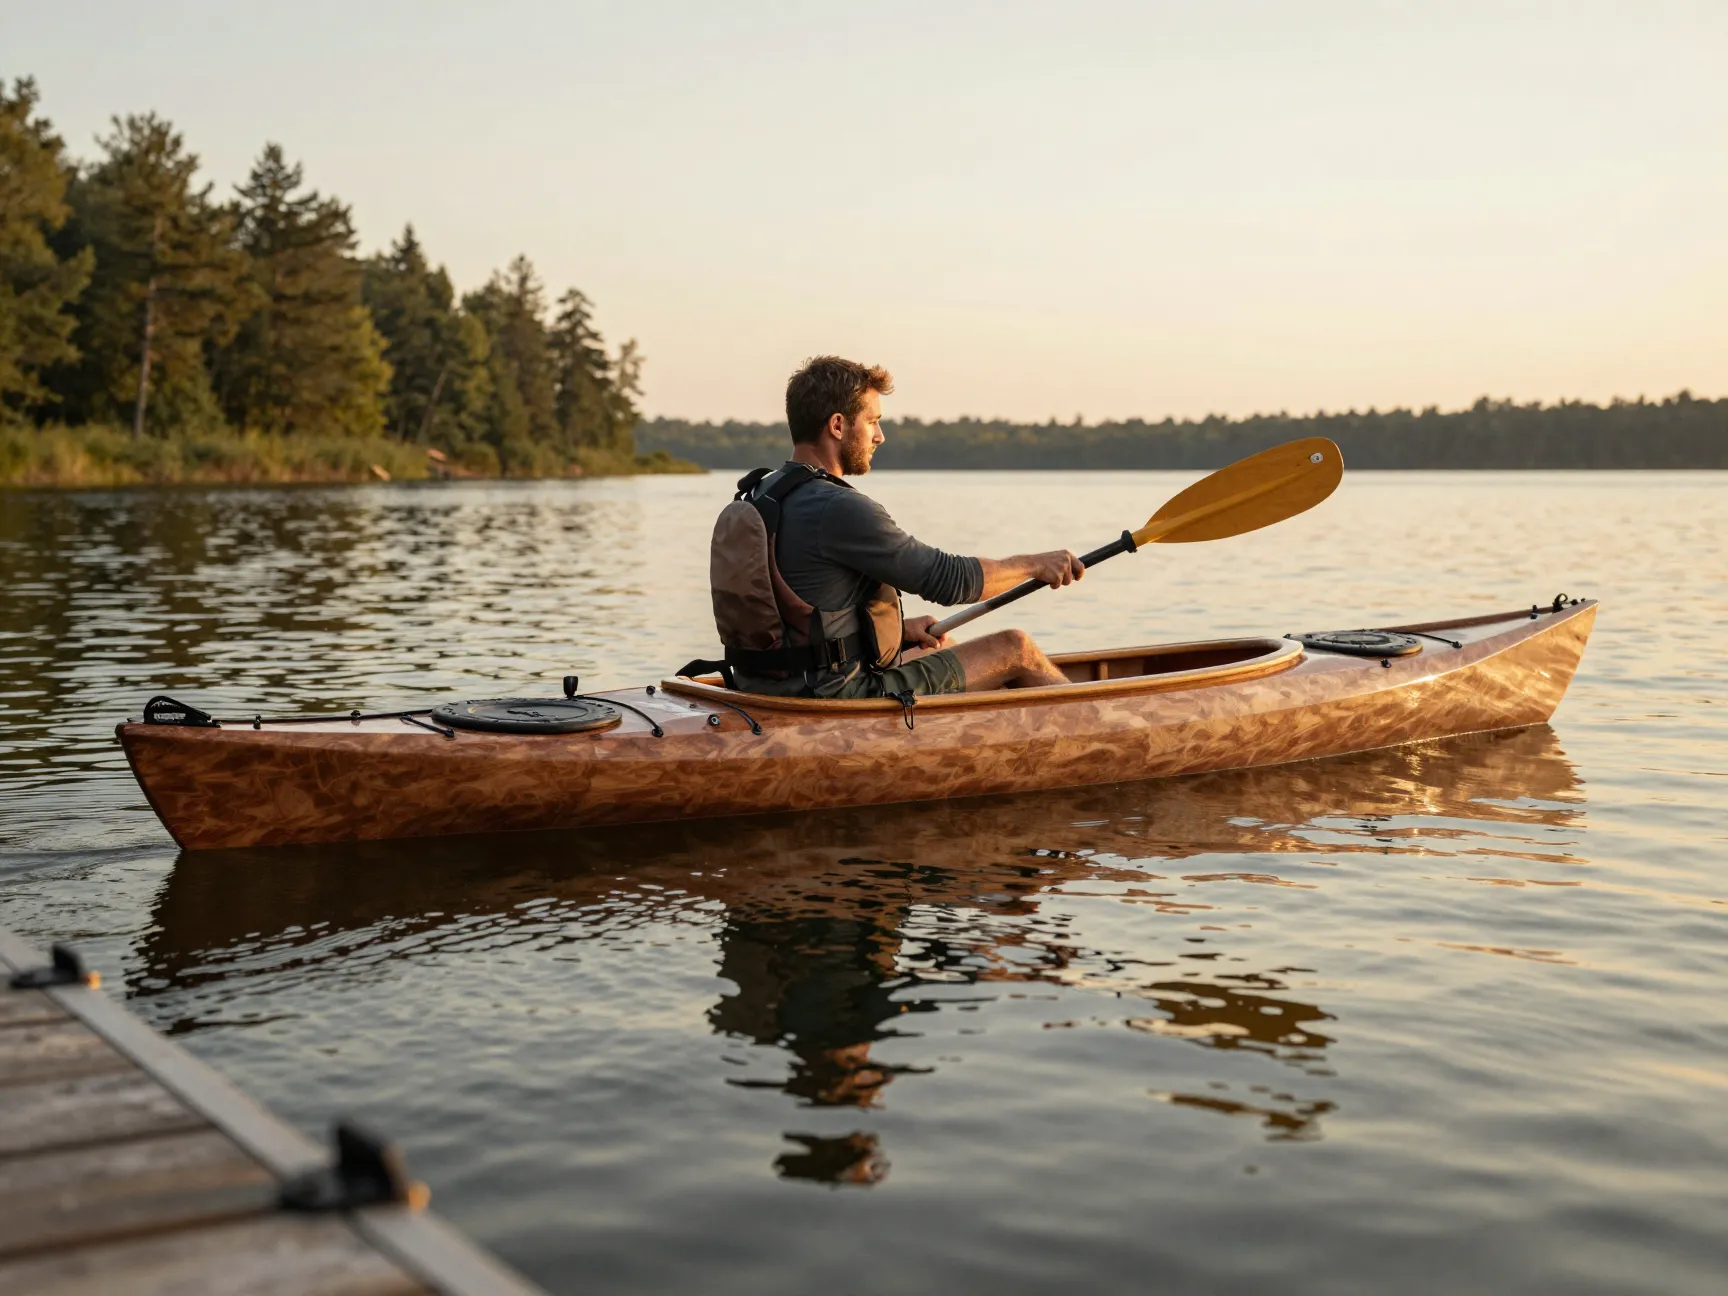
The final phase covers waterproofing, cosmetic finishing, on-water testing, and iterative refinement based on real paddling experience.
Finishing sequence:
- Sand the hull progressively from 80-grit through 220-grit
- Apply 3 to 4 fill coats of marine epoxy to achieve a glass-smooth surface
- Apply 2 to 3 coats of UV-resistant marine varnish (spar varnish or two-part polyurethane)
- Install all deck hardware, hatches, and seat with marine-grade sealant (3M 4200 or equivalent)
- Add non-slip grip tape or non-skid paint to standing areas
- Install grab handles fore and aft for safe water re-entry [6]
Pre-launch checklist:
- Verify all hatch covers seal correctly
- Test rod holder angles and reach from seated and standing positions
- Check that the kayak floats level (trim) with the intended gear load
- Confirm all through-hull fittings are fully sealed and dry
- Paddle a short distance in calm, shallow water before the first full fishing trip
After the first few outings, most builders identify minor adjustments, a rod holder angle that is slightly off, a seat that needs more padding, a hatch that leaks under heavy rain. These refinements are normal and expected. The advantage of a hand-built kayak is that every component can be modified, replaced, or upgraded without voiding a warranty or sourcing proprietary parts [6] [7].
Common Mistakes to Avoid When Building a Custom Fishing Kayak
Even experienced woodworkers make predictable errors on their first kayak build. Knowing these pitfalls in advance saves significant time and money.
Mistake 1, Skipping the design phase: Jumping straight to cutting wood without verified hull plans leads to structural problems that are nearly impossible to fix after the hull is glassed.
Mistake 2, Using interior-grade plywood: Marine-grade plywood (BS1088 standard) costs more but has no voids in the core layers. Interior-grade plywood delaminates when wet, which is catastrophic in a hull application.
Mistake 3, Under-estimating epoxy consumption: Builders consistently run short of epoxy. For a 14-foot cedar strip kayak, budget for at least 3 to 4 gallons of mixed epoxy [10].
Mistake 4, Ignoring weight distribution: Installing heavy gear (battery, fish finder, tackle) all in one location throws off the trim. Plan gear placement during step 4 and test it before the final finishing coats are applied.
Mistake 5, Rushing the cure time: Epoxy that is sanded or loaded before full cure (typically 24 to 72 hours depending on temperature) will not achieve its rated strength. Patience at this stage is structural insurance.
Recommended Tools and Resources for First-Time Builders
A well-equipped workspace reduces build time and improves finish quality significantly. The following tools are considered minimum requirements for either construction method:
Power tools: jigsaw or bandsaw, random orbital sander, drill/driver, router (for hatch recesses)
Hand tools: block plane, cabinet scraper, spokeshave, clamps (at least 20 bar clamps), tape measure, marking gauge
Safety equipment: nitrile gloves, respirator rated for organic vapors (essential when working with epoxy), safety glasses, hearing protection
Recommended learning resources: Several detailed video build series are available that document complete kayak builds from mold setup through final finishing [1] [2] [3] [4] [5]. These are invaluable for visual learners who want to see each technique demonstrated before attempting it.
Plans are available from established designers including Guillemot Kayaks, CLC Boats (Chesapeake Light Craft), and Nick Schade, all of whom offer fishing-specific designs with pre-calculated hull dimensions and cut lists.
Conclusion
The 8 steps to plan and build your dream custom fishing kayak represent a structured, proven pathway from blank paper to a launch-ready vessel. The process demands patience, precision, and a willingness to learn new skills, but the reward is a fishing platform that no retail store can replicate: one built to exact personal specifications, at a fraction of replacement cost, and with the deep satisfaction of having built it by hand.
Actionable next steps for 2026:
- Download a free hull design tool (Delftship or Hulls) and spend one week experimenting with hull profiles before committing to a design.
- Order a set of plans from a reputable designer and read them completely before purchasing any materials.
- Build a small test panel using the chosen construction method to practice epoxy application and fiberglass wetting before working on the actual hull.
- Join an online DIY kayak building community (the Kayak Building Forum and the Guillemot Kayaks Facebook group are both active in 2026) for real-time advice and build accountability.
- Set a launch date and work backward to create a weekly build schedule with specific milestones.
The first paddle stroke in a kayak built by hand is unlike any other on the water. Start planning today.
References
[1] Watch – https://www.youtube.com/watch?v=JgHvGfsERFc
[2] Watch – https://www.youtube.com/watch?v=VPqmki7WgJE
[3] Watch – https://www.youtube.com/watch?v=tlLcjC3hUwY
[4] Watch – https://www.youtube.com/watch?v=BUg4MuWgjD8
[5] Watch – https://www.youtube.com/watch?v=NTe97zggAmo
[6] How To Build Your Own Kayak – https://kayakcambria.com/how-to-build-your-own-kayak/
[7] How To Make A Fishing Kayak – https://fishinghub.best/how-to-make-a-fishing-kayak/
[8] How To Design A Kayak – https://rcfact.com/how-to-design-a-kayak/
[9] Diy Kayak Building Guide – https://akayak.net/diy-kayak-building-guide/
[10] Building A Cedar Strip Kayak – https://www.instructables.com/Building-a-Cedar-Strip-Kayak/