8 Creative Kayak Fishing Setup Ideas to Maximize Your Space
Only 36 inches of beam width separates the average fishing kayak angler from a tangled, frustrating mess of rods, tackle, and loose gear. That narrow platform demands smart planning, and yet most anglers still launch with gear piled wherever it lands. The good news: the 8 creative kayak fishing setup ideas to maximize your space covered in this guide prove that a compact hull can function like a fully equipped fishing station — without sacrificing stability, paddling efficiency, or the ability to land a fish cleanly.
Disclosure: This post contains affiliate links. As an Amazon Associate, we earn from qualifying purchases, and at no extra cost to you.
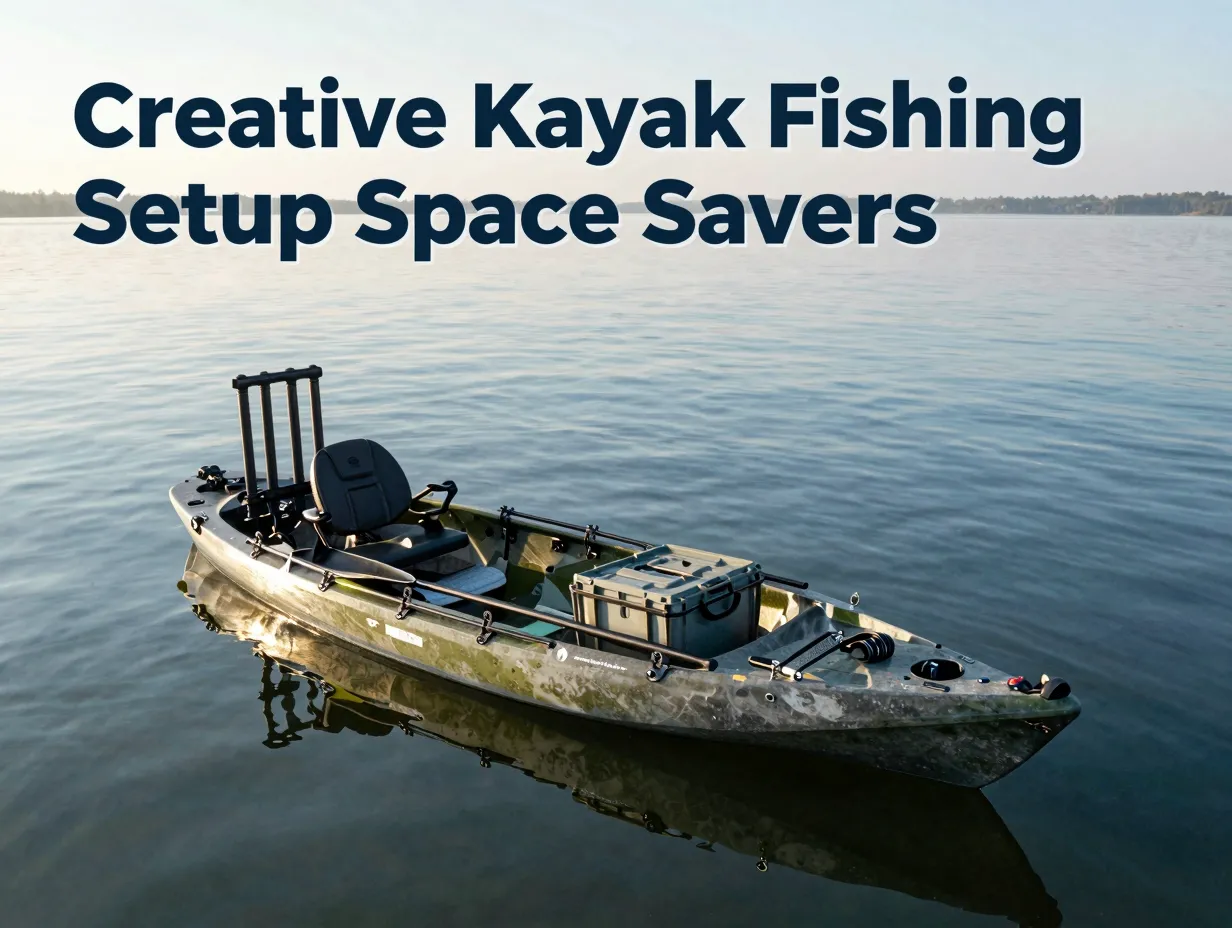
Whether rigging a budget sit-on-top or a premium pedal-drive model, these strategies address the real problems: clutter, poor weight distribution, tangled rods, and wasted vertical space. Every idea below is practical, affordable, and field-tested.
Key Takeaways
- A milk crate command center in the rear tankwell is one of the most cost-effective ways to consolidate rods, tools, and tackle in a single secure unit.
- Factory gear tracks keep the deck clear and allow accessory reconfiguration without drilling new holes.
- Smart rod holder placement — one forward working rod holder, secondary holders angled outboard — prevents entanglement and frees the center deck for fish landing.
- Carrying fewer, better-organized lures in compact waterproof boxes dramatically reduces clutter and weight.
- Weight distribution is a design parameter, not an afterthought; splitting heavy items between front and rear hatches improves both stability and usable cockpit space.
Why Space Management Defines a Successful Kayak Fishing Setup
A kayak is not a bass boat. There is no livewell console, no storage locker under a bench seat, and no casting deck to spread gear across. Every square inch of hull real estate must earn its place. Anglers who treat space management as a secondary concern quickly discover that a cluttered deck slows down bait changes, creates tripping hazards, and — critically — makes it nearly impossible to net a fish without knocking three things overboard.
The 8 creative kayak fishing setup ideas to maximize your space outlined here approach the kayak as a system, not a collection of bolt-on accessories. When each component has a designated location that serves multiple purposes, the result is a platform that feels far larger than its dimensions suggest. [10]
A useful starting framework before purchasing any accessory:
| Priority | Question to Ask |
|---|---|
| Function | Does this item serve a specific, repeated task? |
| Placement | Does it have a fixed, secure home on the hull? |
| Weight | Does its position improve or harm trim and stability? |
| Access | Can it be reached without shifting body weight? |
If an item cannot pass all four checks, it probably does not belong on the kayak.
The 8 Creative Kayak Fishing Setup Ideas to Maximize Your Space
1. Build a Milk Crate Command Center
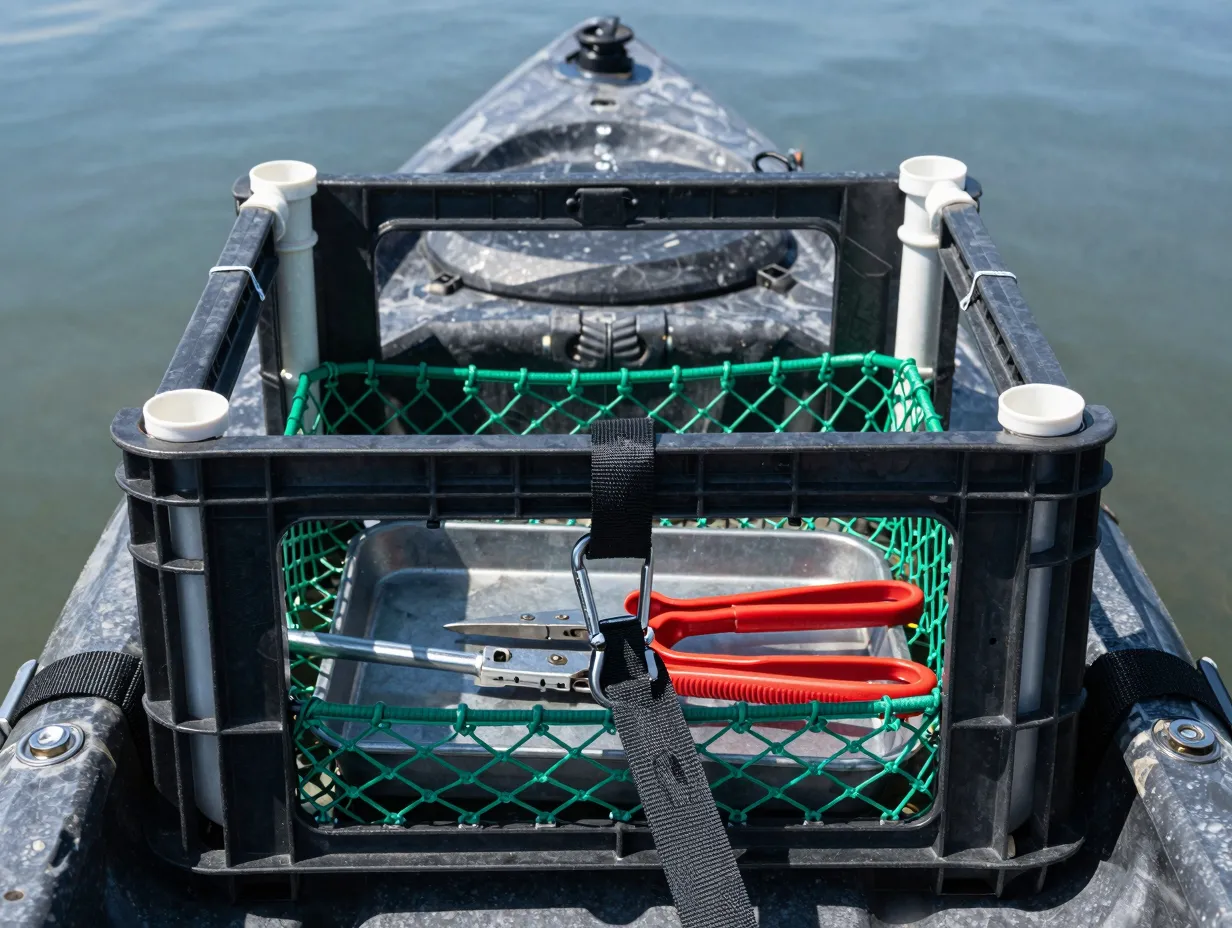
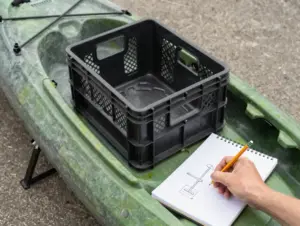
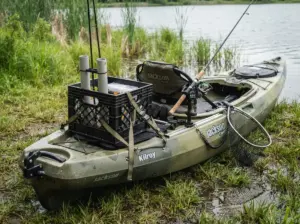
The milk crate command center remains one of the most space-efficient solutions available, and its cost is almost embarrassingly low. A standard grocery-store crate — often available for under five dollars — can be fitted with four sections of PVC pipe zip-tied into the corners to create dedicated rod tubes. The finished unit drops into the rear tankwell, where bungee cords or straps lock it in place. [2]
This single structure consolidates rods, pliers, forceps, landing nets, and a small tackle tray into one removable module. Because it sits in the tankwell rather than on the open deck, it also functions as a rear bulkhead, keeping gear from sliding toward the cockpit during paddling. [2]
Key crate setup tips:
- Use Schedule 40 PVC pipe cut to match rod butt length for a snug fit
- Line the crate interior with a small bungee net to prevent small tools from falling through the gaps
- Attach a carabiner to the crate handle so it clips to a deck bungee as a secondary retention point
- Keep the heaviest items — tackle boxes, pliers, extra line — on the bottom of the crate to maintain a low center of gravity [8]
“The milk crate is the ultimate fishing organizer for kayak anglers — it keeps everything in one place, it’s removable, and it costs almost nothing to build.” [2]
2. Maximize Factory Gear Tracks Before Drilling Anything
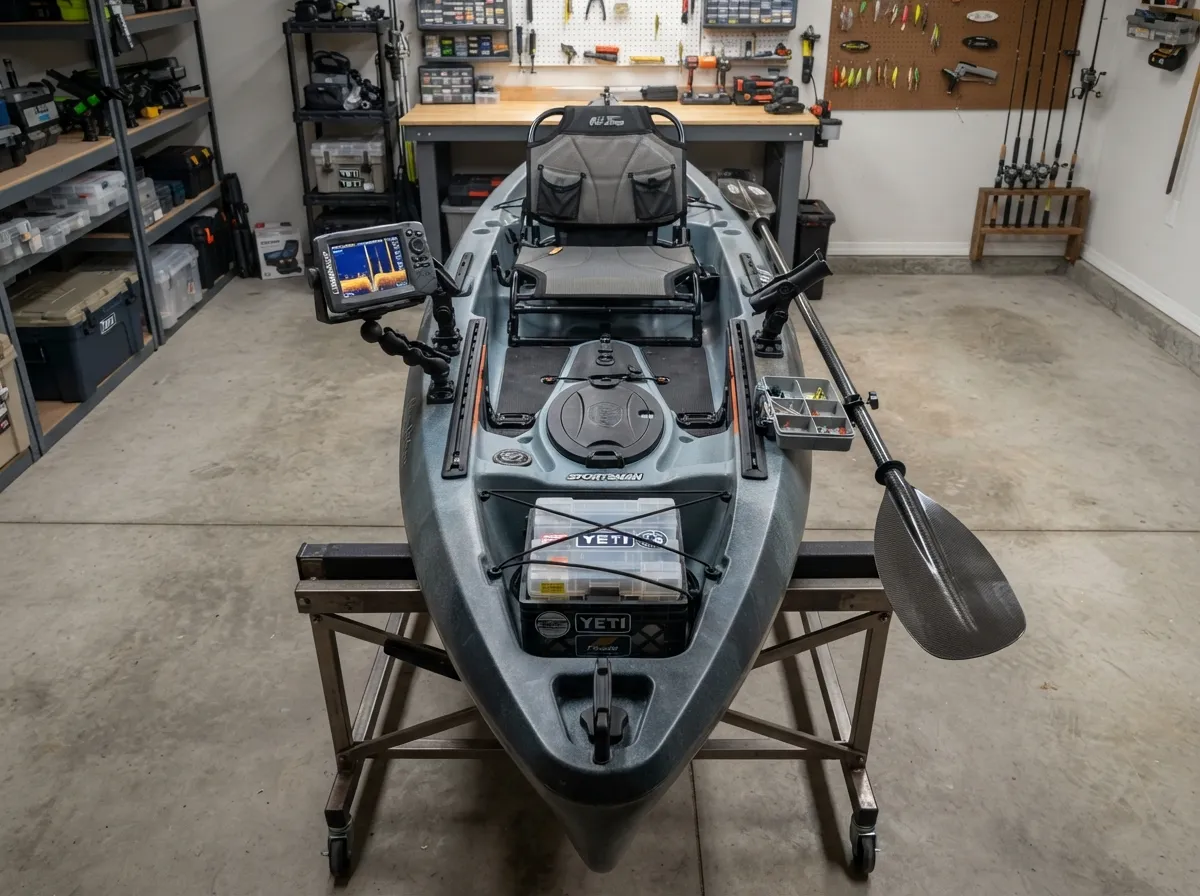
Modern fishing kayaks ship with molded-in or bolt-on gear tracks along the gunwales and sometimes the bow deck. These tracks are the single most valuable real estate on the hull, and most anglers underuse them. Recent rigging guidance strongly recommends populating every available track slot before considering any permanent drilling. [3]
Track-mounted accessories — rod holders, fish finders, camera mounts, paddle clips, and cup holders — can be repositioned in minutes with a single screwdriver. This flexibility means the setup can be adjusted for different fisheries, seasons, or fishing styles without permanent modification. [3] [9]
Recommended track-mounted accessories by priority:
- Adjustable rod holders (at least two per side)
- Fish finder transducer arm or RAM mount for the head unit
- Paddle clip or park-and-fish holder
- Gear bucket or small utility tray
- Action camera mount for forward-facing footage
The practical approach recommended by experienced riggers is to place the kayak on a collapsible stand at home, lay out all planned accessories, and test reach and clearance before tightening anything down. Heavier components like batteries belong in hatches or on top of the crate — not loose on the floor where they shift during paddling. [3]
3. Place Rod Holders Strategically, Not Randomly
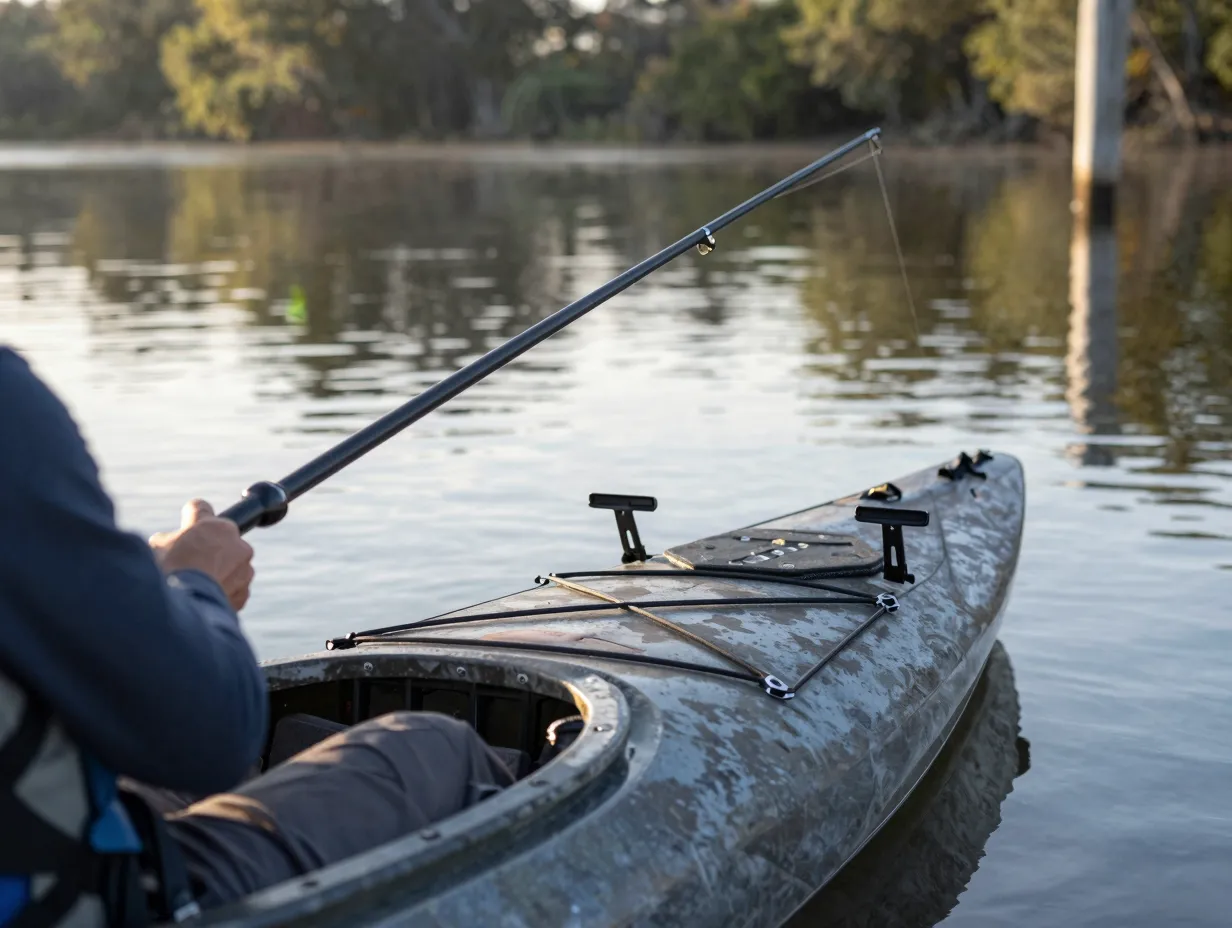
Rod holder placement is one of the most consequential decisions in any kayak fishing setup, yet many anglers simply bolt holders wherever there is an open track slot. Advanced rigging approaches treat rod holder geometry as a deliberate system. [8]
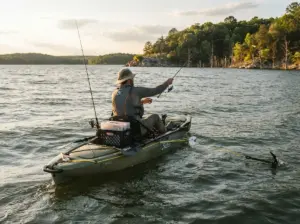
The recommended configuration uses one adjustable forward rod holder positioned just ahead of the angler’s knee on the off-paddle side. This is the “working” rod holder — the one used for the active presentation. Secondary holders are mounted behind the seat, angled slightly outboard at roughly 30 to 45 degrees from vertical. [8] [11]
Why this arrangement works:
- The forward holder keeps the working rod within easy reach without requiring a full torso rotation
- Outboard-angled rear holders keep rod tips away from tree branches, dock pilings, and bridge clearances
- The center deck area between the angler’s knees and the crate remains open for landing fish and managing a net
- Entanglement between multiple rods is dramatically reduced because tips splay outward rather than crossing overhead [8]
A common mistake is placing all rod holders directly behind the seat in a tight cluster. This creates a “rod forest” that tangles during turns and makes it difficult to grab the correct rod quickly.
4. Organize Tackle by Cutting the Fat
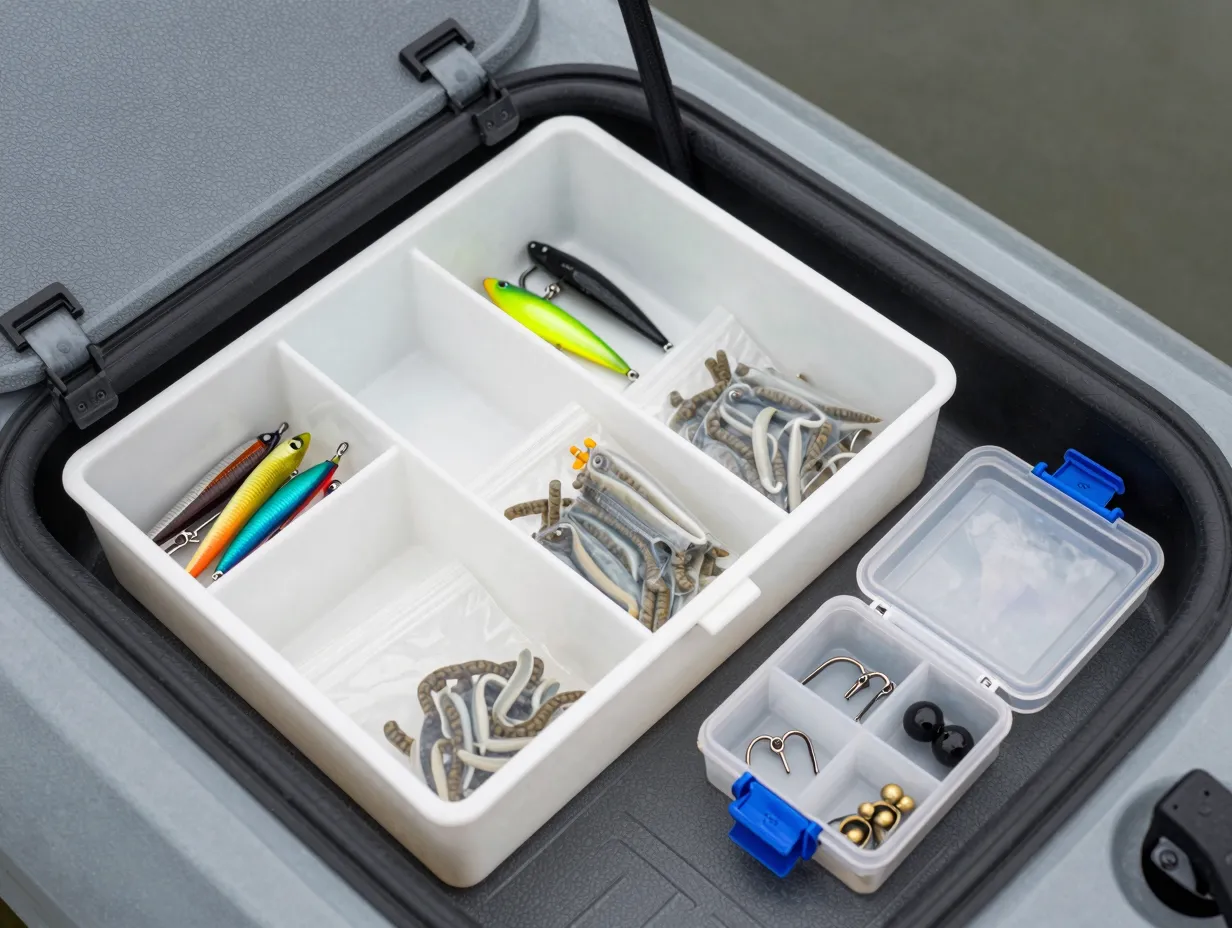
Tackle organization aboard a kayak is not about carrying more — it is about carrying less, better. Early 2026 advice from experienced kayak fishing coaches focuses on “cutting the fat”: auditing the tackle box before every trip and removing anything that has not been used in the past three outings. [7]
The goal is a compact, waterproof system that fits in the available below-deck compartment space without requiring a separate dry bag on the open deck.
A practical tackle reduction system:
- Divide the main below-deck compartment using kitchen drawer organizers cut to fit; separate compartments by lure type (hard baits, soft plastics, terminal tackle)
- Keep one small clear box on deck with only the day’s most-used hooks, swivels, and weights
- Pack soft plastics in half-filled resealable bags of five per color; this reduces both weight and the volume of air taking up space [7]
- Use thin, stackable waterproof boxes rather than bulky multi-tray tackle boxes that consume hatch space
Carrying 20 proven lures in a compact box outperforms carrying 200 lures in a box that barely closes and sits loose on the deck.
A useful benchmark: if the tackle system cannot be fully stowed below deck, it is carrying too much. [7] [13]
5. Treat Weight Distribution as a Design Parameter
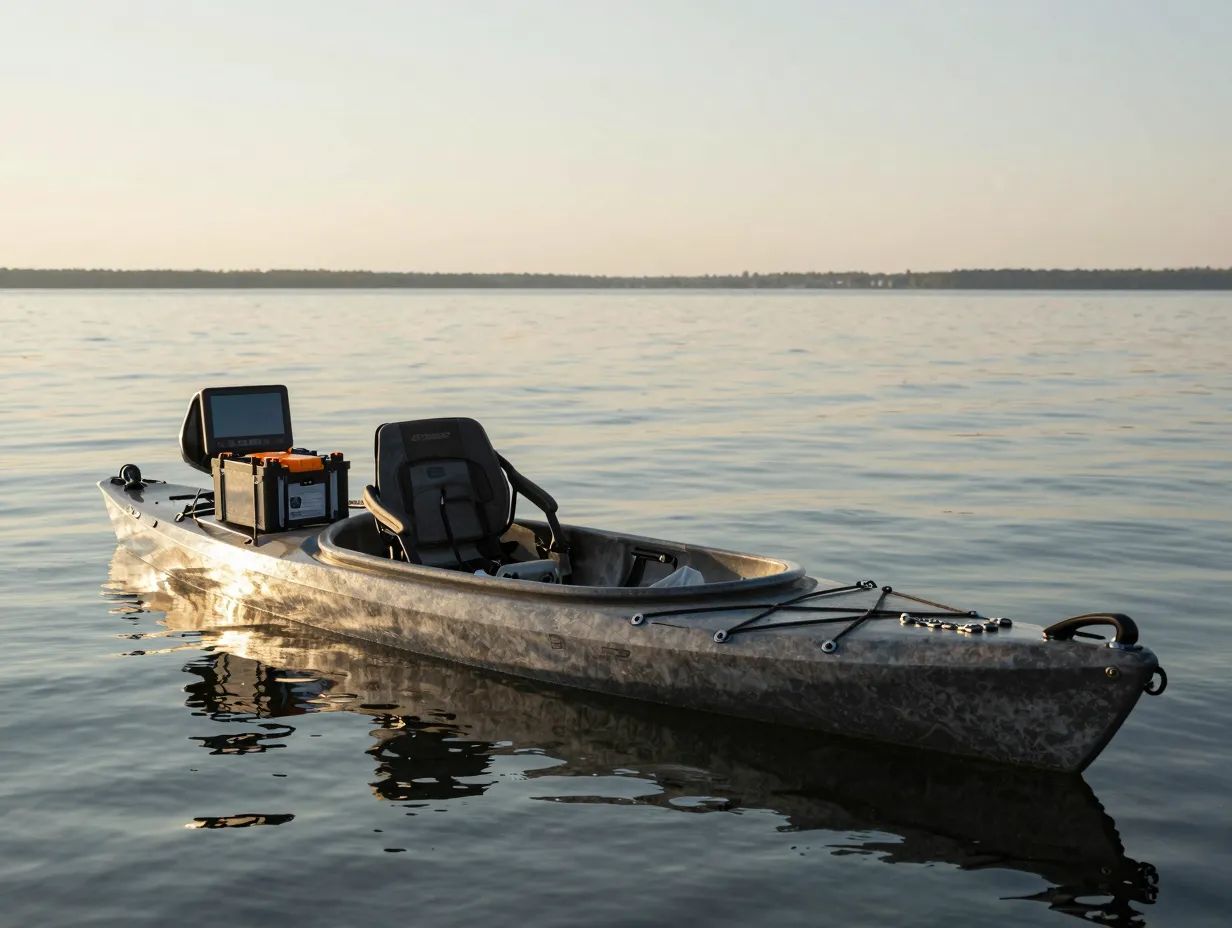
Weight distribution is not simply a stability concern — it is a space-management tool. When heavy items are placed correctly, the kayak sits level in the water, which means the cockpit floor stays dry, hatches seal properly, and the angler’s seating position remains at the optimal trim point. [8]
The practical guidance for 2026 setups recommends splitting battery weight between front and rear hatches rather than stacking both batteries in one location. The seat position is then adjusted to the “sweet spot” where the hull sits level and the bow does not dig or rise. [8] [12]
Weight distribution guidelines:
| Item | Recommended Location |
|---|---|
| Trolling motor battery | Rear hatch or tankwell bottom |
| Electronics battery | Front hatch |
| Anchor and chain | Low in the crate, not on deck |
| Large hard baits | Bottom of below-deck compartment |
| Frequently used tackle | Side pockets or top of crate |
| Dry bag with safety gear | Bow bungee area |
Heavy lead, large lures, and anchor gear belong as low as possible in the crate or in hatches. Only lighter accessories — pliers, line cutters, sunscreen — should sit toward the top of the crate or in accessible side pockets. [8] This keeps the center of gravity low, which improves both stability and the angler’s confidence when standing to cast on a pedal-drive model.
6. Install an Anchor Trolley System
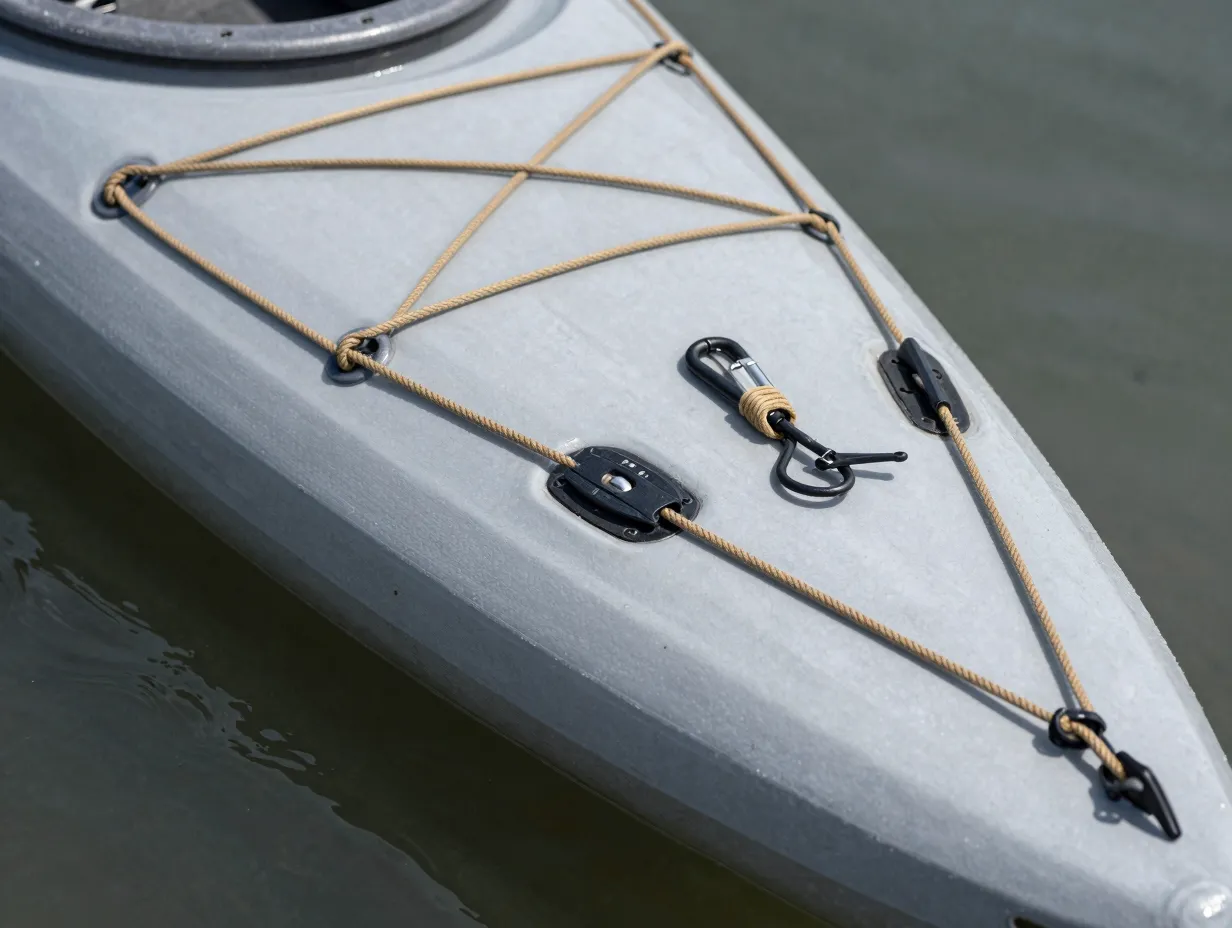
An anchor trolley is one of the most overlooked space-saving additions to any kayak fishing setup. Without one, anglers either drift constantly — requiring constant paddle corrections that interrupt fishing — or they cleat an anchor line directly to the bow or stern, which limits boat positioning and creates a tripping hazard across the deck. [9]
An anchor trolley runs a continuous loop of paracord or thin rope along the full length of the kayak’s side, threaded through two small pulleys at bow and stern and controlled by a carabiner ring. The anchor line clips to the ring, which slides to any position along the hull. [9]
Space-saving benefits of an anchor trolley:
- The anchor line runs along the hull side rather than across the open deck
- The anchor itself can be stored in the rear crate and deployed or retrieved without leaving the seat
- Boat position relative to current or wind can be adjusted by sliding the ring without re-anchoring
- The system adds less than half a pound to the overall rigging weight
Installation requires two small pulleys, a length of paracord, a carabiner, and two anchor points at bow and stern — a total cost typically under $20 using aftermarket components.
7. Use Vertical Space with a Transducer Arm and Electronics Tower
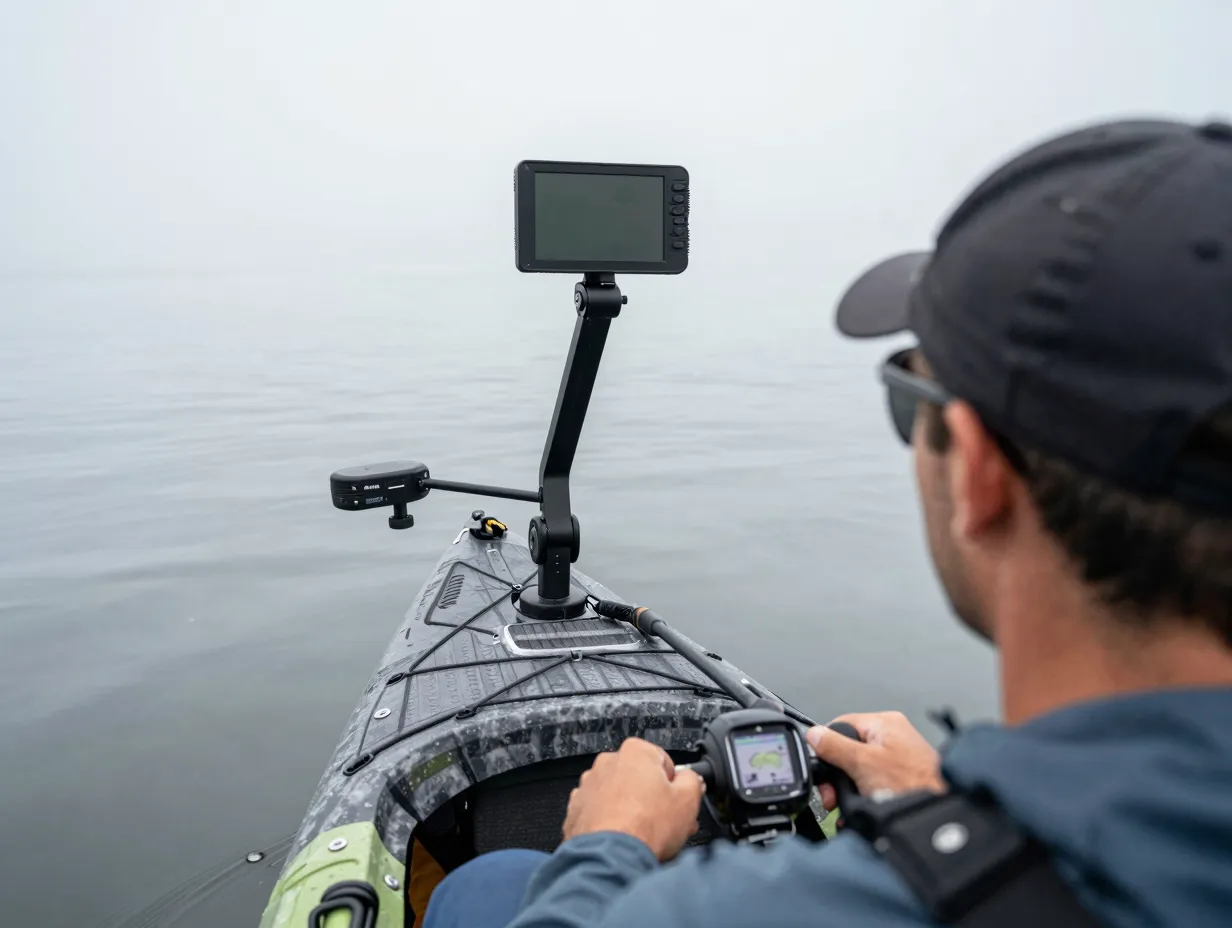
Most kayak anglers think horizontally when planning their setup. The hull has a fixed footprint, so the instinct is to spread gear across the available deck surface. Thinking vertically — using height above the deck rather than floor space — unlocks significant additional capacity. [9]
A RAM or similar articulating arm mounted to a gear track can position a fish finder screen at eye level, keeping it readable without occupying deck space. The transducer itself mounts to a scupper hole or a dedicated side-mount bracket below the waterline, leaving the hull interior completely clear. [3]
Vertical rigging options that save deck space:
- Articulating fish finder arm: raises the screen to a readable height, frees the deck surface below
- Overhead rod leash: a short bungee leash attached to a track-mounted point keeps the active rod from sliding off the hull during a paddle transition
- Vertical crate rod tubes: as described in setup idea 1, PVC tubes in the crate corners use height rather than floor area to store rods
- Elevated camera mount: a tall RAM arm positions an action camera above the angler’s head for unobstructed footage without blocking the working area
The principle is straightforward: anything that can be lifted off the deck surface and secured at a higher point frees the floor for the tasks that actually require flat, open space — landing fish, managing line, and repositioning gear mid-session.
8. Rig a Dedicated Paddle Park and Hands-Free System
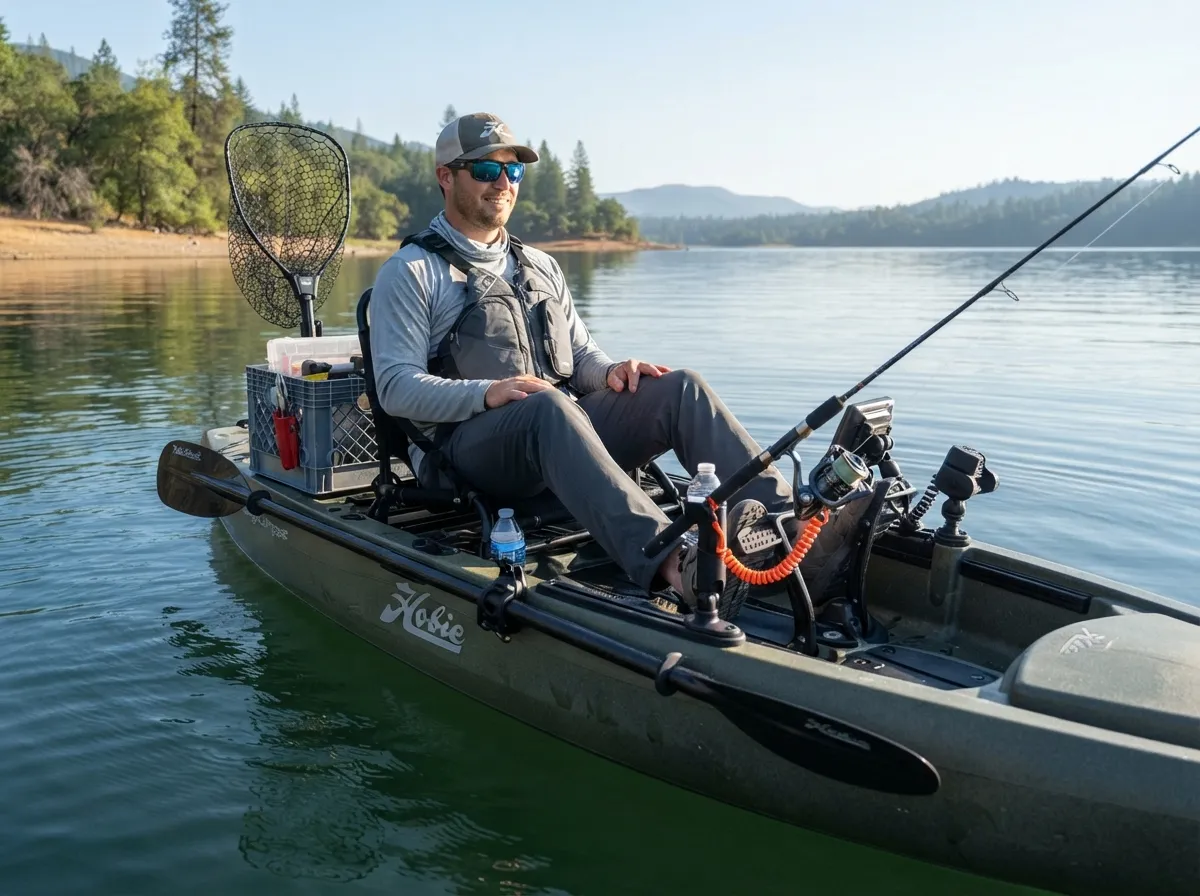
The paddle is the most frequently set down and picked up item on any kayak, and yet most setups have no dedicated place for it. Anglers rest it across their lap, lean it against a knee, or let it drift alongside the hull — all of which create hazards and consume attention that should be focused on fishing. [10]
A paddle park — a simple clip or bungee loop mounted to the gear track — solves this problem completely. When a fish strikes or a bait change is needed, the paddle snaps into the clip in one motion, both hands are free, and the paddle stays secure even in wind or current. [10]
Complete hands-free rigging checklist:
- Paddle park clip on the port or starboard gear track at mid-hull
- Rod leash clipped to the working rod to prevent loss during a sudden strike
- Net clip or magnetic net release mounted behind the seat for one-handed net deployment
- Pliers holster on the crate side or gear track within reach of the dominant hand
- Glove or buff clip on the front bungee area for quick access during sun exposure
The hands-free system is the final layer of a well-organized kayak fishing setup. When every item has a specific, reachable home, the angler can focus entirely on fishing rather than managing gear.
Putting the 8 Creative Kayak Fishing Setup Ideas to Maximize Your Space Into Practice
Implementing all eight ideas at once is not necessary — and for most anglers, it is not practical. A staged approach works better:
Stage 1 — Foundation (Weekend 1):
Build the milk crate command center and populate the factory gear tracks with rod holders and a paddle park. These two changes alone eliminate the most common sources of clutter and frustration.
Stage 2 — Electronics and Weight (Weekend 2):
Mount the fish finder on an articulating arm, redistribute battery weight between hatches, and install the anchor trolley. This stage improves both fishability and hull trim.
Stage 3 — Refinement (Ongoing):
Audit the tackle system after every three trips. Remove unused lures, reorganize the below-deck compartment, and adjust rod holder angles based on the fisheries being targeted.
The staged approach also makes it easier to evaluate whether each addition genuinely improves the setup or simply adds weight and complexity.
Common Mistakes That Waste Kayak Deck Space
Even experienced anglers fall into habits that undermine an otherwise well-planned setup. The most common errors include:
- Overloading the crate: Adding too many items raises the center of gravity and makes the crate difficult to remove for transport. Keep the crate contents to genuine fishing essentials only.
- Ignoring trim: A kayak that sits bow-heavy or stern-heavy forces the angler to compensate with paddle strokes, wasting energy and reducing fishing time.
- Buying accessories before testing placement: A track-mounted accessory that looks ideal in a product photo may block paddle stroke clearance or create a shadow over the fish finder screen. Always test on the water before committing.
- Carrying duplicate tools: Two pairs of pliers, three sets of scissors, and four measuring tapes are common on cluttered kayaks. One high-quality tool per function is the correct approach. [7]
- Neglecting the cockpit floor: Loose items on the cockpit floor shift during paddling, alter trim, and create a hazard if the kayak takes on water. Everything on the floor should be in a sealed bag or secured container.
Conclusion
The 8 creative kayak fishing setup ideas to maximize your space covered in this guide share a common philosophy: every item on the hull should have a purpose, a position, and a secure attachment point. A milk crate command center, strategic gear track use, deliberate rod holder placement, disciplined tackle organization, smart weight distribution, an anchor trolley, vertical rigging, and a hands-free paddle system collectively transform a cramped hull into an efficient fishing platform. [2] [3] [7] [8] [9] [10]
Actionable next steps for 2026:
- Audit the current setup and remove any item that has not been used in the past three outings
- Build or purchase a milk crate command center this week — the materials cost under $20
- Photograph the current gear track layout, then sketch a revised arrangement that separates the working rod holder from the storage holders
- Weigh the tackle box; if it exceeds 10 pounds, cut it down to the 20 most-used lures before the next trip
- Test the revised setup on a short local paddle before committing to a full fishing day
A well-rigged kayak does not require a large budget or advanced fabrication skills. It requires honest evaluation of what works, disciplined removal of what does not, and a willingness to treat the hull as a precision tool rather than a floating storage bin.
References
[1] Watch – https://www.youtube.com/watch?v=twps_ZyVBC0
[2] Fishing From Kayak – https://www.paddleroundthepier.com/fishing-from-kayak/
[3] Watch – https://www.youtube.com/watch?v=TAYp8NWScnc
[4] Watch – https://www.youtube.com/watch?v=7vhw6UOM9VI
[5] Watch – https://www.youtube.com/watch?v=AR1NlMJg9yo
[6] Watch – https://www.youtube.com/watch?v=GzTrrkSOk4A&vl=en
[7] How To Organize Fishing Tackle – https://kayakanglermag.com/tactics-skills/rigging/how-to-organize-fishing-tackle/
[8] Rigging A Fishing Kayak Rod Holders Crate Systems And What You Actually Need – https://www.fishing-magazine.net/rigging-a-fishing-kayak-rod-holders-crate-systems-and-what-you-actually-need
[9] Kayak Rigging Ideas – https://anglers.com/kayak-fishing/kayak-rigging-ideas/
[10] Fishing Kayak Setup – https://kayakanglermag.com/tactics-skills/buying-advice/fishing-kayak-setup/