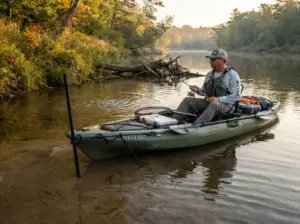
8 Steps to Build the Ultimate DIY Kayak Fishing Crate
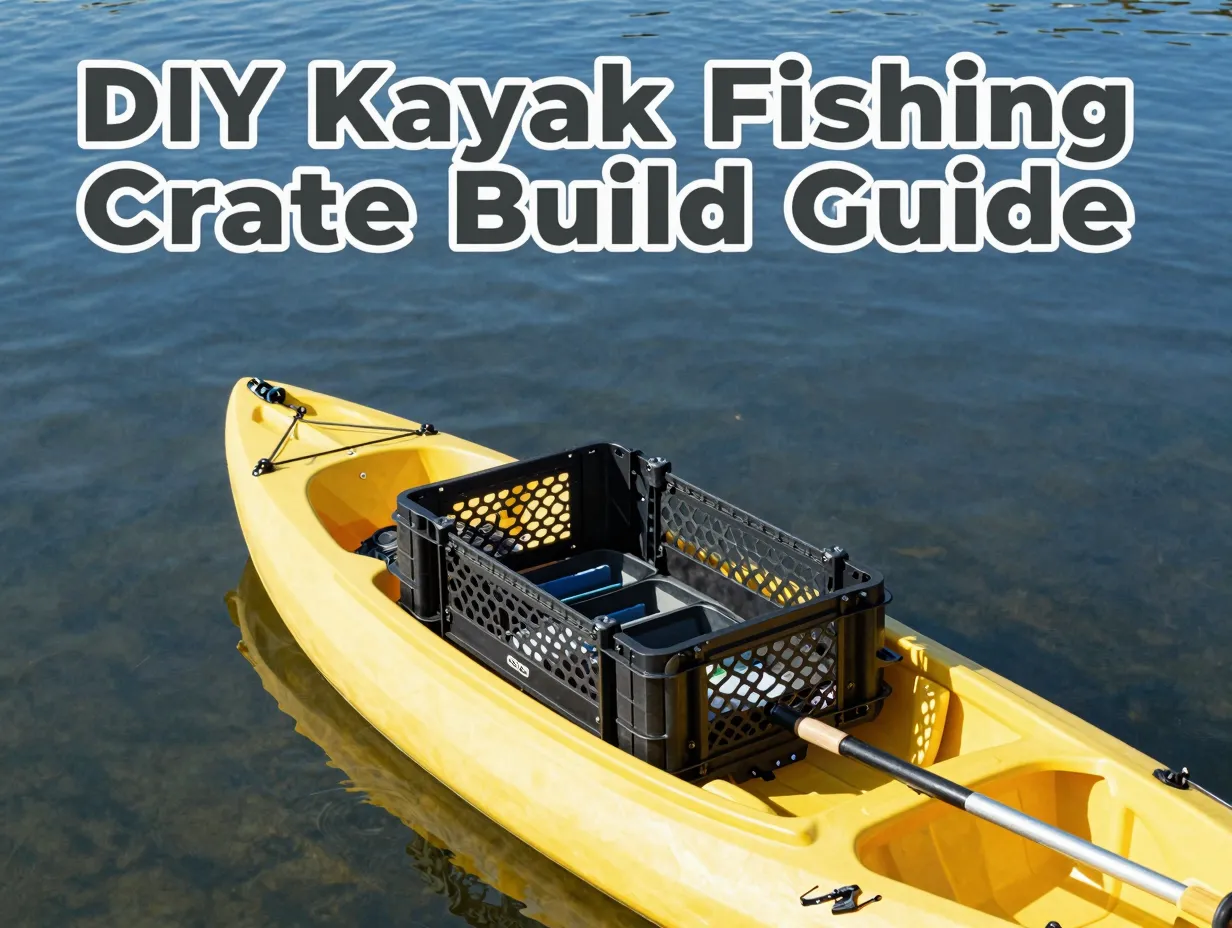
Kayak anglers spend an average of $300 to $600 on pre-made fishing crate systems, yet the same functional setup can be built at home for under $50 in materials. That gap is exactly why the 8 Steps to Build the Ultimate DIY Kayak Fishing Crate has become one of the most searched DIY projects in the kayak fishing community in 2026. A well-built crate keeps rods secure, tackle organized, and gear accessible without cluttering the deck. Whether targeting bass on a local pond or chasing redfish in saltwater flats, a custom crate transforms a bare kayak into a purpose-built fishing platform.
Disclosure: This post contains affiliate links. As an Amazon Associate, we earn from qualifying purchases, and at no extra cost to you.
Key Takeaways
- A DIY kayak fishing crate can be built for under $50 using a standard milk crate, PVC pipe, and basic hardware.
- Proper planning of rod holder placement and gear layout before cutting any materials saves significant time and rework.
- Using Schedule 40 PVC pipe and marine-grade hardware ensures the crate withstands both freshwater and saltwater environments.
- Securing the crate to the kayak with a combination of bungee cords and safety leashes prevents gear loss if the kayak capsizes.
- Customizing the crate with tackle trays, dry bags, and accessory mounts makes it far more functional than any off-the-shelf alternative.
Why Build a DIY Kayak Fishing Crate
Before diving into the 8 Steps to Build the Ultimate DIY Kayak Fishing Crate, it helps to understand what makes a homemade crate superior to store-bought options.
Cost savings are significant. Commercial kayak crate systems from popular brands often run $80 to $200 before adding rod holders, tackle trays, or mounting hardware. A DIY build using a standard milk crate and Schedule 40 PVC typically costs $30 to $50 total.
Customization is unlimited. Every angler has different gear, different kayak dimensions, and different fishing styles. A DIY crate can be tailored to fit a specific kayak’s tank well, accommodate a preferred number of rods, and include exactly the storage compartments needed.
Durability is controllable. By choosing marine-grade hardware and UV-resistant materials from the start, a DIY builder avoids the cheap fittings that often fail on budget commercial crates.
“The best fishing crate is the one built for your exact kayak, your exact gear, and your exact style of fishing, not a one-size-fits-all product off a shelf.”
Materials and Tools Needed
Gathering the right materials before starting saves multiple trips to the hardware store. The following table covers everything needed for a complete build.
| Item | Specification | Estimated Cost |
|---|---|---|
| Milk crate | Standard 13″x13″x11″ heavy-duty plastic | $5,$10 |
| PVC pipe | Schedule 40, 1″ diameter, 10 ft length | $6,$8 |
| PVC end caps | 1″ diameter, qty 4-6 | $3,$5 |
| Zip ties | Heavy-duty UV-resistant, 8″, 12″ length | $3,$5 |
| Bungee cords | 18″, 24″ length, qty 4 | $5,$8 |
| Stainless steel bolts/nuts | 1/4″-20 x 1.5″, qty 8-12 | $4,$6 |
| Tackle tray inserts | Small 3600-style plastic trays, qty 2-3 | $6,$10 |
| Marine sealant | Waterproof silicone or 3M 5200 | $5,$8 |
Tools required: PVC pipe cutter or hacksaw, power drill with 1″ and 1/4″ bits, measuring tape, marker, sandpaper (120-grit), and safety glasses.
The Complete Guide: 8 Steps to Build the Ultimate DIY Kayak Fishing Crate
The following eight steps walk through the entire build process from planning to launching. Each step builds on the previous one, so completing them in order produces the best result.
1. Plan the Layout Before Cutting Anything
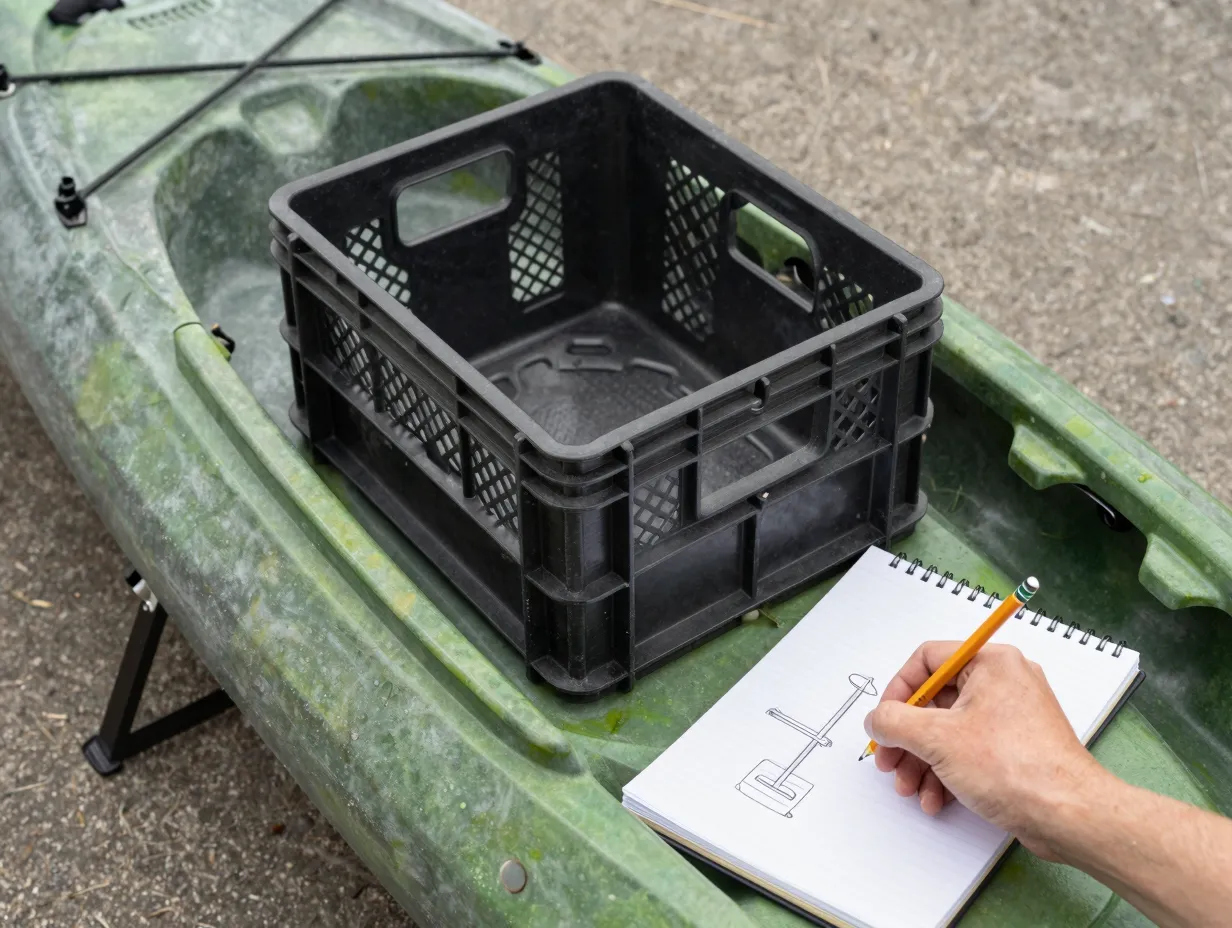
The single most important step in this entire process is planning. Rushing to cut PVC pipe without a clear layout plan leads to wasted materials and misaligned rod holders.
Start by placing the milk crate on the kayak’s tank well to confirm it fits properly. Most standard 13″x13″ milk crates fit the tank wells of popular sit-on-top kayaks from brands like Hobie, Perception, and Old Town, but dimensions vary. Measure the tank well width and depth before purchasing the crate.
Decide on the following before touching any tools:
- Number of rod holders needed (typically 4 to 6 for most anglers)
- Angle of rod holders (vertical for storage, 30-45 degrees for trolling)
- Placement of tackle trays (front-facing for easy access)
- Location of any accessory mounts (fish finder, pliers holder, cup holder)
Sketch the layout on paper or use a simple grid. This 10-minute planning step prevents hours of rework later.
2. Prepare and Clean the Milk Crate
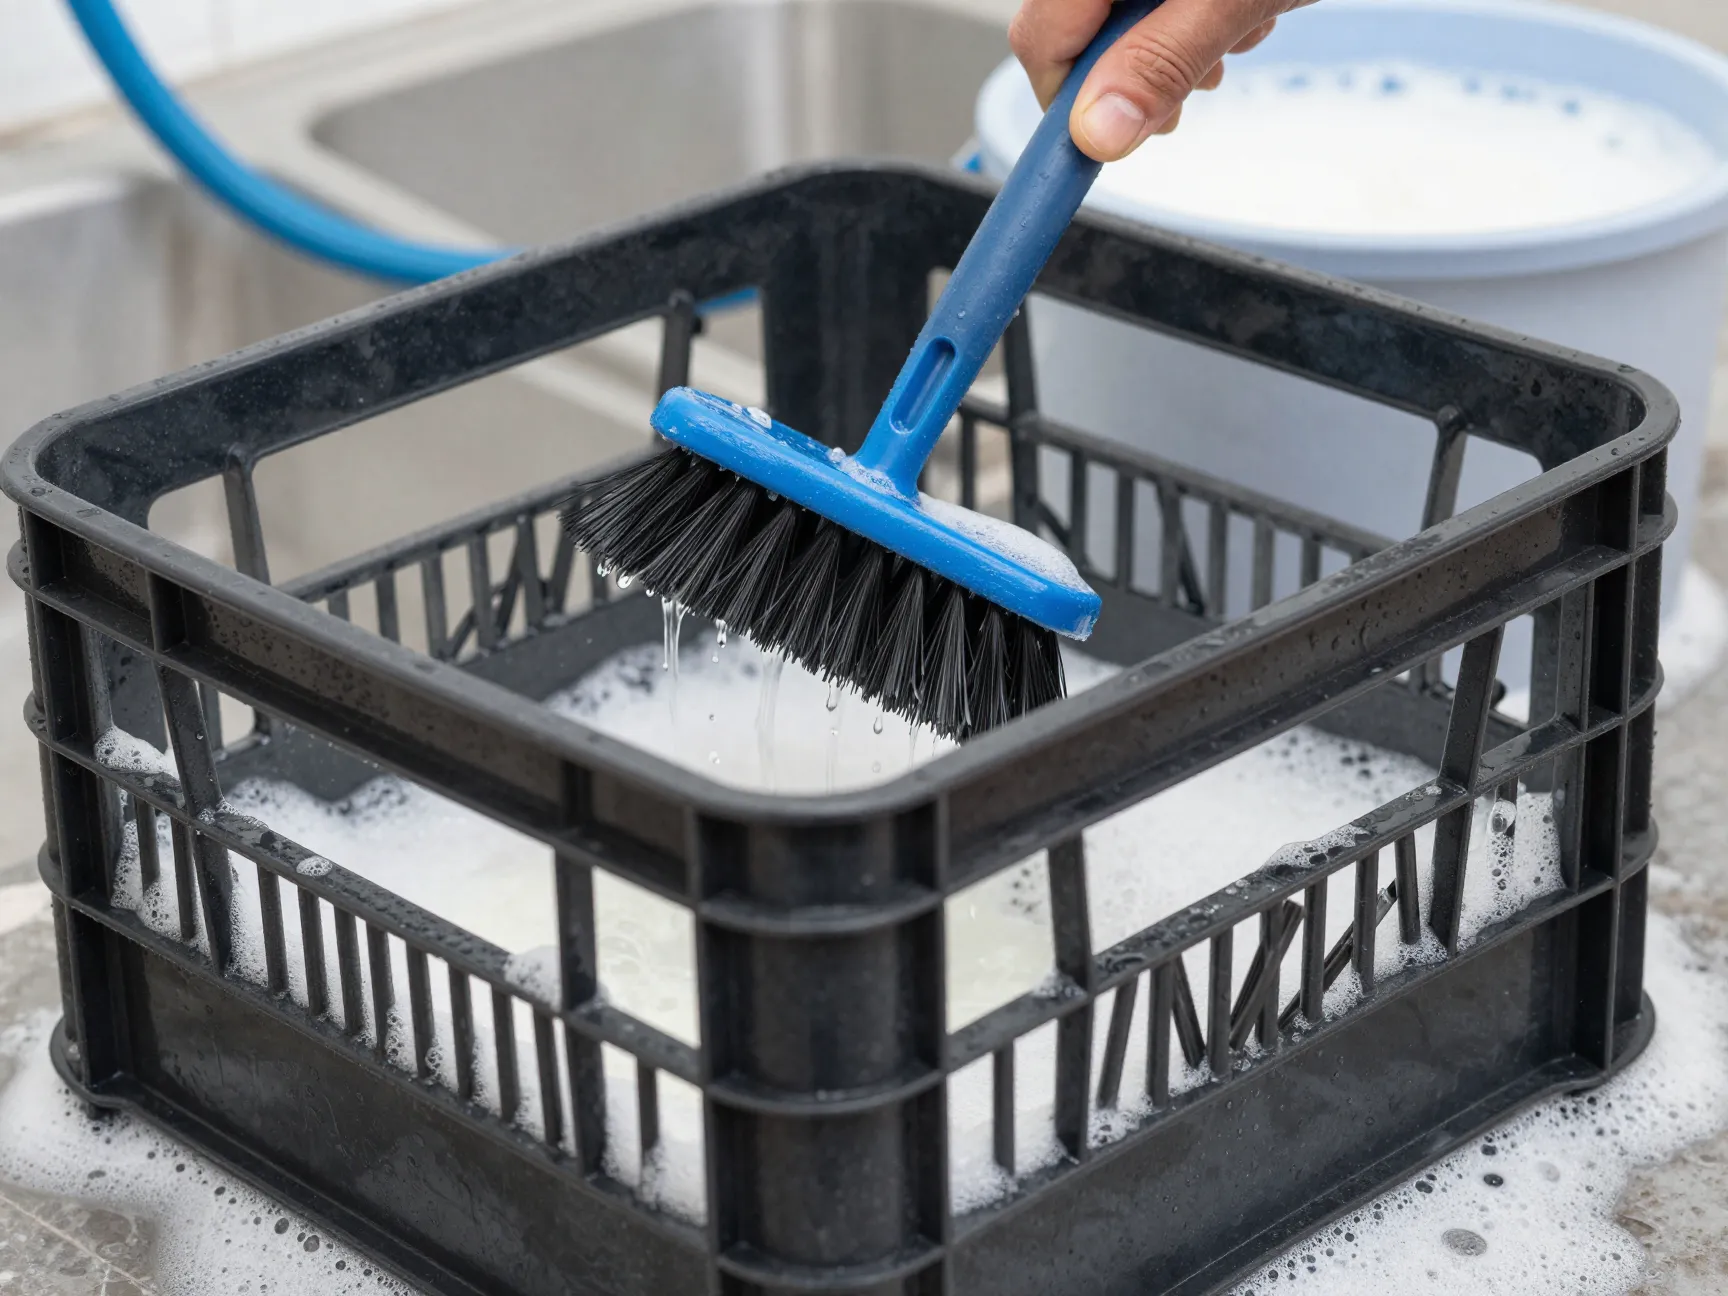
A clean, structurally sound milk crate is the foundation of the entire build. Inspect the crate for cracks, broken corners, or weakened walls. Avoid crates with significant damage, as they will not hold up under the weight of gear and the stress of repeated use.
Preparation steps:
- Wash the crate thoroughly with warm soapy water and a stiff brush
- Rinse completely and allow to dry for at least two hours
- Lightly sand any rough edges or burrs with 120-grit sandpaper
- Mark all planned drill locations with a permanent marker before drilling
If purchasing a new crate, look for high-density polyethylene (HDPE) models. These are more UV-resistant and structurally stronger than standard dairy crates.
3. Cut the PVC Rod Holders to Length
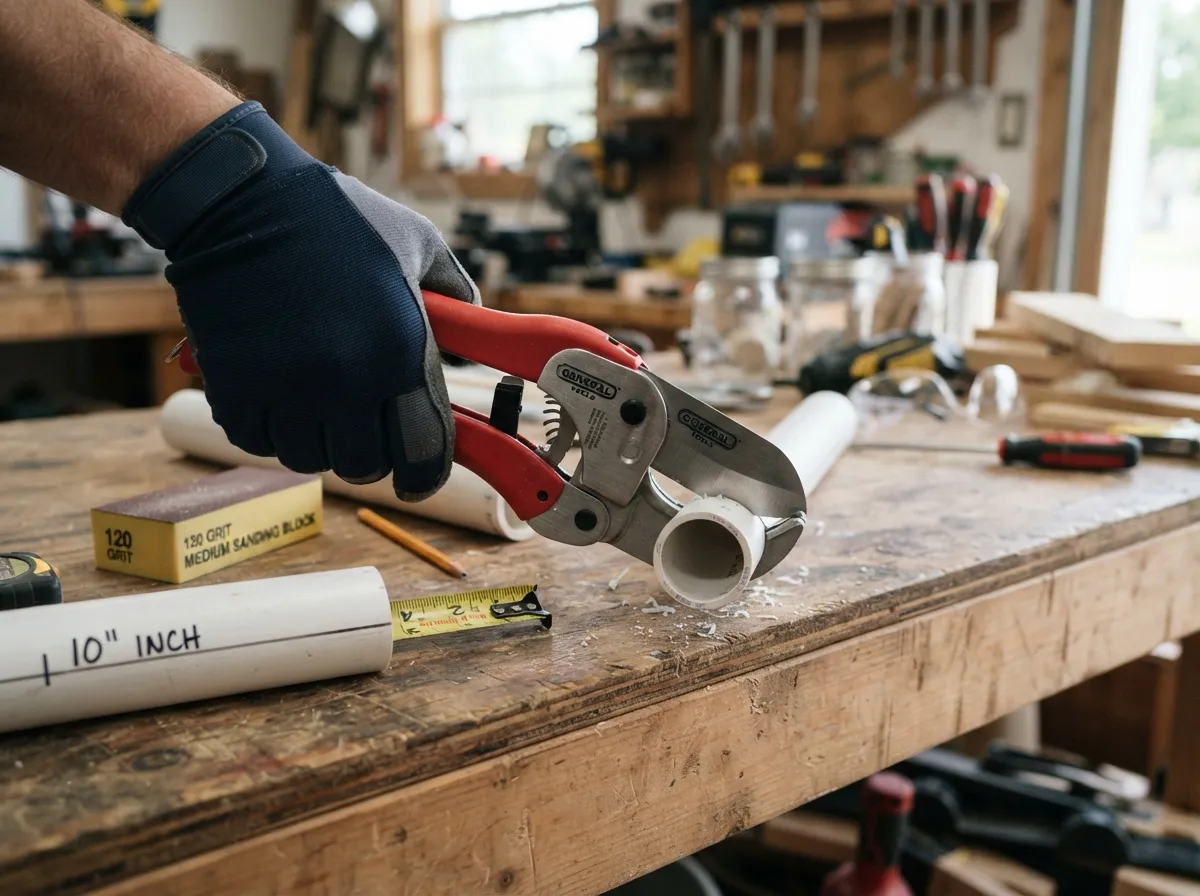
PVC pipe rod holders are the most functional element of the entire crate. Getting the length right ensures rods sit securely without interfering with paddling.
Standard rod holder lengths:
- Vertical holders: Cut to 10″, 12″ so rod handles sit above the crate rim
- Angled holders: Cut to 8″, 10″ for a lower profile that clears the paddle stroke
Use a PVC pipe cutter for clean, straight cuts. A hacksaw works but requires more sanding to smooth the cut edge. After cutting, sand all edges smooth with 120-grit sandpaper. Rough edges can scratch rod blanks and create weak points in the pipe wall.
Cap the bottom of each rod holder with a 1″ PVC end cap. Apply a thin bead of marine sealant around the inside rim of the cap before pressing it onto the pipe. This creates a watertight seal that prevents water from pooling inside the holder and rusting any metal components.
4. Drill Mounting Holes in the Crate Walls
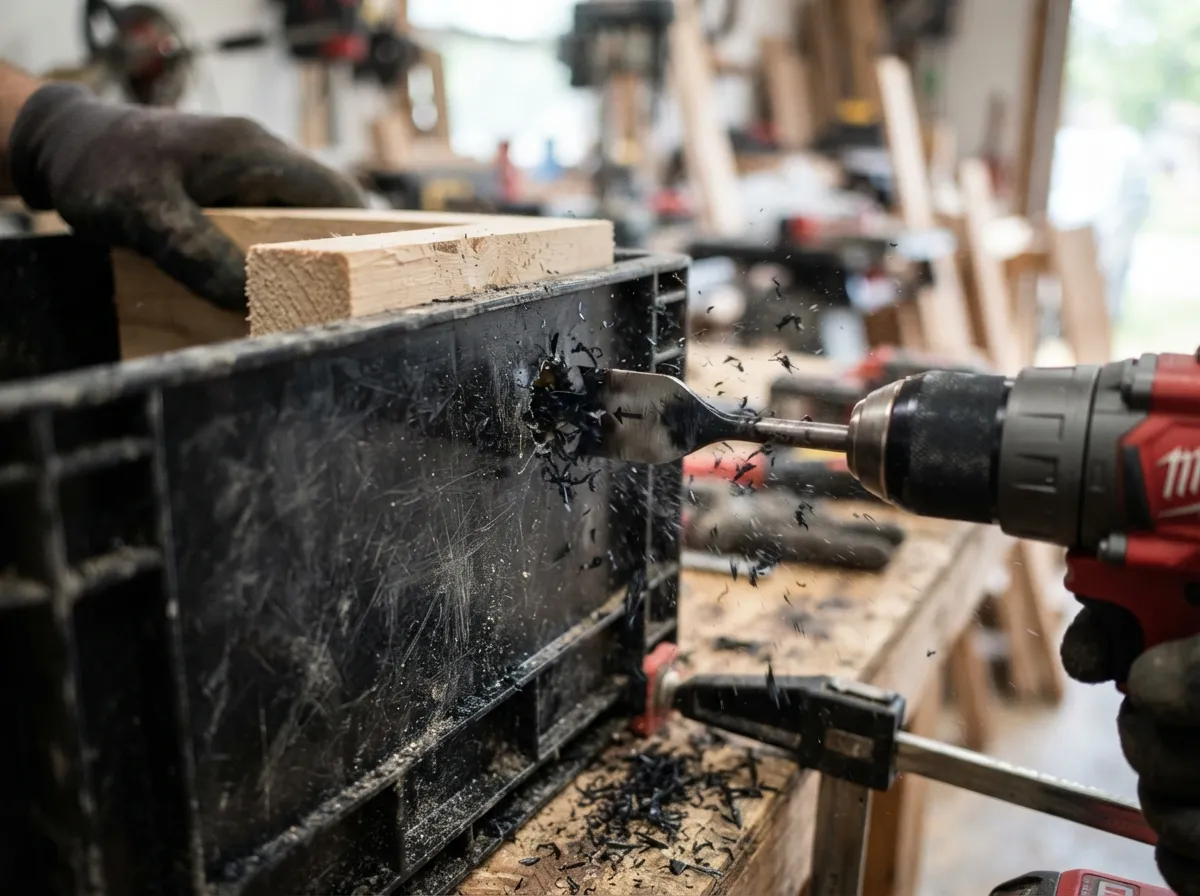
Accurate drilling is critical for rod holders that sit at the correct angle and hold rods without wobbling.
Drilling process:
- Use the 1″ spade bit or hole saw to cut the rod holder mounting holes
- For vertical holders, drill straight down through the top rim of the crate
- For angled holders, drill at the planned angle (30-45 degrees) through the side wall
- Use the 1/4″ bit to drill attachment holes for zip ties or bolts on either side of each rod holder hole
Drill slowly and apply steady pressure. Forcing the bit through the plastic too quickly creates cracked edges and uneven holes. If the plastic begins to melt rather than cut, the drill speed is too high, reduce RPM.
Pro tip: Place a scrap piece of wood behind the crate wall before drilling. This prevents the drill bit from blowing out the back side of the plastic and creates a cleaner hole.
5. Install and Secure the Rod Holders
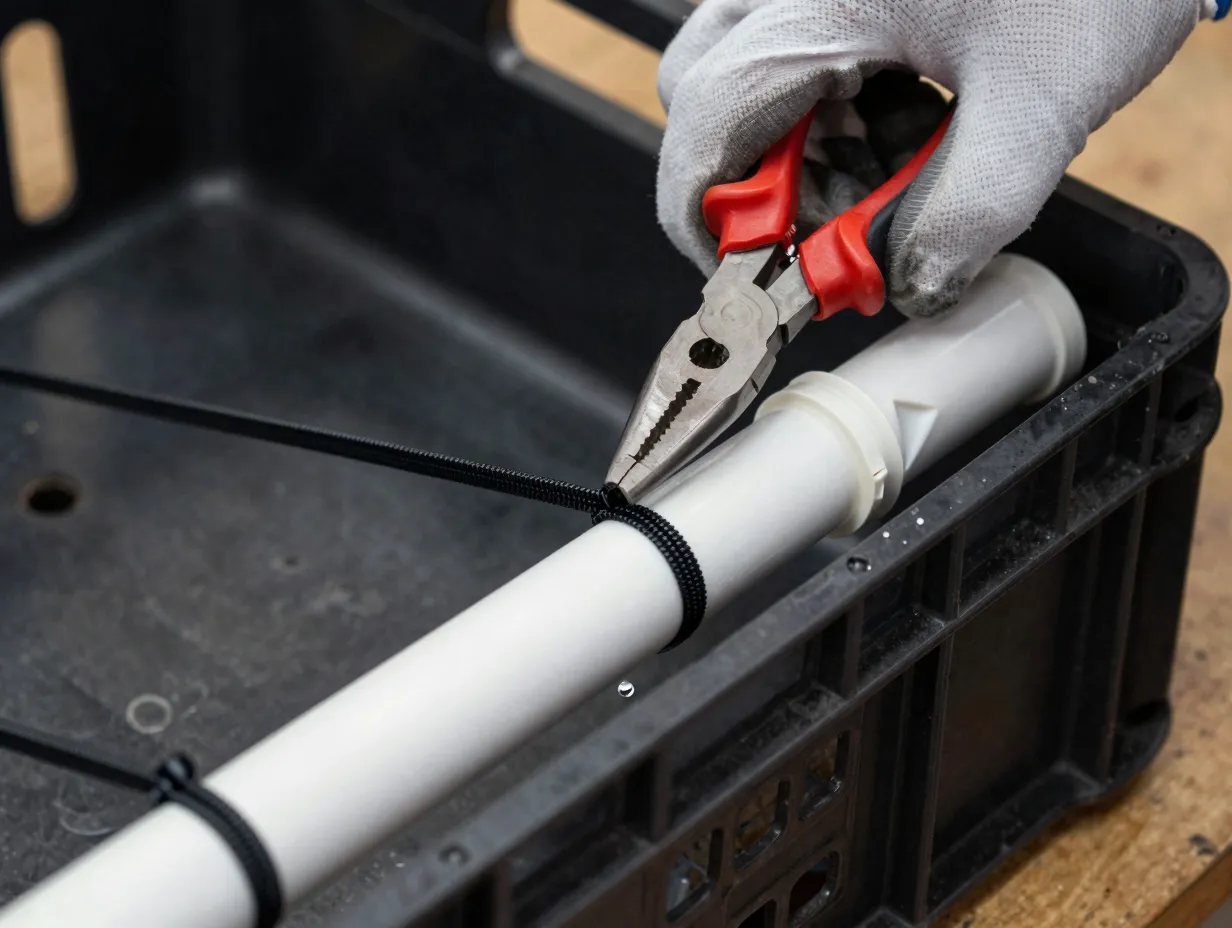
With the holes drilled, it is time to install the PVC rod holders permanently.
Installation method:
- Insert each PVC pipe section through its drilled hole
- Thread heavy-duty zip ties through the 1/4″ attachment holes on either side of the pipe
- Cinch the zip ties firmly around the pipe, pulling them as tight as possible by hand before using pliers to snug the final tension
- Clip the excess zip tie tail flush with wire cutters
For maximum strength, use two zip ties per rod holder, one near the top of the hole and one near the bottom. This prevents any side-to-side movement when a rod is inserted or removed.
Alternatively, use 1/4″-20 stainless steel bolts with fender washers on both sides of the crate wall. This method is more permanent and more rigid than zip ties, making it the better choice for saltwater use where UV degradation can weaken zip ties over time.
Apply a small bead of marine sealant around the base of each rod holder where it meets the crate wall. This prevents water intrusion and adds a small amount of vibration dampening.
6. Add Tackle Trays and Internal Storage
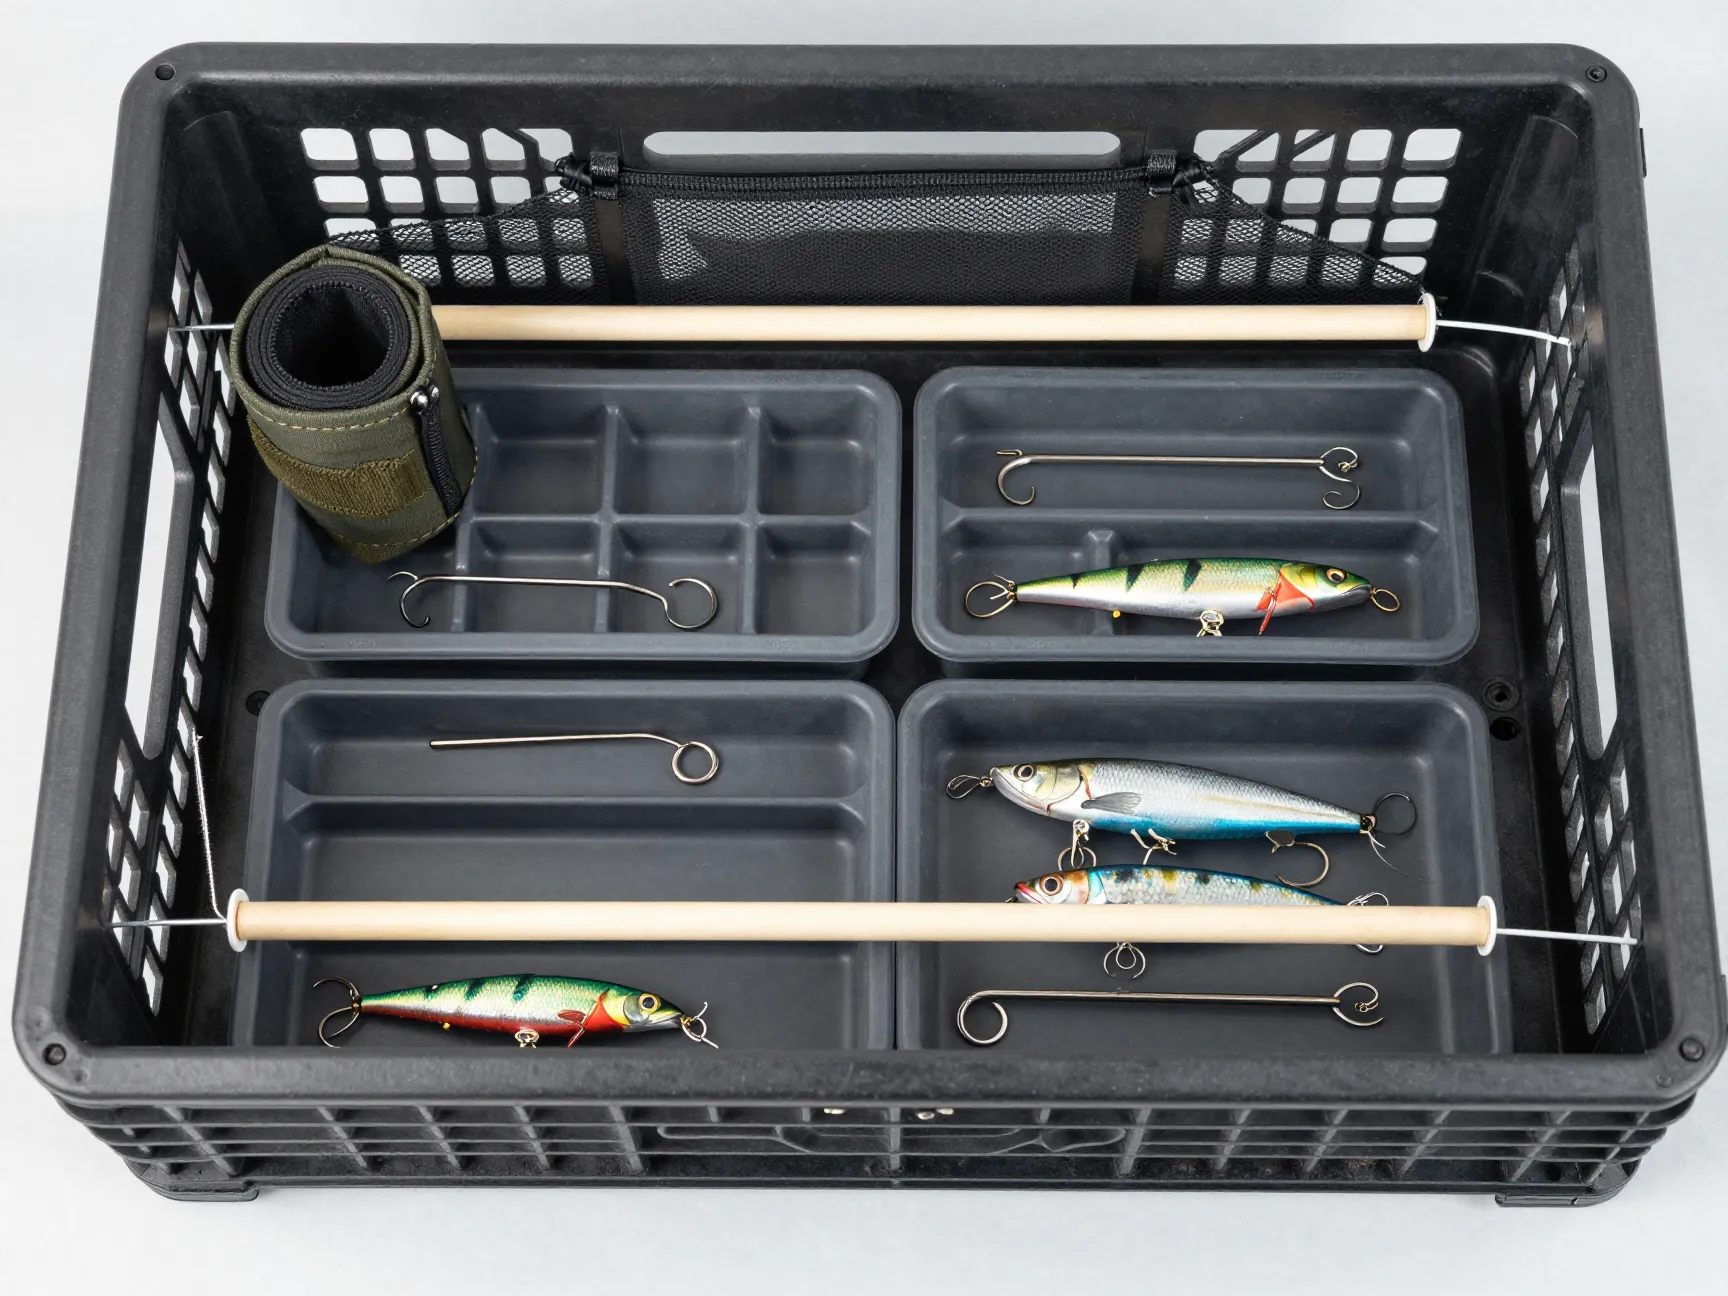
The interior of the crate is valuable real estate. Organizing it with tackle trays and storage solutions dramatically improves fishing efficiency.
Internal storage options:
- 3600-series tackle trays: These fit snugly inside most standard milk crates and hold soft plastics, hooks, weights, and terminal tackle
- Mesh bags: Attach to the interior walls with zip ties for storing items like pliers, lip grippers, or a small first aid kit
- Dry bag insert: A small roll-top dry bag placed inside the crate protects electronics, licenses, and valuables from splash
Securing tackle trays:
Tackle trays should not slide around while paddling. Cut two short lengths of PVC pipe (approximately 1″ each) and zip-tie them horizontally across the interior of the crate at the height of the tray lids. These act as retaining bars that keep trays from bouncing out in choppy water.
Some anglers also attach a bungee net across the top of the crate interior. This creates a flexible cover that holds gear down without restricting quick access.
7. Mount Accessories and Additional Features
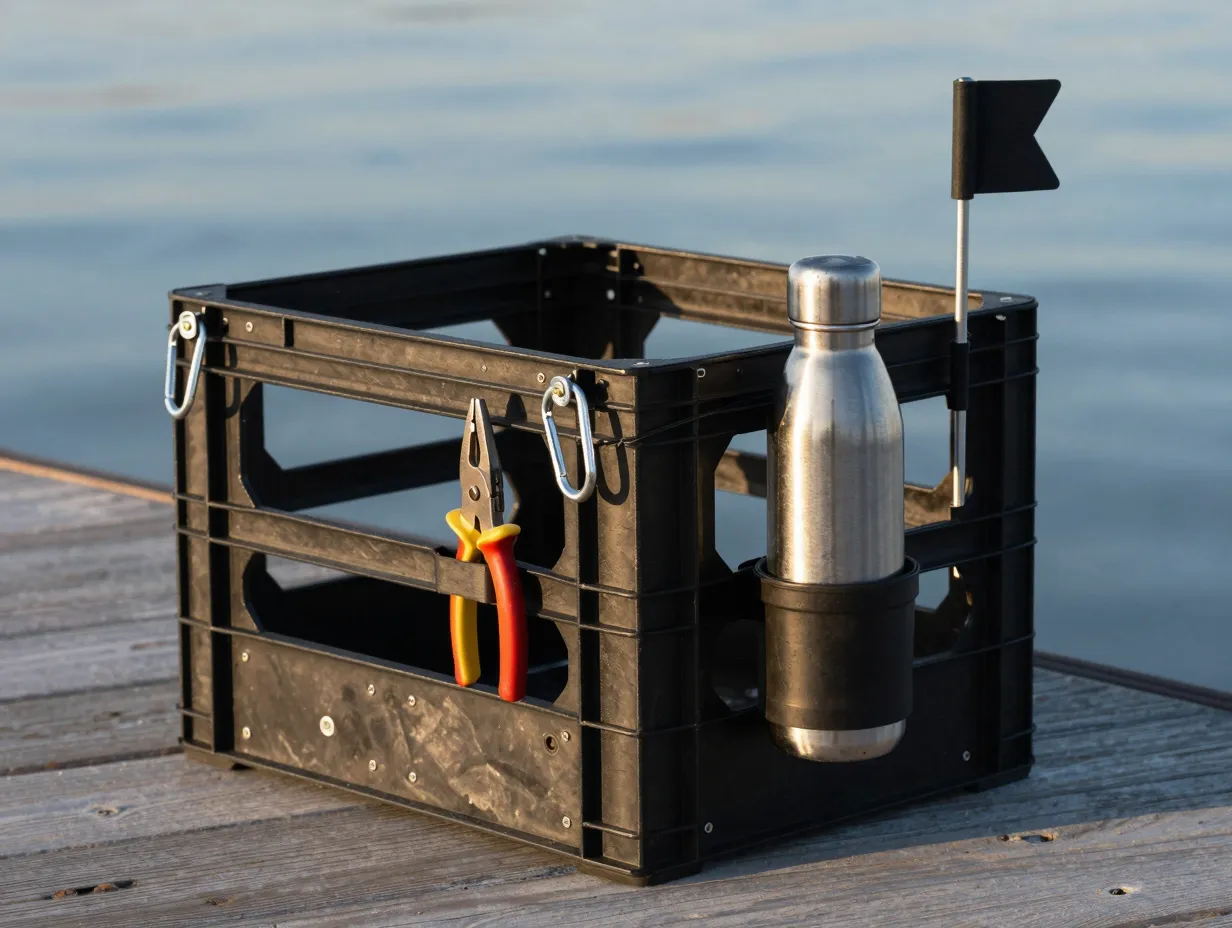
This step separates a basic crate from the ultimate DIY kayak fishing crate. Accessories should be mounted based on the specific type of fishing being done.
Popular accessory mounts:
- Pliers/tool holder: Cut a short length of PVC (3″, 4″) and zip-tie it vertically to the exterior crate wall. This creates a dedicated slot for fishing pliers or a multi-tool.
- Cup or bottle holder: A standard PVC pipe section (4″, 5″ tall) mounted to the exterior holds a water bottle or coffee cup securely.
- Fish finder transducer mount: A small arm made from PVC elbows and straight sections can position a transducer over the side of the kayak when the crate is in the tank well.
- Flag mount: A 1/2″ PVC pipe section attached to the rear corner of the crate provides a mount point for a safety flag, important for visibility in busy waterways.
- Carabiner anchor points: Drill small holes through the crate corners and thread stainless steel carabiners through them. These provide quick attachment points for gear leashes and bungee cords.
Important note on weight distribution: Mount heavier accessories (fish finders, large tool holders) toward the center of the crate rather than on one side. Uneven weight on a kayak affects tracking and paddling efficiency.
8. Secure the Crate to the Kayak
The final step is the most safety-critical part of the entire build. A crate that is not properly secured to the kayak becomes a floating hazard if the kayak capsizes.
Primary securing method, bungee cords:
Run two bungee cords across the top of the crate in an X pattern, hooking each end to the kayak’s existing bungee cord anchors or to the carabiners installed in the previous step. This keeps the crate pressed firmly into the tank well and prevents it from bouncing out in rough water.
Secondary securing method, safety leash:
Attach a coiled safety leash (similar to a paddle leash) from the crate to a fixed point on the kayak frame. If the crate somehow comes free of the bungee cords, the safety leash ensures it stays with the kayak rather than sinking or floating away.
Stability check before launching:
- Place the loaded crate in the tank well
- Shake the kayak side to side to simulate wave action
- Confirm no movement in the crate
- Check that all rod holders are accessible from a seated paddling position
- Verify that the crate does not interfere with the paddle stroke at any angle
If the crate shifts during the stability check, add additional bungee points or use a cam strap across the crate for extra security.
Common Mistakes to Avoid
Even experienced DIYers make avoidable errors on their first crate build. The following mistakes are the most frequently reported in the kayak fishing community.
Using galvanized hardware instead of stainless steel. Galvanized bolts and nuts corrode rapidly in saltwater environments. Always use 316-grade stainless steel hardware for any crate used in brackish or saltwater.
Skipping the end caps on rod holders. An open-bottomed rod holder fills with water and debris. Always cap and seal the bottom of every rod holder.
Overloading the crate. A milk crate is not a trunk. Keeping the total loaded weight under 20 pounds maintains kayak stability and prevents crate walls from cracking under stress.
Mounting rod holders too close together. Rod handles need clearance to be inserted and removed without tangling. Space rod holders at least 3 inches apart center-to-center.
Not testing the setup before a fishing trip. Always do a full stability and accessibility test in calm water before relying on the crate during an actual fishing outing.
Customization Ideas for Advanced Builds
Once the basic 8-step build is complete, several upgrades can take the crate to the next level.
Foam padding inserts: Cut closed-cell foam to fit the interior floor of the crate. This protects rod tips and tackle tray lids from impact damage.
Spray paint and UV coating: A coat of UV-resistant spray paint in a camouflage or matte color reduces glare that can spook fish in clear water. Follow with a clear UV-protective topcoat to extend the life of the plastic.
Ruler strip: Attach a waterproof measuring tape or adhesive ruler strip to the exterior of the crate. This allows quick fish measurement without reaching for a separate tool.
Livewell integration: Some advanced builders cut a hole in the bottom of the crate and insert a small soft-sided livewell or bait bucket. This keeps live bait accessible without occupying separate deck space.
Crate cover: Sew or purchase a fitted neoprene or nylon cover for the crate top. This keeps rain out, reduces gear rattle, and provides a small platform for mounting a fish finder or GPS unit.
Conclusion
The 8 Steps to Build the Ultimate DIY Kayak Fishing Crate outlined above represent a proven, cost-effective approach to transforming any sit-on-top kayak into a highly organized fishing platform. By investing roughly $30 to $50 in materials and a few hours of build time, anglers gain a fully customized crate that outperforms most commercial alternatives in both function and durability.
Actionable next steps to get started:
- Measure the kayak’s tank well dimensions before purchasing any materials.
- Sketch the planned rod holder layout and accessory positions on paper.
- Purchase Schedule 40 PVC, a heavy-duty milk crate, and stainless steel hardware from a local hardware store or online supplier.
- Follow each of the eight steps in order, completing the stability and accessibility test before the first launch.
- After the first two or three fishing trips, evaluate what is working and what needs adjustment, then refine the build accordingly.
A DIY kayak fishing crate is not a one-time project. It evolves with each fishing season, adapting to new gear, new techniques, and new water. Starting with a solid foundation built on these eight steps ensures the crate remains functional, safe, and genuinely useful for years to come.