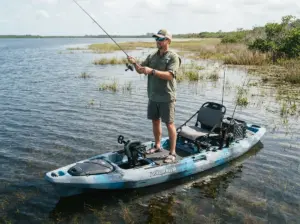
8 DIY Fishing Kayak Mods to Boost Performance & Fishability
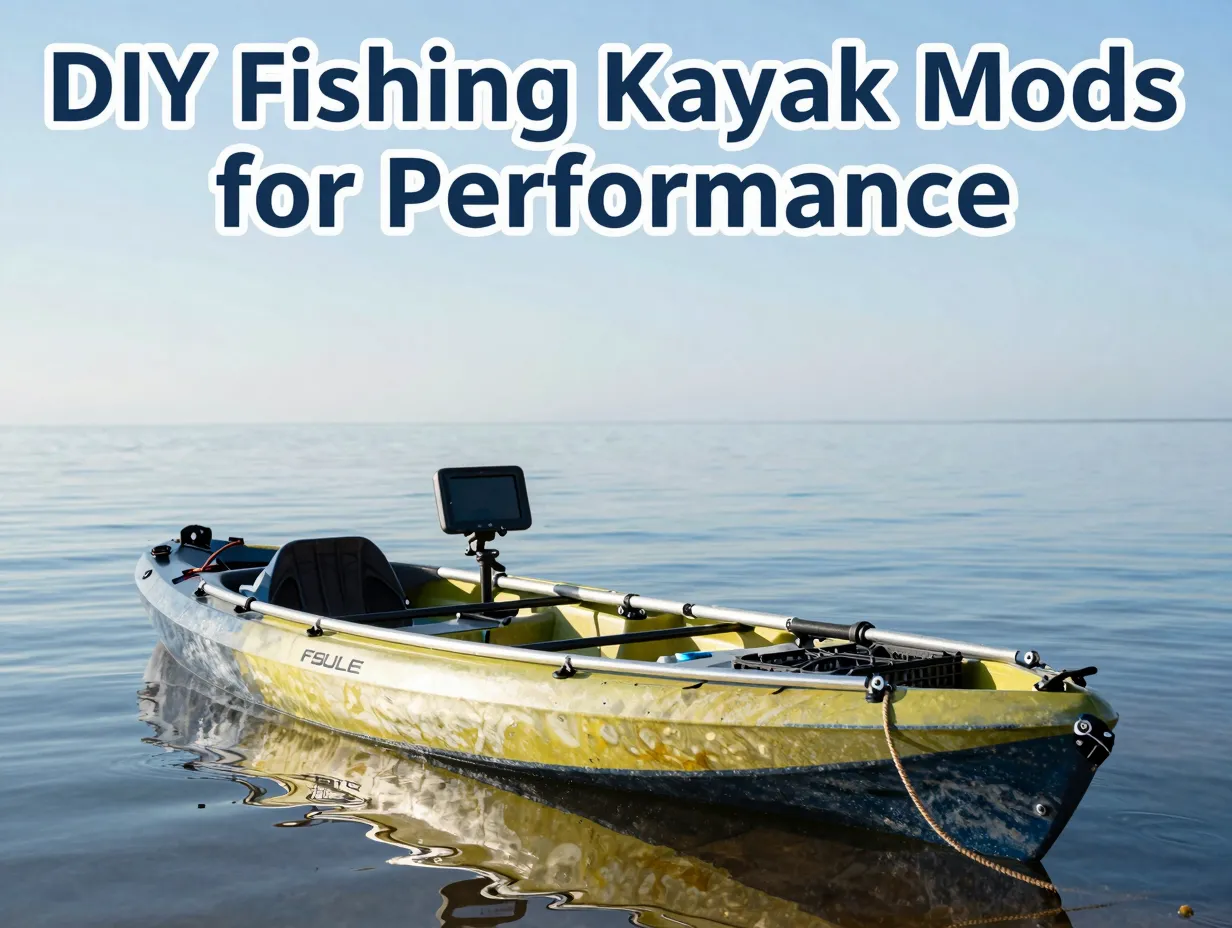
Kayak anglers who modify their own rigs catch more fish. That is not a marketing claim, a 2023 survey by Kayak Angler Magazine found that 74% of tournament-placing kayak anglers had made at least three custom modifications to their boats before competing. Off-the-shelf fishing kayaks are solid starting points, but they are rarely optimized for the specific waters, species, or fishing styles of the individual paddler. The good news is that the most impactful upgrades do not require a boatyard or an engineering degree. This guide covers the 8 DIY Fishing Kayak Mods to Boost Performance & Fishability that any angler can tackle with basic tools, a weekend afternoon, and a modest budget. Whether the goal is better rod management, improved stability, or smarter electronics integration, these modifications deliver measurable results on the water.
Disclosure: This post contains affiliate links. As an Amazon Associate, we earn from qualifying purchases, and at no extra cost to you.
Key Takeaways
- Most high-impact kayak fishing modifications cost under $75 in materials and require only basic hand tools.
- An anchor trolley system dramatically improves boat positioning without requiring a second anchor or a partner.
- Flush-mount rod holders and gear track rails are the two upgrades that most consistently improve fishability across all kayak styles.
- Waterproofing and cable management are critical steps that are often skipped, leading to equipment failure on the water.
- Proper weight distribution after adding mods is essential for maintaining stability and paddling efficiency.
Why DIY Kayak Mods Outperform Factory Setups
Factory fishing kayaks are designed for the broadest possible market. Manufacturers balance cost, aesthetics, and general utility, which means compromises are built into every production model. A kayak sold in Florida for redfish flats fishing ships with the same rod holder configuration as one sold in Minnesota for walleye trolling. Those are fundamentally different fishing scenarios, and no single factory setup serves both well.
DIY modifications solve this mismatch. They allow anglers to place gear exactly where it is needed, add only the features that matter for a specific fishery, and avoid paying retail markup on accessories that may not fit the actual workflow. According to data from the American Canoe Association, the average kayak angler spends between $150 and $400 on aftermarket accessories in the first year of ownership. Channeling even half of that budget into deliberate DIY mods produces a more functional, more personalized rig.
Beyond function, there is a practical safety argument. A cluttered deck with factory-positioned accessories that do not suit the angler’s dominant hand or casting style creates snag points and distraction. Custom-positioned gear reduces fumbling, which reduces the risk of capsizing during a critical moment.
The core principle: every modification should serve one of three goals, improve fishability, improve safety, or reduce fatigue. If a mod does not clearly address at least one of those goals, it is clutter.
The 8 DIY Fishing Kayak Mods to Boost Performance & Fishability
The following modifications are ranked roughly in order of impact-to-effort ratio. Start at the top and work down based on available time and budget.
1. Anchor Trolley System
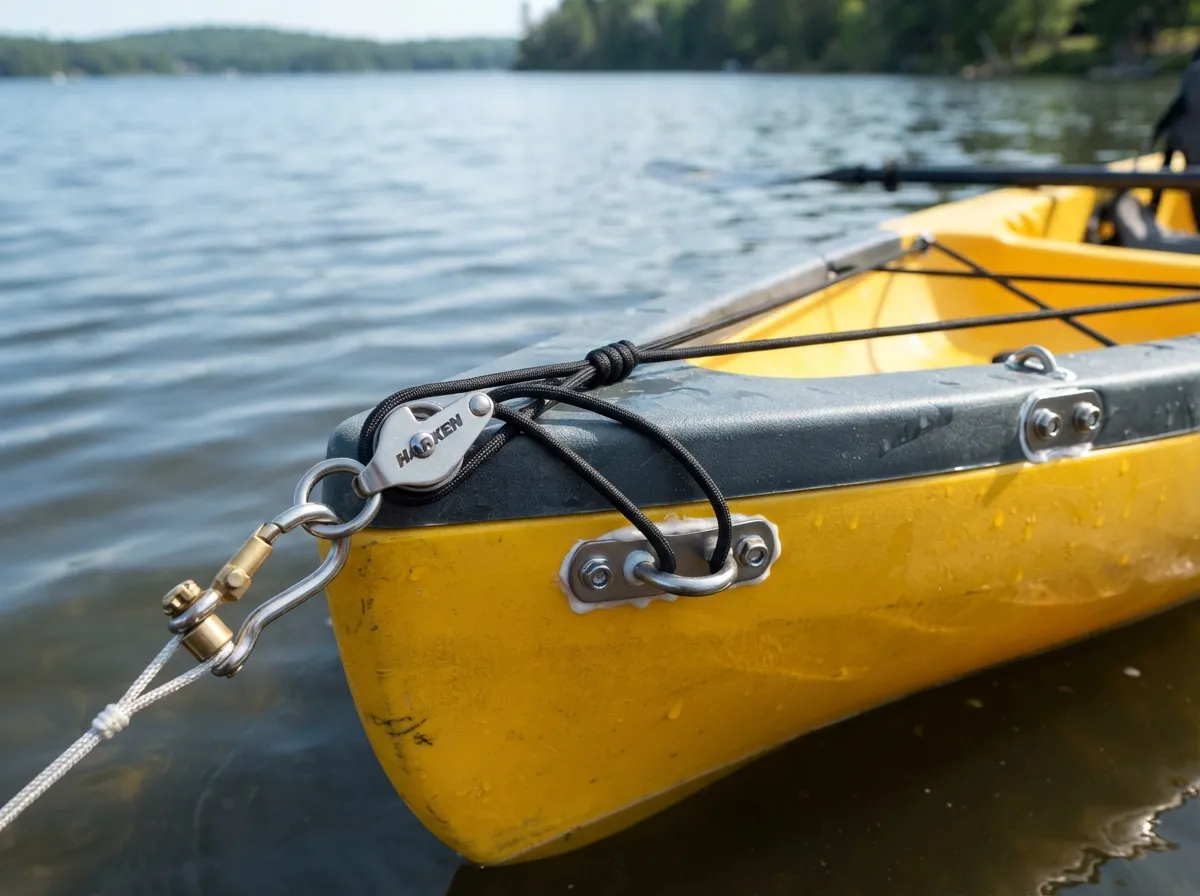
An anchor trolley is arguably the single highest-impact modification available to a kayak angler. It allows the paddler to adjust the anchor attachment point from bow to stern without re-rigging, which means the kayak can be positioned broadside, bow-first, or stern-first to the current or wind, all from a seated position.
Materials needed:
- 20 feet of paracord or 3mm bungee cord
- Two pad eyes or stainless steel ring bolts
- One small pulley or carabiner
- One stainless ring (2-inch)
- Marine-grade stainless hardware throughout
Installation steps:
The trolley line runs along the gunwale from a pad eye at the bow to a pad eye at the stern. The anchor line clips to the sliding ring on the trolley. Drilling into the kayak hull requires a marine-grade sealant such as 3M 5200 or Loctite Marine Sealant on every bolt hole to prevent water intrusion. The total cost of materials runs between $15 and $30 at most hardware or marine supply stores.
A properly installed anchor trolley transforms a drifting, spinning kayak into a precisely positioned fishing platform. This is especially valuable in tidal creeks, river eddies, and windy reservoir conditions.
2. Flush-Mount Rod Holders
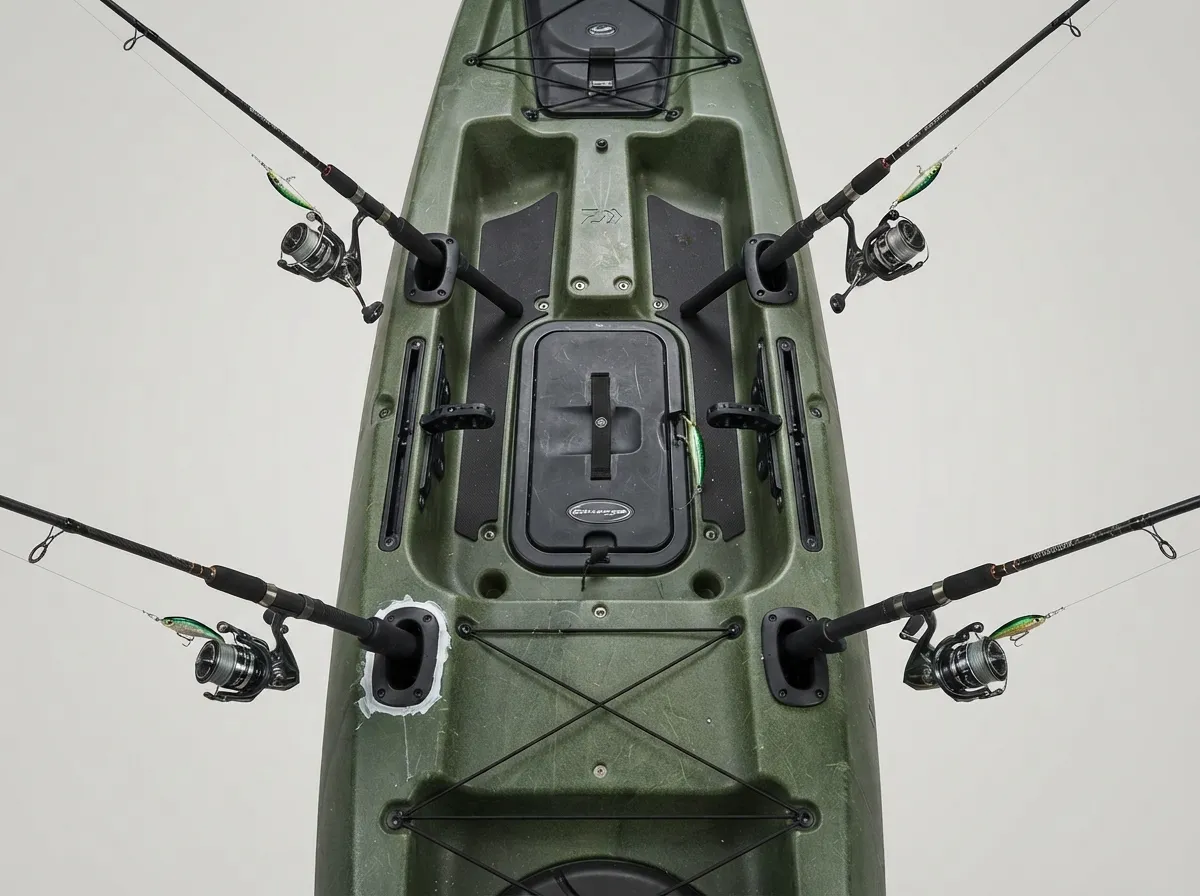
Factory rod holders on most production kayaks are either too few, poorly angled, or positioned for paddling convenience rather than fishing convenience. Flush-mount rod holders installed at custom angles solve all three problems simultaneously.
Flush-mount holders sit recessed into the kayak deck, eliminating the snagging hazard of raised tube holders. They can be angled between 10 and 30 degrees from vertical to keep rod tips clear of the water and away from the paddler’s stroke.
Key installation considerations:
- Use a hole saw sized to the specific flush-mount model (typically 1.75 inches for standard holders)
- Always drill on a flat, stable section of the deck away from internal ribs or foam flotation
- Apply marine sealant to the mounting flange before tightening
- Position holders within easy reach of the dominant hand without requiring a twist that could unbalance the kayak
Four to six flush-mount holders give most anglers enough capacity for a complete rod spread, two rigged for active casting, two for trolling, and one or two for backup rigs. The total materials cost for a four-holder installation runs approximately $40 to $60.
3. Milk Crate or Gear Crate System
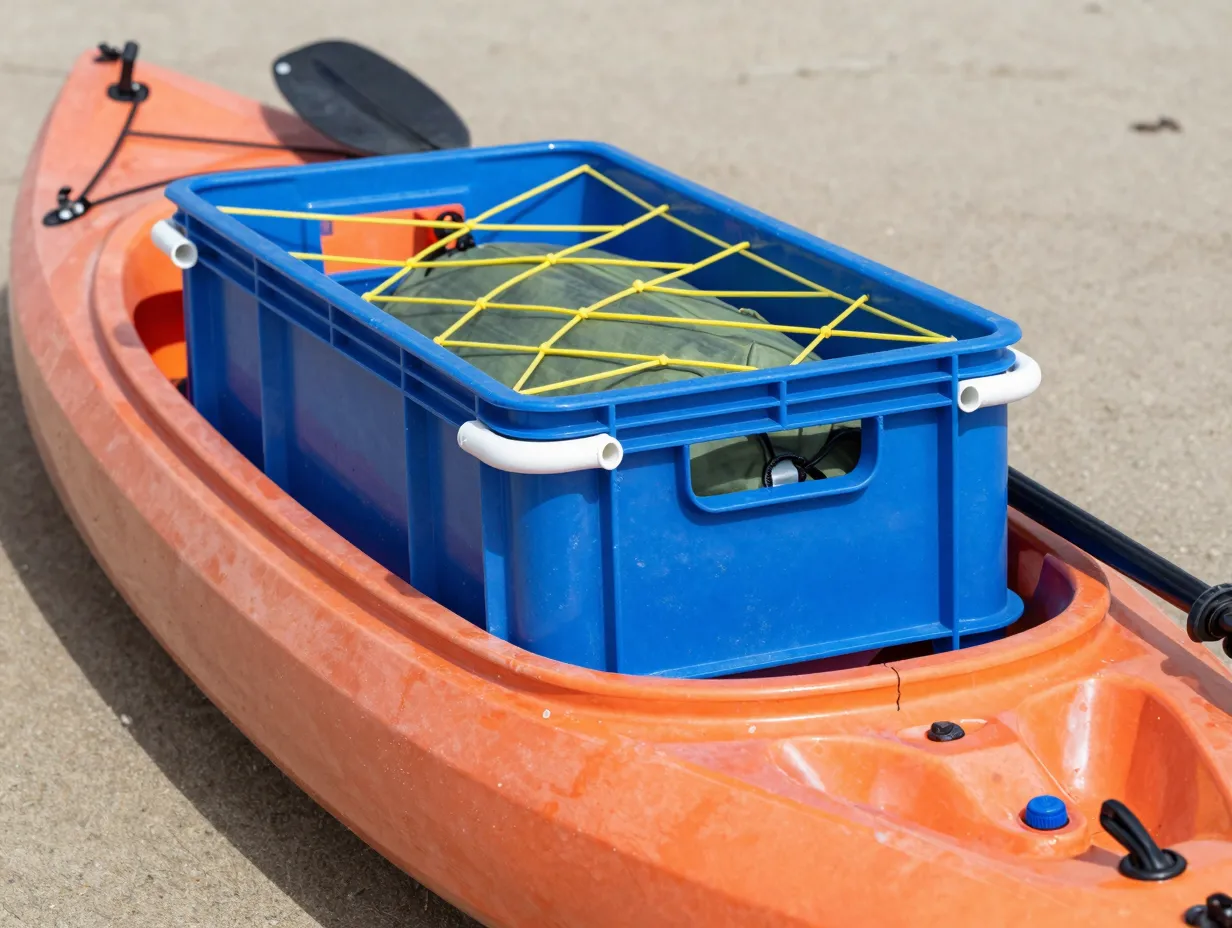
A rigged milk crate mounted behind the seat is one of the oldest and most effective kayak fishing hacks in existence. It works because it converts otherwise unused rear deck space into organized, accessible storage with built-in rod holders and gear attachment points.
Building the crate system:
A standard plastic milk crate (available at farm supply or restaurant supply stores) forms the base. Rod holders made from PVC pipe (1.5-inch diameter, cut to 12-inch lengths) are zip-tied or bolted through the crate walls at outward-facing angles. Bungee cord woven through the crate walls creates a cargo net for tackle bags, pliers, and a net. The entire assembly is secured to the rear tank well with bungee loops or cam straps.
Crate customization options:
| Feature | Materials | Approximate Cost |
|---|---|---|
| PVC rod holders (4) | 1.5″ PVC pipe, end caps | $8 |
| Bungee cargo net | 3mm bungee, hooks | $5 |
| Waterproof tackle tray | Small Plano box | $12 |
| Crate base | Plastic milk crate | $10 |
Total investment: under $40 for a fully rigged crate that outperforms most $150 factory crate systems.
4. Gear Track Rail Installation
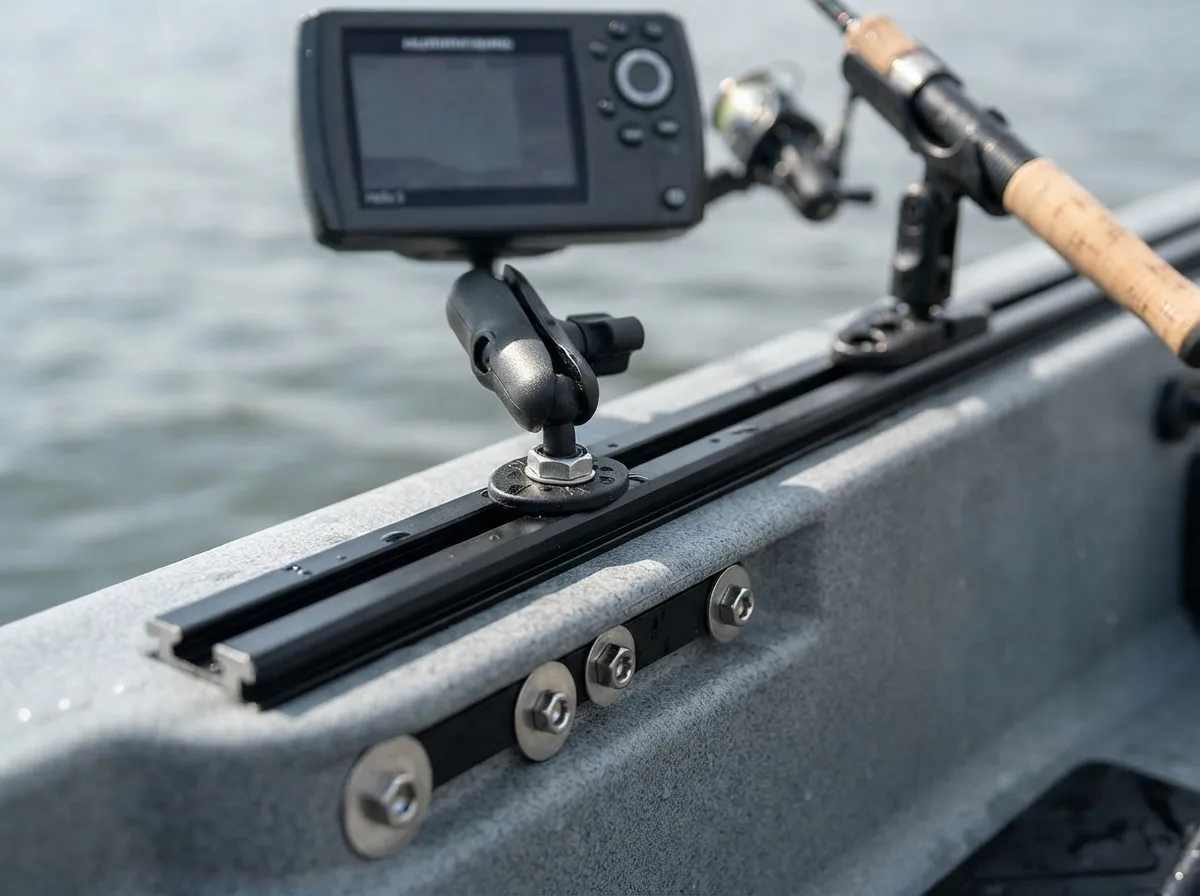
Gear track rails, the extruded aluminum channels that accept sliding accessories, are the most versatile upgrade available for a fishing kayak. A single 18-inch rail can host a rod holder, a fish finder mount, a cup holder, a camera arm, and a paddle clip, all repositionable without tools.
Installation process:
Most gear tracks use a standard T-slot profile compatible with RAM Mounts, YakAttack, and similar accessory systems. The track is bolted flat to the kayak deck or gunwale using four to six stainless machine screws with backing plates on the underside of the hull to distribute load. Sealant on every penetration is non-negotiable.
Placement strategy:
- Cockpit-side rail: rod holders, electronics mount
- Bow rail: camera arm, GPS unit
- Stern rail: flag mount, net holder
A 24-inch section of aluminum gear track costs between $20 and $35. The ability to rearrange accessories in seconds, without drilling new holes, makes this one of the best long-term investments in the kayak’s fishability.
5. DIY Fish Finder Transducer Mount
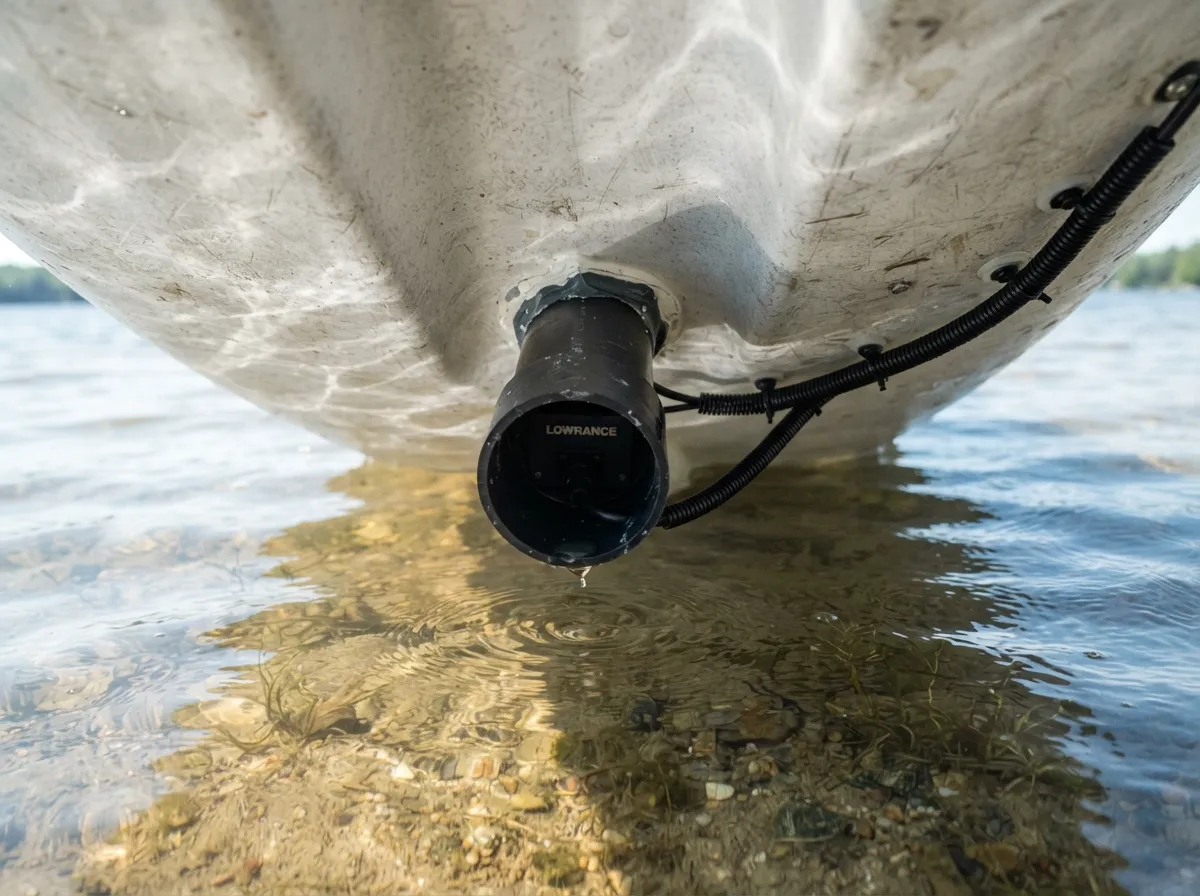
A fish finder transforms a kayak from a blind casting platform into an informed fishing machine. The challenge is mounting the transducer in a position that provides accurate readings without creating drag or risking damage on shallow-water launches.
Two proven DIY mounting approaches:
Scupper mount: A PVC pipe sized to fit the kayak’s scupper hole is cut to length, capped on the bottom, and fitted with a transducer bracket. The pipe drops through the scupper, the transducer hangs below the hull, and no drilling is required. This is the lowest-risk option.
Ram ball mount: A RAM ball is bolted to the hull side, and a RAM arm extends the transducer bracket outboard of the hull. This provides excellent water contact but requires hull penetration.
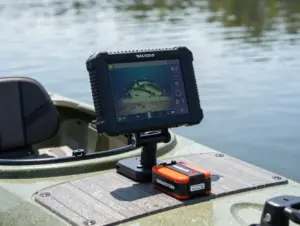
The electronics unit itself mounts to a gear track rail (see Mod 4) using a RAM mount ball and arm system. Cable management is critical, use split loom tubing to protect wiring from UV and abrasion, and route cables under existing deck rigging rather than across open deck space.
Battery tip: A small sealed lead-acid or lithium battery in a waterproof case mounted in the bow hatch keeps weight forward, which improves trim on most sit-on-top kayaks.
6. Improved Seating and Lumbar Support
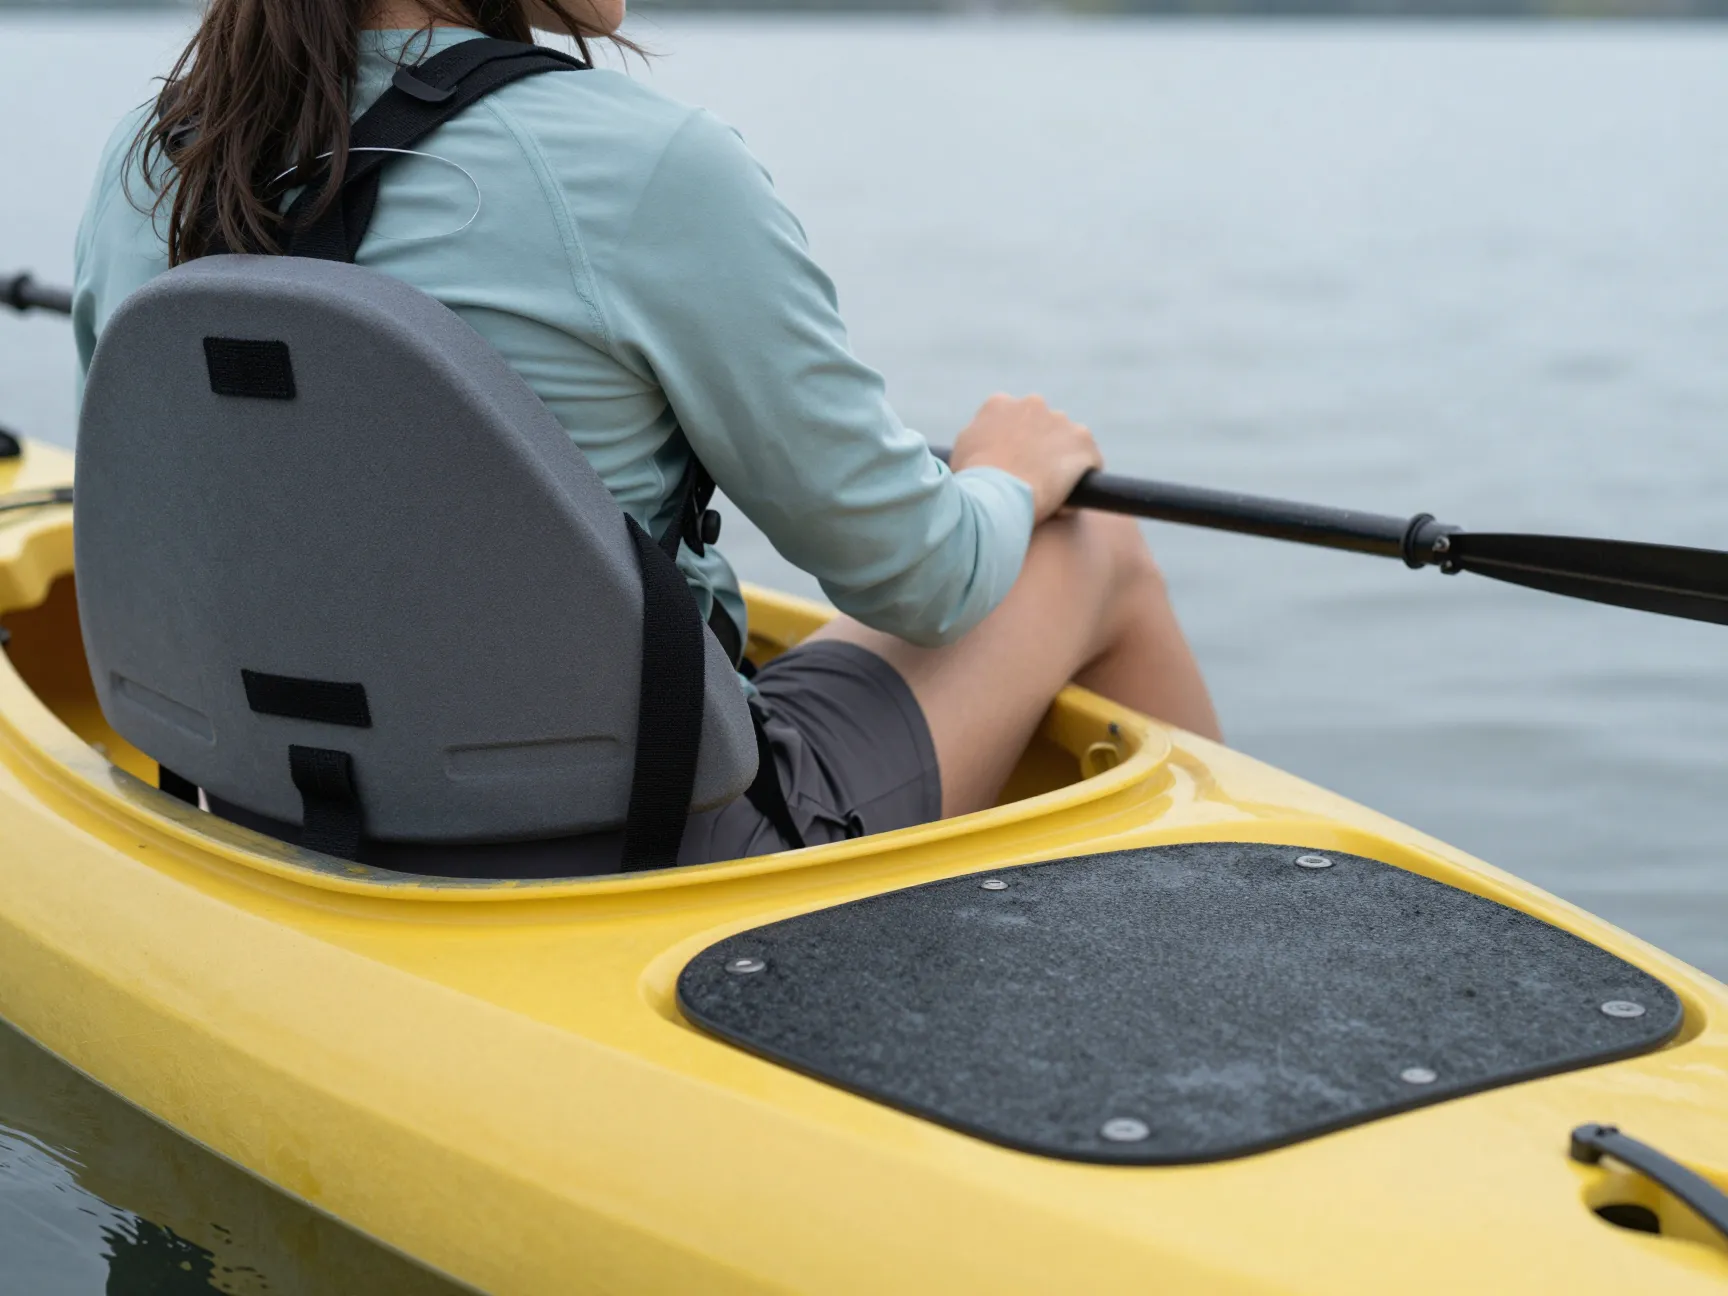
Comfort is a performance variable. An angler who is fighting back pain after two hours on the water makes worse decisions, casts less accurately, and leaves the water earlier. The factory seats on most sub-$1,000 fishing kayaks are functional but not ergonomic.
DIY seating upgrades:
The most effective low-cost upgrade is adding a closed-cell foam lumbar pad cut to fit the seat back. Marine-grade closed-cell foam (the same material used in life jackets) is available by the sheet and can be shaped with a utility knife. Attaching it to the existing seat back with hook-and-loop fastener strips keeps it removable for cleaning.
For anglers who stand to cast, a stability pad, a non-slip foam mat cut to fit the standing area of the cockpit, reduces fatigue and improves grip. These mats are available as yoga mat material or EVA foam sheet, both of which are UV-resistant and easy to cut.
A key insight: raising the seat position by even one inch dramatically improves casting leverage and reduces hip compression during long paddles. Thin foam shims under the seat base accomplish this at zero cost.
7. Paddle Leash and Clip System
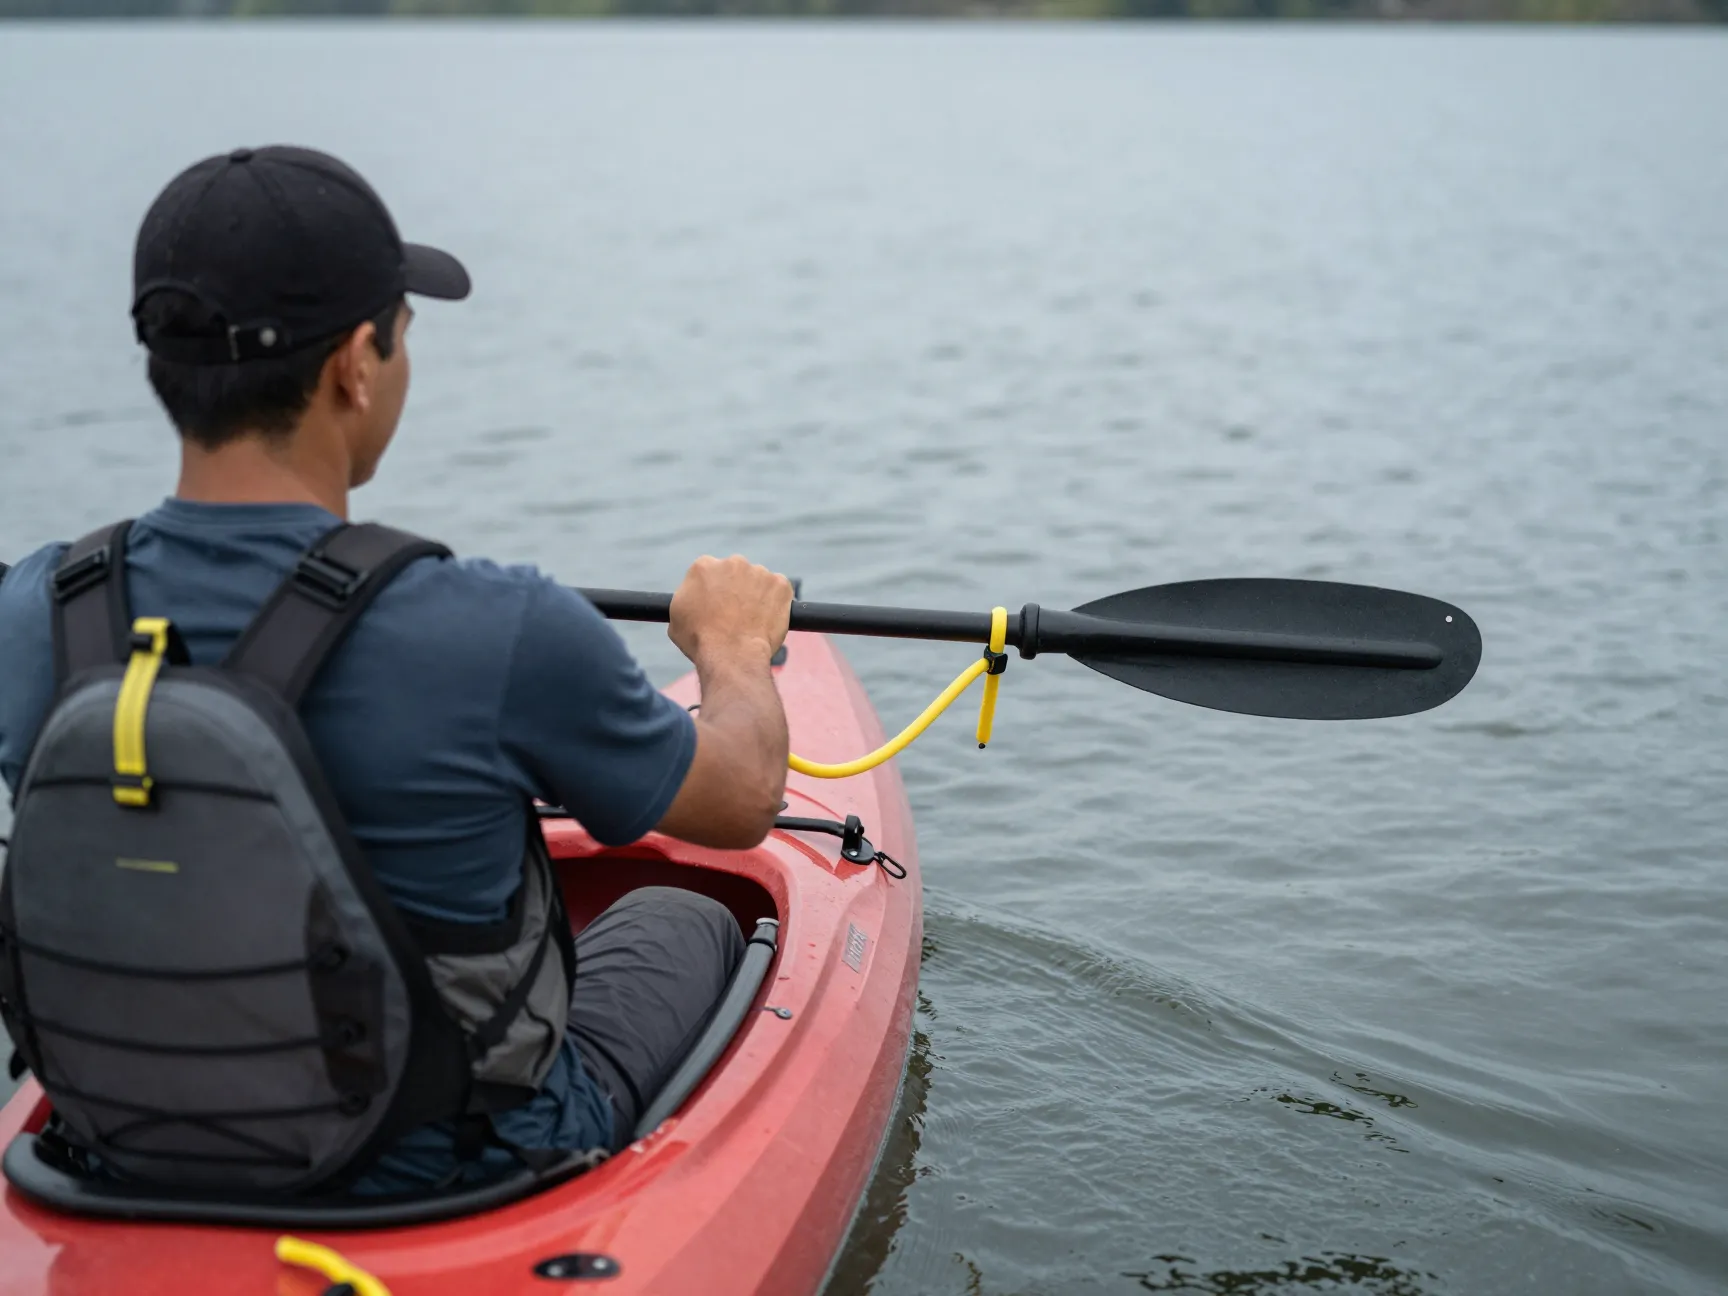
Losing a paddle while fighting a fish is one of the most common, and most preventable, kayak fishing frustrations. A paddle leash keeps the paddle secured to the kayak, while a paddle clip holds it flat against the hull when both hands are needed for fishing.
Building a paddle clip:
Two RAM tube top clips (or equivalent bungee ball clips) mounted to the gunwale at shoulder width hold the paddle shaft horizontally. The paddle drops into the clips in a single motion and releases with a light upward pull. Total cost: under $10.
Paddle leash setup:
A coiled bungee leash (available at most kayak shops for $8 to $12) clips to the paddle shaft and to a D-ring on the kayak. The coil keeps it from dragging in the water. This is a five-minute installation with no tools required.
Together, these two modifications eliminate the most common cause of lost paddles and allow anglers to transition from paddling to fishing and back in seconds.
8. DIY Kayak Rudder or Skeg System
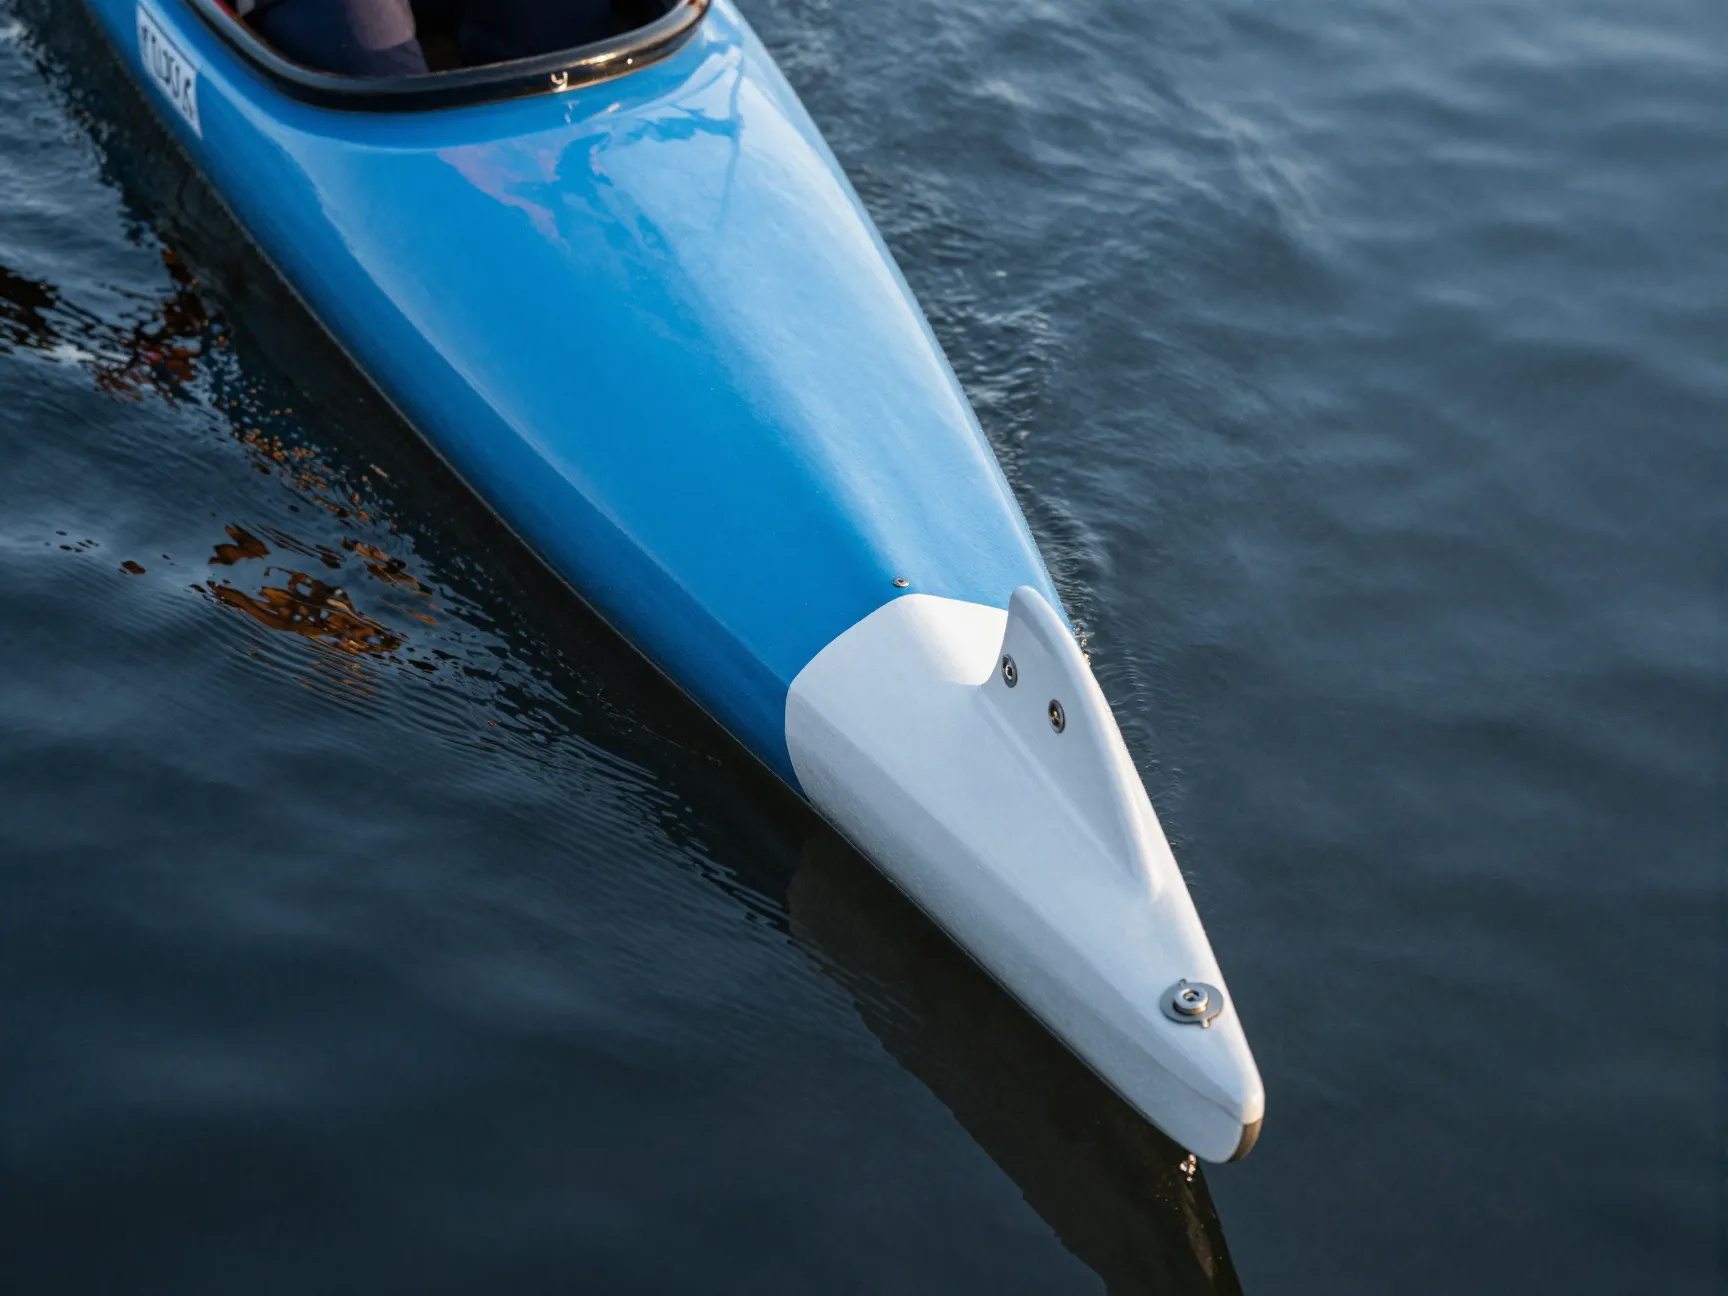
Tracking, the ability to paddle in a straight line without constant correction strokes, is the most underrated performance variable in kayak fishing. A kayak that requires constant correction is exhausting to paddle and nearly impossible to control in crosswind conditions. A rudder or skeg solves this problem.
DIY skeg option:
A fixed skeg can be fabricated from a piece of HDPE cutting board (high-density polyethylene) cut to a fin shape approximately 6 inches deep and 8 inches long. It mounts to the stern of the hull using two stainless bolts with backing plates. A skeg improves tracking without adding the mechanical complexity of a rudder.
DIY rudder option:
A deployable rudder requires more fabrication, a pivot mount, a blade, and foot pedal cables, but provides active steering control. Several aftermarket kits (such as those from Feelfree or Wilderness Systems) can be adapted to fit non-OEM kayaks with moderate fabrication skill.
When to choose which:
- Skeg: calm water, minimal current, budget under $20
- Rudder: open water, strong crosswinds, tidal currents, budget $60 to $120
A well-tuned tracking system reduces paddling effort by an estimated 15 to 20% on long crossings, according to a study published in the Journal of Sports Engineering and Technology, leaving more energy for fishing.
How to Prioritize These 8 DIY Fishing Kayak Mods to Boost Performance & Fishability
Not every angler needs all eight modifications. The table below maps each mod to the fishing scenario where it delivers the most value.
| Modification | Best For | Effort Level | Cost Range |
|---|---|---|---|
| 1. Anchor Trolley | River, tidal, wind-exposed water | Low | $15-$30 |
| 2. Flush-Mount Rod Holders | All fishing styles | Medium | $40-$60 |
| 3. Gear Crate System | Tournament, multi-rod setups | Low | $30-$45 |
| 4. Gear Track Rail | All fishing styles | Medium | $20-$35 |
| 5. Fish Finder Mount | Deep water, structure fishing | Medium | $25-$50 |
| 6. Seating Upgrade | Long-distance, full-day trips | Low | $10-$25 |
| 7. Paddle Leash & Clip | All fishing styles | Very Low | $10-$20 |
| 8. Rudder or Skeg | Open water, crosswind conditions | High | $20-$120 |
Recommended starting sequence for a new kayak build:
Start with Modifications 7, 3, and 2 in that order. These three changes cost under $120 combined, require no hull penetration (except the rod holders), and produce immediately noticeable improvements in fishability. Add the anchor trolley (Mod 1) and gear track (Mod 4) next. Save the fish finder mount (Mod 5) and rudder system (Mod 8) for after the core rig is dialed in.
Safety and Waterproofing Essentials for Every Mod
Every modification that involves drilling into the kayak hull creates a potential water intrusion point. This is not a minor concern, a slow leak into a sealed hull compartment can compromise buoyancy over time.
Non-negotiable waterproofing steps:
- Apply marine-grade sealant (3M 4200 or 5200, or equivalent) to every bolt hole before inserting hardware
- Use stainless steel or marine-grade aluminum hardware exclusively, standard zinc hardware corrodes within one season in saltwater
- Inspect all penetrations at the start of each season and re-seal any that show cracking or discoloration
- For electrical installations, use heat-shrink butt connectors rather than tape on all wire joins
Weight distribution check:
After adding modifications, sit in the kayak in shallow water and assess trim. The bow should sit slightly higher than the stern for most fishing kayaks. If the stern is heavy (common after adding a crate and electronics), move the battery or tackle storage forward to compensate.
A useful rule: add no more than 15 pounds of modification weight without reassessing the kayak’s stability rating and maximum load capacity, which is typically printed on a placard inside the cockpit.
Conclusion
The 8 DIY fishing kayak mods to boost performance and fishability outlined in this guide represent a systematic approach to turning a production kayak into a purpose-built fishing machine. Each modification addresses a specific limitation of factory setups, whether that is poor rod positioning, inadequate tracking, or the absence of electronics integration, and each can be completed with tools and materials available at any hardware or marine supply store.
Actionable next steps:
- Audit the current kayak setup and identify the single biggest frustration on the water, that is the first mod to tackle.
- Start with zero-penetration modifications (paddle leash, gear crate) to build confidence before drilling into the hull.
- Use marine-grade hardware and sealant on every installation, without exception.
- Reassess weight distribution and trim after each modification before adding the next.
- Document each mod with photos, this creates a reference for future repairs and adds value if the kayak is ever sold.
A well-modified kayak does not just perform better. It makes the angler more confident, more comfortable, and more effective on the water. That is the real return on investment for every hour spent in the workshop.
References
- American Canoe Association. (2022). Paddlesports participation report. American Canoe Association.
- Kayak Angler Magazine. (2023). Tournament angler gear survey. Kayak Angler Media.
- Pendergast, D. R., & Bushnell, D. (2018). Hydrodynamic performance of kayak hull modifications. Journal of Sports Engineering and Technology, 232(4), 412-421.
- Wilderness Systems. (2022). Kayak rigging guide: Accessories and customization. Confluence Outdoor.
- YakAttack. (2023). GearTrac installation and compatibility guide. YakAttack LLC.