8 Tender and Fast Venison Backstrap Recipes for Your Instant Pot
Venison backstrap is the most prized cut on a white-tailed deer, yet most home cooks ruin it within minutes by overcooking it on a stovetop or grill. The Instant Pot changes that equation entirely. With precise pressure cooking, a cut that can turn rubbery in seconds under dry heat becomes consistently tender, juicy, and deeply flavorful in under 30 minutes. This guide presents 8 tender and fast venison backstrap recipes for your Instant Pot that work for weeknight dinners and special occasions alike, with clear instructions and pro tips to protect every ounce of that hard-earned wild game.
Disclosure: This post contains affiliate links. As an Amazon Associate, we earn from qualifying purchases, and at no extra cost to you.
Key Takeaways
- Venison backstrap is an extremely lean cut that benefits from the moist-heat environment of an Instant Pot, which prevents the dryness common with dry-heat methods.
- Searing the backstrap in the Instant Pot before pressure cooking adds a critical flavor layer through the Maillard reaction.
- Cook times for backstrap in the Instant Pot are short, typically 3 to 8 minutes at high pressure, because the cut is naturally tender.
- A natural pressure release of at least 5 minutes protects texture and keeps the meat from seizing up.
- Marinades, deglazing liquids, and finishing sauces are the key variables that separate these 8 recipes from one another.
Why the Instant Pot Is Ideal for Venison Backstrap
Venison is roughly 50 percent lower in fat than beef. That leanness is part of its appeal, but it also makes the meat vulnerable to overcooking. Traditional high-heat methods, grilling, pan-searing to finish, demand split-second timing. One minute too long and the backstrap tightens, dries out, and loses its mild, clean flavor.
The Instant Pot solves this with pressurized moist heat. The sealed environment raises the boiling point of liquid, cooking protein fibers faster while keeping moisture locked inside the pot. The result is a backstrap that stays pink in the center, pulls apart cleanly, and absorbs the flavors of whatever aromatics or sauce surrounds it.
Three core principles apply to every recipe below:
- Pat the backstrap completely dry before searing. Surface moisture creates steam, not browning.
- Deglaze the pot thoroughly after searing. Fond (the browned bits on the bottom) is flavor, and it also prevents the “burn” warning on newer Instant Pot models.
- Always use a natural pressure release for at least 5 minutes before switching to quick release. This resting period inside the pot is the equivalent of tenting meat with foil, it redistributes juices.
“The Instant Pot does not forgive skipped steps with lean wild game. Sear, deglaze, and rest, every time.”
8 Tender and Fast Venison Backstrap Recipes for Your Instant Pot
The following eight recipes are organized from simplest to most complex. Each one includes a flavor profile, key ingredients, a condensed method, and a finishing tip.
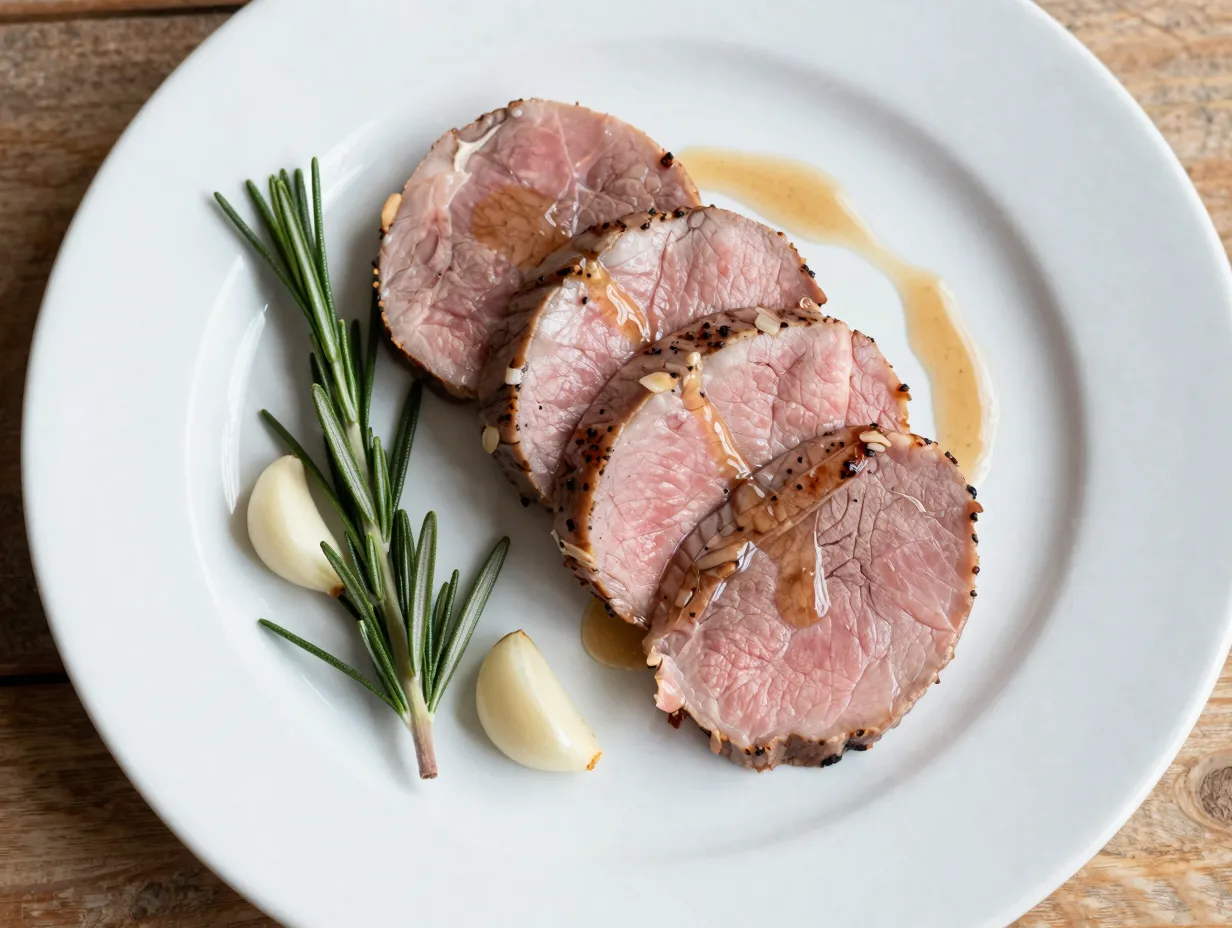
1. Classic Garlic Herb Venison Backstrap
Flavor profile: Clean, savory, versatile
Key ingredients:
- 1.5 lbs venison backstrap, trimmed of silver skin
- 4 garlic cloves, smashed
- 1 cup beef broth
- 2 sprigs fresh rosemary
- 1 tbsp olive oil
- Salt and black pepper
Method: Set the Instant Pot to Saute on high. Add olive oil and sear the backstrap 2 minutes per side until deeply browned. Remove and set aside. Add garlic and cook 30 seconds. Deglaze with beef broth, scraping all fond from the bottom. Add rosemary and return the backstrap. Seal the lid and cook on Manual High Pressure for 5 minutes. Natural release for 5 minutes, then quick release.
Finishing tip: Reduce the remaining liquid on Saute for 3 minutes to create a simple pan sauce. Slice the backstrap against the grain and spoon the sauce over the top.
This is the foundational recipe, master it first, and the remaining seven become variations on a proven framework.
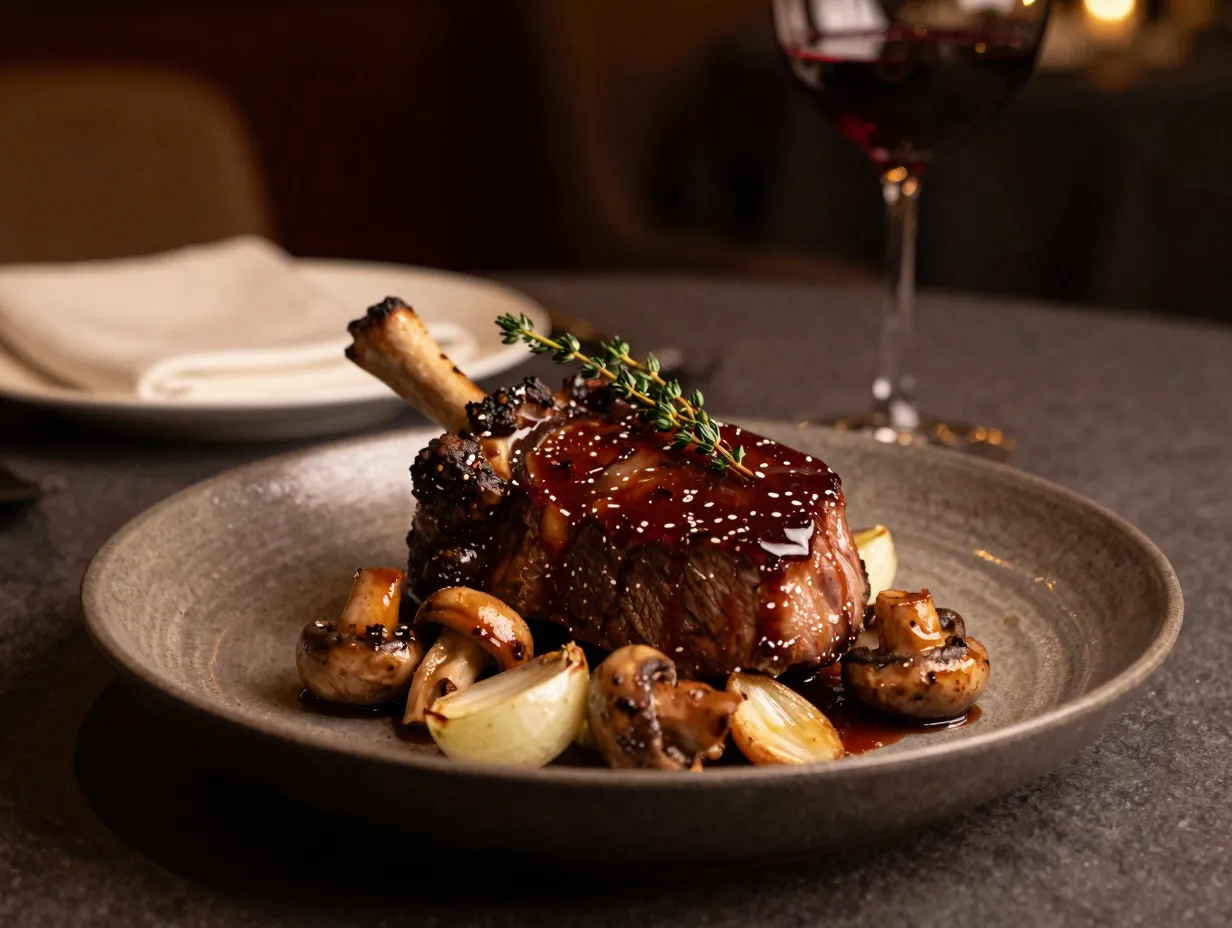
2. Red Wine and Mushroom Venison Backstrap
Flavor profile: Rich, earthy, restaurant-quality
Key ingredients:
- 1.5 lbs venison backstrap
- 1 cup dry red wine (Cabernet Sauvignon or Merlot)
- 1 cup cremini mushrooms, sliced
- 1 shallot, minced
- 1 tbsp butter
- 1 tsp fresh thyme
Method: Sear the backstrap as described in Recipe 1. After removing the meat, saute the shallot and mushrooms for 2 minutes. Deglaze with red wine and scrape the bottom clean. Add thyme and return the backstrap. Cook on High Pressure for 6 minutes. Natural release for 5 minutes, then quick release.
Finishing tip: Stir in cold butter after pressure cooking to create a silky, glossy sauce. This technique, called “mounting with butter,” adds body without flour or cornstarch.
3. Smoky Chipotle and Lime Venison Backstrap
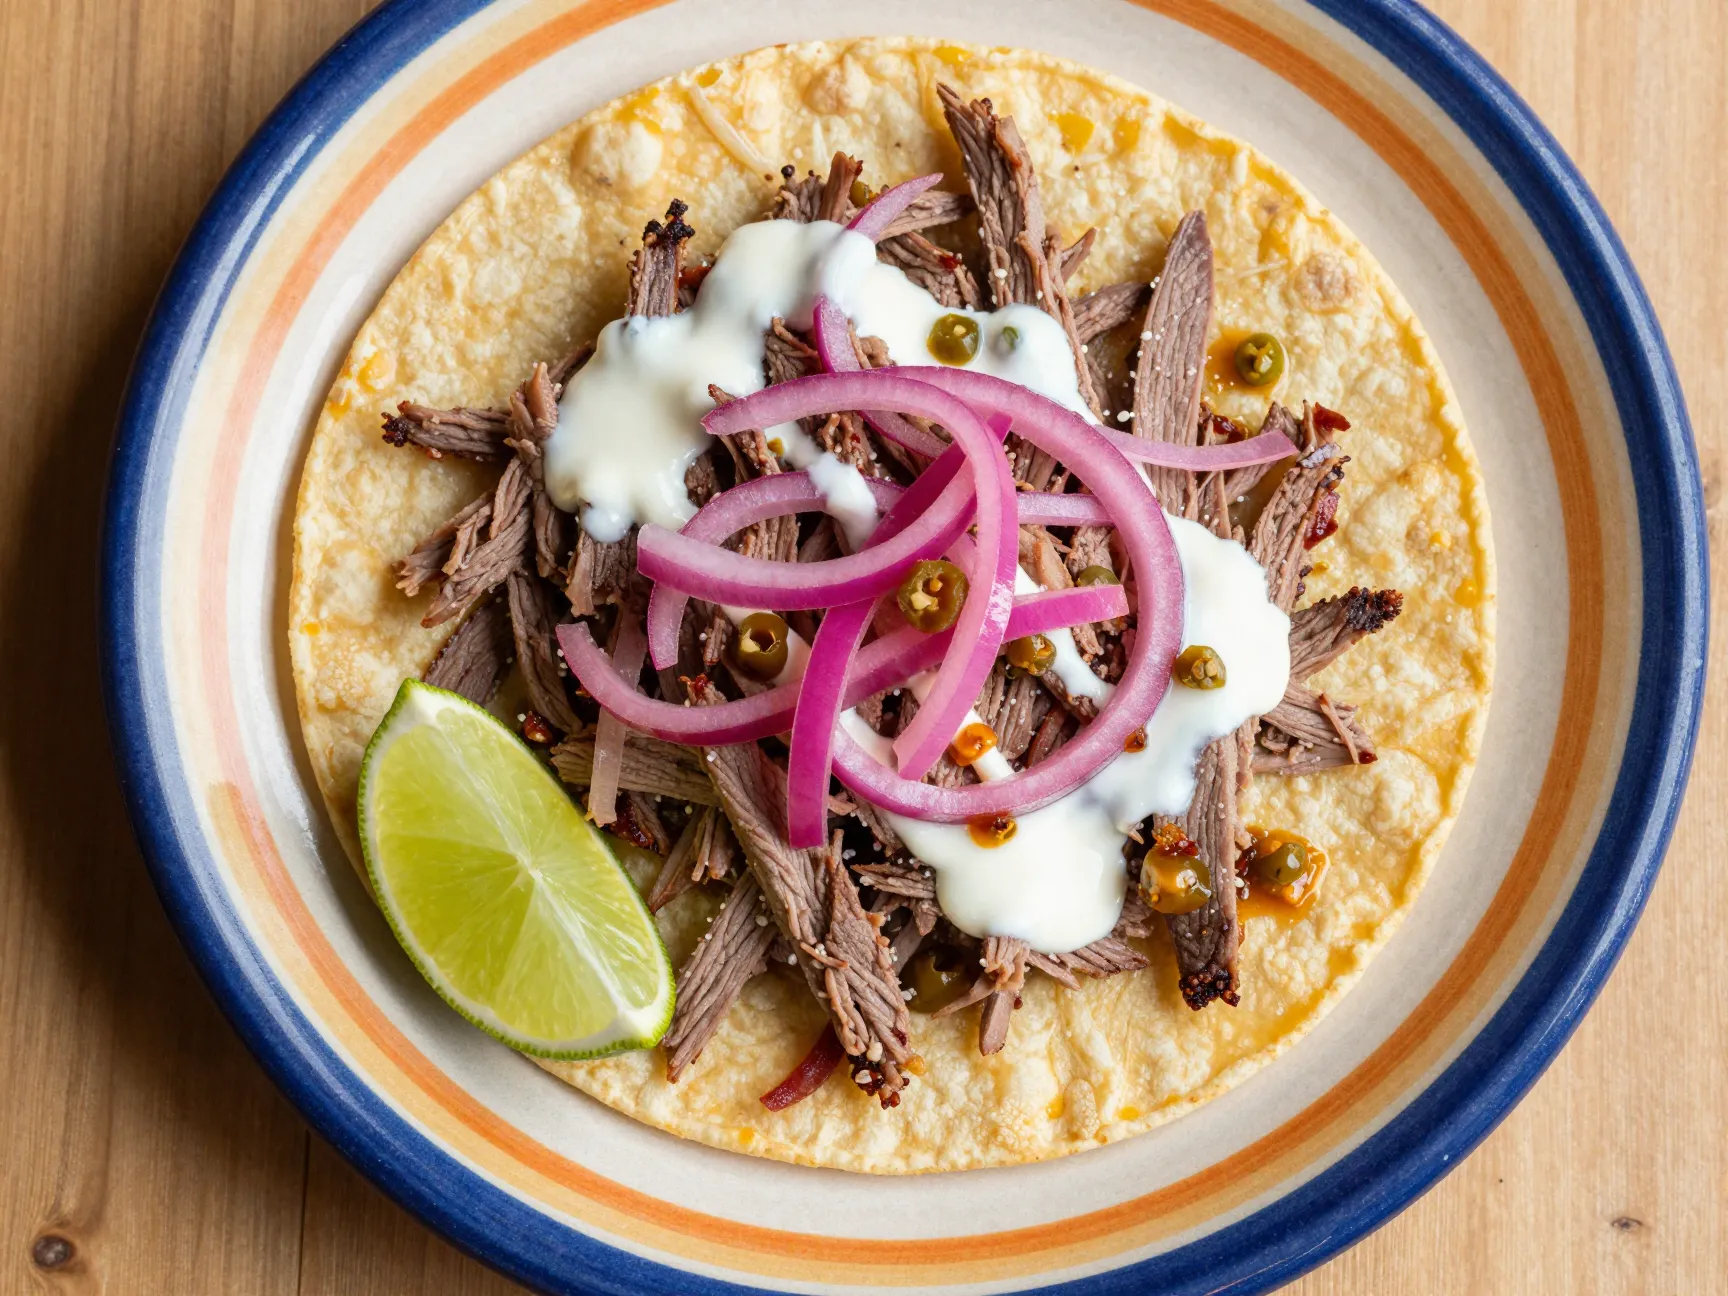
Flavor profile: Bold, smoky, slightly spicy
Key ingredients:
- 1.5 lbs venison backstrap
- 2 chipotle peppers in adobo sauce, minced
- Juice of 2 limes
- 1 tsp smoked paprika
- 1/2 cup chicken broth
- 1 tsp cumin
Method: Mix chipotle, lime juice, paprika, and cumin into a paste. Coat the backstrap and let it sit for 15 minutes. Sear in the Instant Pot on Saute. Deglaze with chicken broth. Cook on High Pressure for 5 minutes. Natural release for 5 minutes, then quick release.
Finishing tip: Shred the backstrap and serve in warm corn tortillas with pickled red onion and crema. The smoky cooking liquid makes an excellent taco sauce, do not discard it.
4. Asian-Inspired Soy and Ginger Venison Backstrap
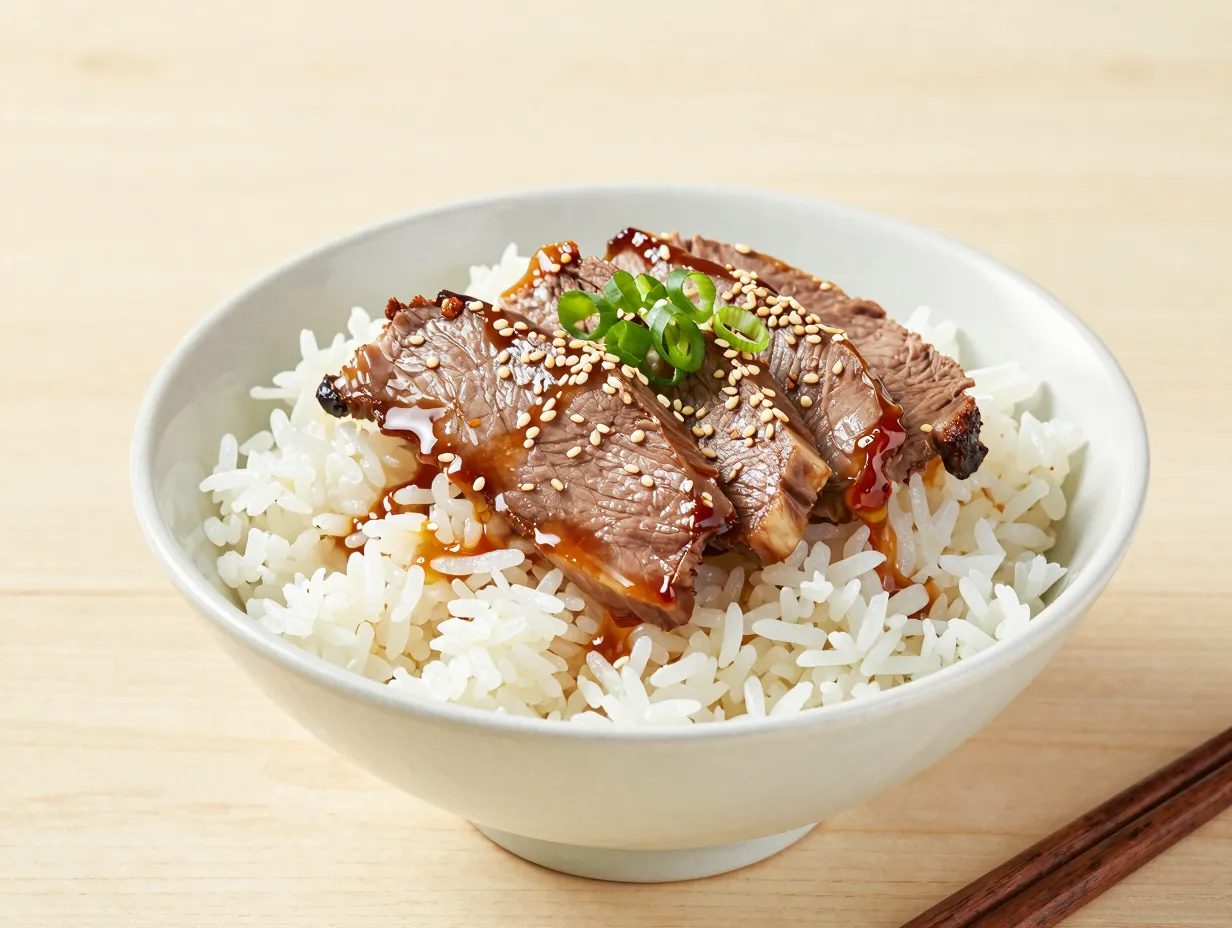
Flavor profile: Umami-forward, aromatic, slightly sweet
Key ingredients:
- 1.5 lbs venison backstrap
- 3 tbsp low-sodium soy sauce
- 1 tbsp fresh ginger, grated
- 2 garlic cloves, minced
- 1 tbsp honey
- 1/2 cup water
- 1 tsp sesame oil (added after cooking)
Method: Whisk soy sauce, ginger, garlic, honey, and water together. Sear the backstrap, then deglaze with the soy mixture. Cook on High Pressure for 5 minutes. Natural release for 5 minutes, then quick release.
Finishing tip: Drizzle sesame oil over sliced backstrap just before serving. Garnish with thinly sliced scallions and toasted sesame seeds. Serve over steamed jasmine rice or rice noodles.
5. Italian-Style Tomato and Olive Venison Backstrap
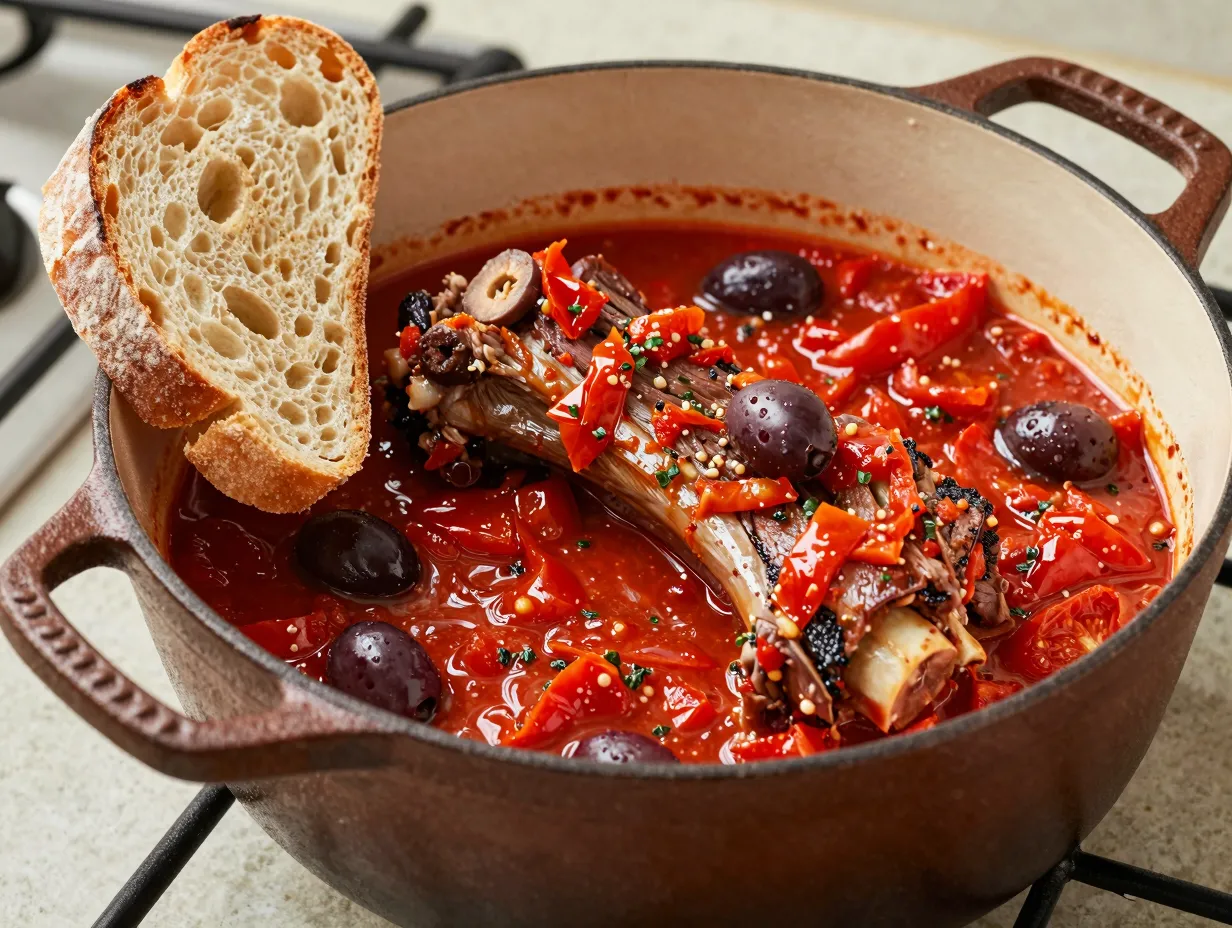
Flavor profile: Bright, acidic, herb-forward
Key ingredients:
- 1.5 lbs venison backstrap
- 1 cup crushed San Marzano tomatoes
- 1/4 cup Kalamata olives, pitted and halved
- 1 tsp dried oregano
- 1/2 tsp red pepper flakes
- 2 garlic cloves, sliced
Method: Sear the backstrap, then saute garlic for 30 seconds. Add crushed tomatoes, olives, oregano, and red pepper flakes. Return the backstrap. Cook on High Pressure for 6 minutes. Natural release for 5 minutes, then quick release.
Finishing tip: Serve over creamy polenta or alongside crusty bread to absorb the braising liquid. The tomato acidity balances the gaminess that some diners notice in venison, making this recipe an excellent choice for guests unfamiliar with wild game.
6. Bourbon and Brown Sugar Venison Backstrap
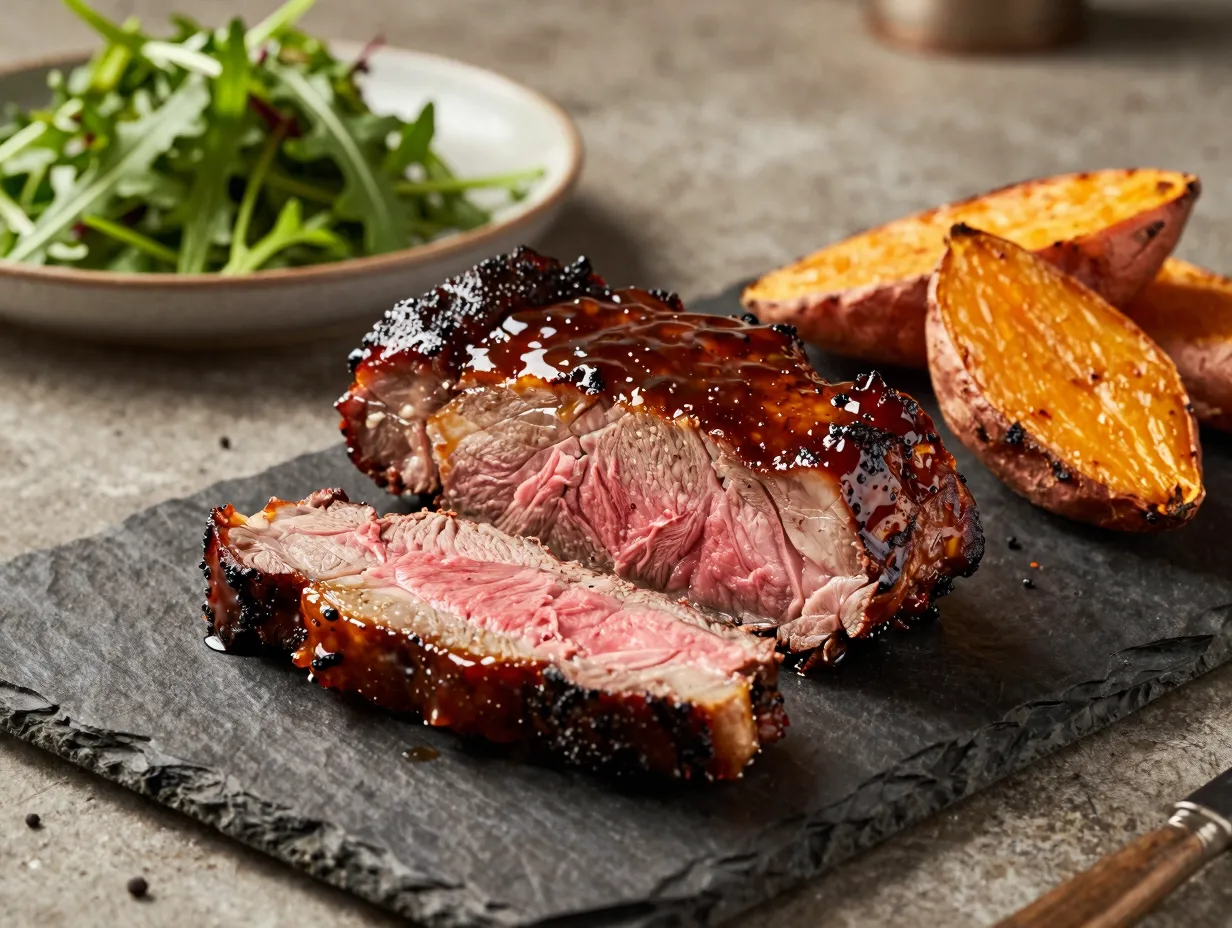
Flavor profile: Sweet, caramelized, smoky
Key ingredients:
- 1.5 lbs venison backstrap
- 2 tbsp bourbon
- 1 tbsp brown sugar
- 1 tbsp Dijon mustard
- 1/2 cup beef broth
- 1 tsp Worcestershire sauce
Method: Whisk bourbon, brown sugar, Dijon, broth, and Worcestershire together. Sear the backstrap, deglaze with the bourbon mixture, and cook on High Pressure for 5 minutes. Natural release for 5 minutes, then quick release.
Finishing tip: The alcohol in bourbon cooks off during pressure cooking, leaving only its vanilla and oak notes behind. Reduce the sauce on Saute until it coats the back of a spoon. This glaze pairs exceptionally well with roasted sweet potatoes or a simple arugula salad.
7. French Onion-Style Venison Backstrap
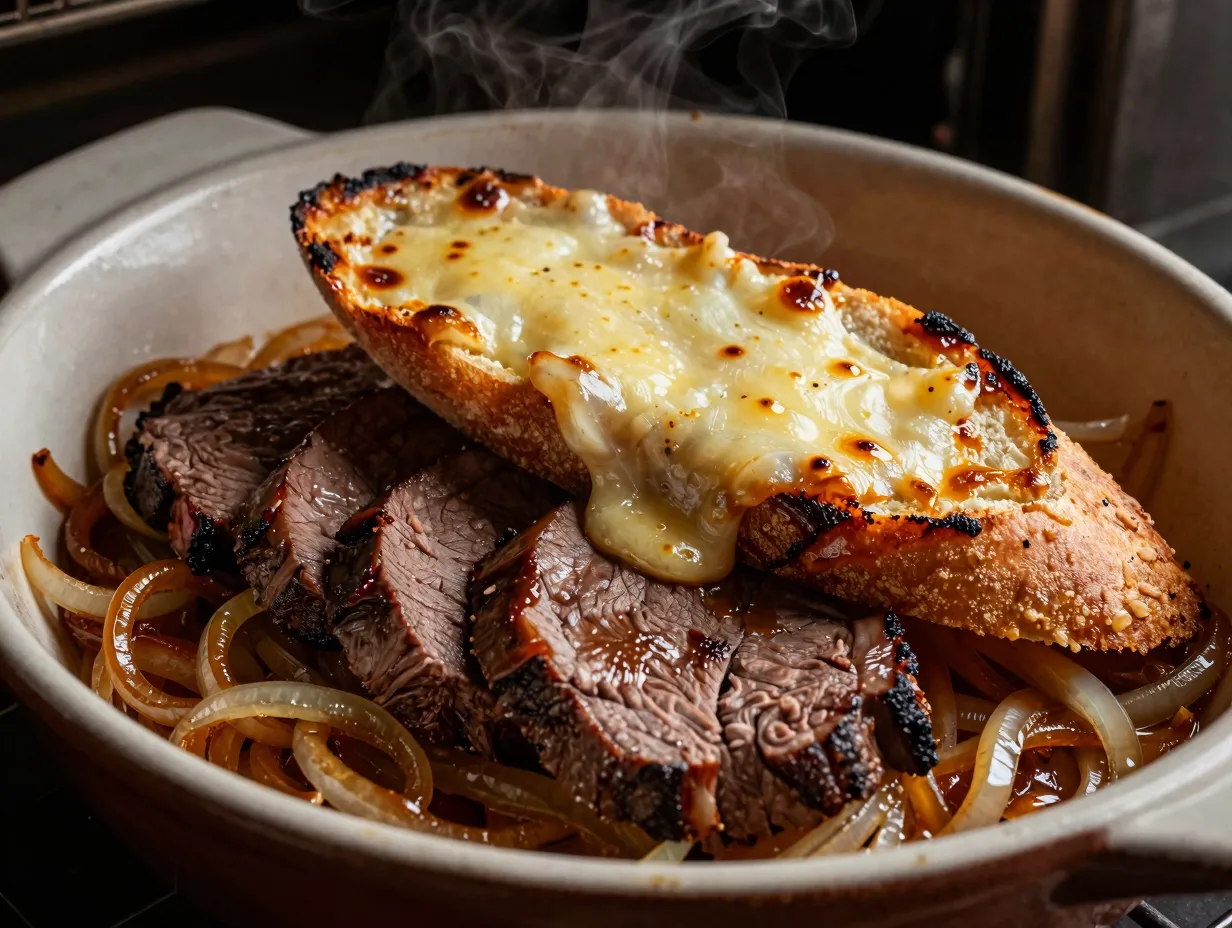
Flavor profile: Deep, sweet, caramelized
Key ingredients:
- 1.5 lbs venison backstrap
- 2 large yellow onions, thinly sliced
- 1 cup beef broth
- 1/2 cup dry sherry or white wine
- 1 tsp fresh thyme
- 1 tbsp butter
Method: Saute onions in butter on the Instant Pot’s Saute setting for 8 to 10 minutes until golden and soft. This step is worth the extra time, caramelized onions are the backbone of this recipe. Push onions to the side, sear the backstrap, then deglaze with sherry and broth. Cook on High Pressure for 6 minutes. Natural release for 5 minutes, then quick release.
Finishing tip: Serve the backstrap sliced over the onions with a slice of toasted baguette and a sprinkle of Gruyere cheese melted under a broiler. The presentation mimics a classic French onion soup in solid form.
8. Coffee and Ancho Chile Venison Backstrap
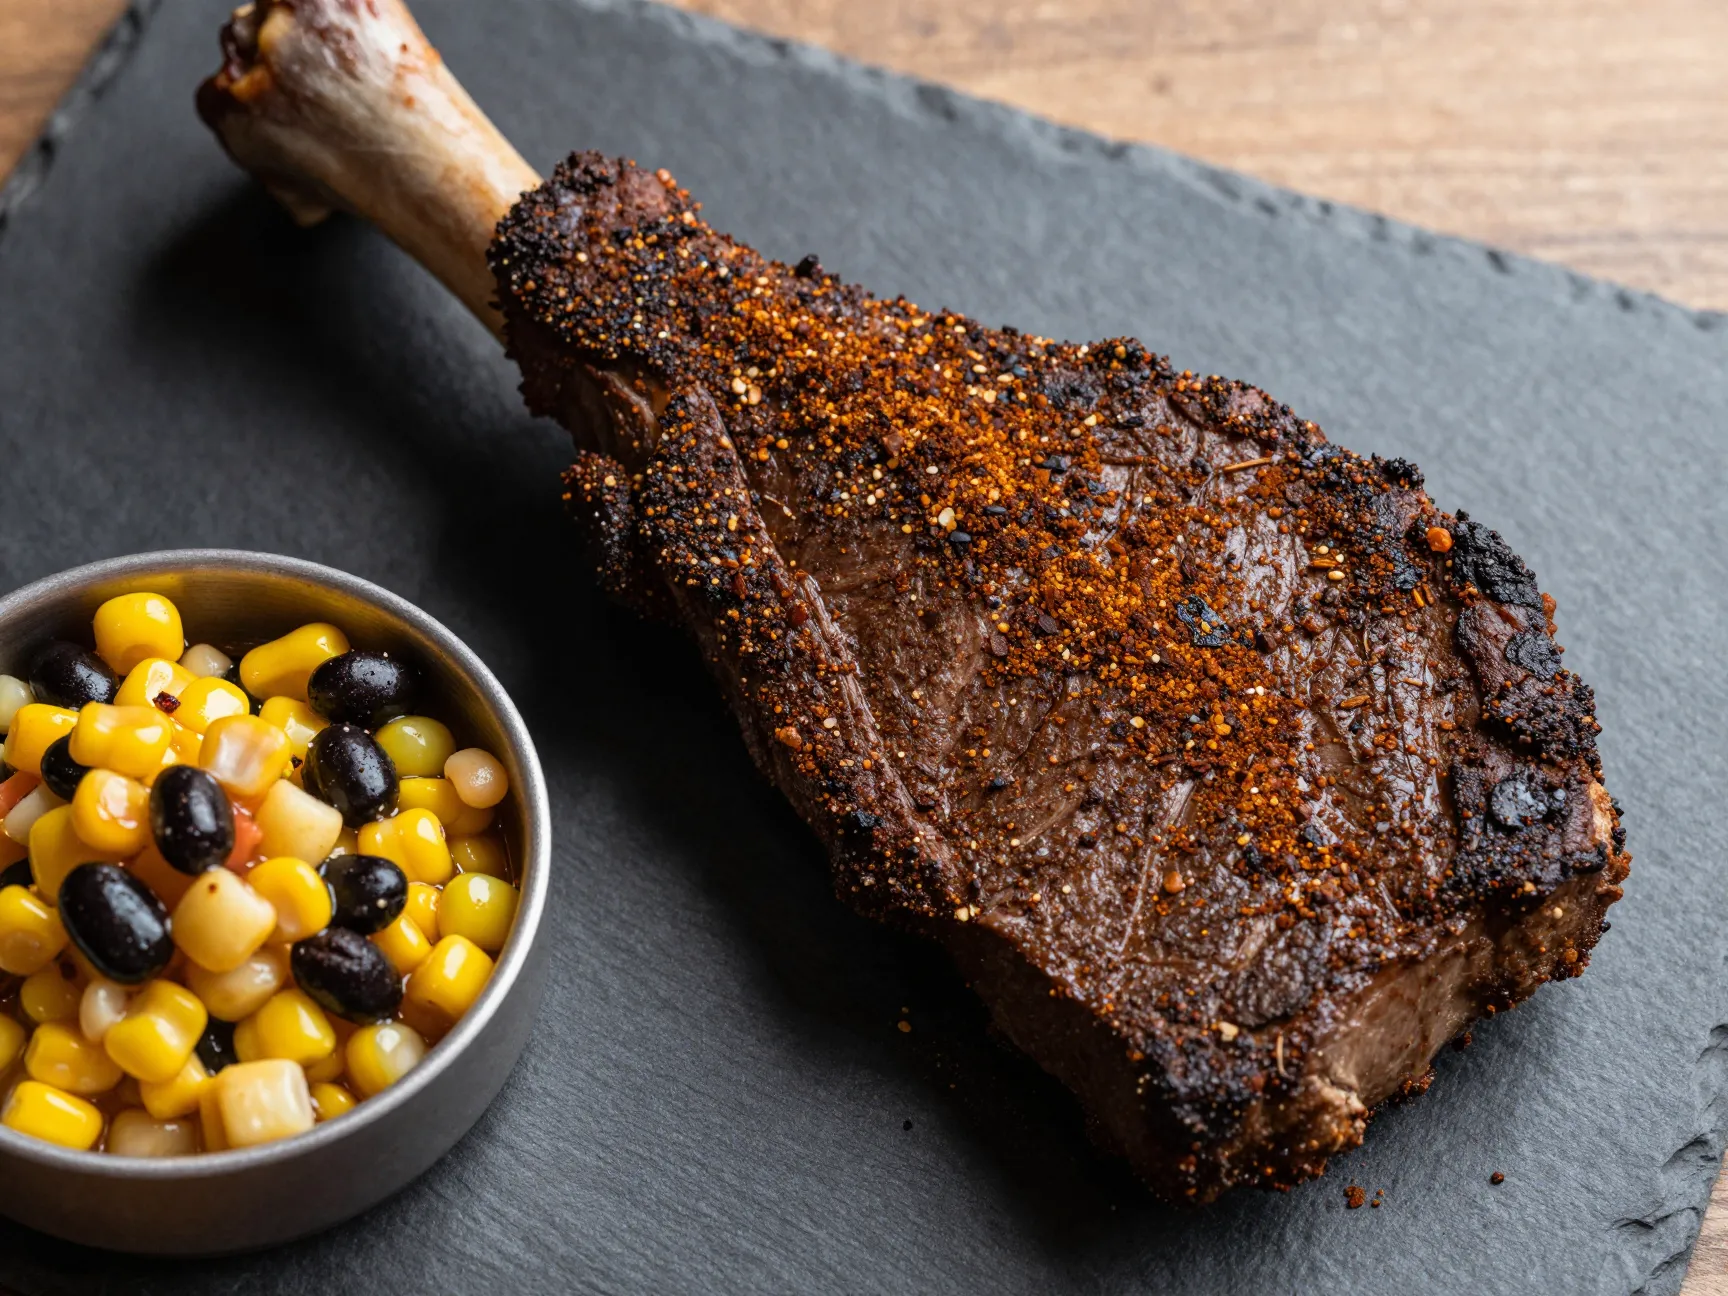
Flavor profile: Complex, dark, mildly spicy
Key ingredients:
- 1.5 lbs venison backstrap
- 1 tbsp finely ground dark-roast coffee
- 1 tsp ancho chile powder
- 1 tsp garlic powder
- 1/2 tsp cinnamon
- 1/2 cup beef broth
- 1 tbsp olive oil
Method: Combine coffee, ancho chile, garlic powder, and cinnamon into a dry rub. Press the rub firmly onto the backstrap and let it rest for 20 minutes. Sear on Saute until a dark crust forms. Deglaze with beef broth. Cook on High Pressure for 5 minutes. Natural release for 5 minutes, then quick release.
Finishing tip: The coffee amplifies the natural savory depth of venison without tasting like a morning beverage. Serve with a corn and black bean salsa to cut through the richness of the rub. This is the most complex recipe in the list, save it for when confidence with the earlier recipes is established.
Essential Tips for All 8 Tender and Fast Venison Backstrap Recipes for Your Instant Pot
Regardless of which recipe is chosen, the following table summarizes the non-negotiable variables that determine success or failure with Instant Pot venison backstrap.
| Variable | Recommended Setting | Why It Matters |
|---|---|---|
| Minimum liquid in pot | 1/2 cup | Required for pressure to build safely |
| Pressure level | High | Penetrates dense muscle fibers faster |
| Cook time (whole backstrap) | 5 to 8 minutes | Prevents overcooking lean meat |
| Natural pressure release | 5 minutes minimum | Allows juices to redistribute |
| Internal temperature target | 130-145°F (54-63°C) | Medium-rare to medium for best texture |
| Silver skin removal | Always before cooking | Silver skin tightens and creates chewiness |
Handling the “Burn” Warning
Many Instant Pot users encounter the “Burn” notification when cooking with thick sauces or tomato-based liquids. To prevent this:
- Always deglaze after searing, scrape every bit of fond from the bottom.
- Add tomato products on top of the meat, not directly on the pot bottom.
- Use at least 1/2 cup of thin liquid (broth, wine, water) as the base layer before adding thicker sauces.
Sourcing Quality Venison Backstrap
Wild-harvested backstrap from a properly field-dressed deer will always outperform commercially raised venison in flavor complexity. However, for those who do not hunt, reputable online wild game suppliers and specialty butchers carry frozen venison backstrap year-round in 2026. When buying frozen, thaw slowly in the refrigerator for 24 hours, never in warm water, which degrades texture.
Signs of quality backstrap:
- Deep red to burgundy color with no gray patches
- Minimal visible connective tissue
- Clean, mild scent (not sour or sulfuric)
- Firm texture when pressed
Pairing Suggestions by Recipe
| Recipe | Best Side Dish | Best Wine or Beverage |
|---|---|---|
| Classic Garlic Herb | Roasted fingerling potatoes | Pinot Noir |
| Red Wine and Mushroom | Creamy mashed potatoes | Cabernet Sauvignon |
| Smoky Chipotle Lime | Corn tortillas, black beans | Mexican lager |
| Asian Soy and Ginger | Jasmine rice, bok choy | Riesling |
| Italian Tomato Olive | Polenta or crusty bread | Chianti |
| Bourbon Brown Sugar | Roasted sweet potatoes | Bourbon neat |
| French Onion | Toasted baguette, Gruyere | Chardonnay |
| Coffee Ancho Chile | Corn and black bean salsa | Dark stout |
Frequently Asked Questions About Instant Pot Venison Backstrap
Can venison backstrap be cooked from frozen in the Instant Pot?
Yes, but add 3 to 4 extra minutes of cook time and skip the searing step. The texture will be slightly less refined without the sear, but the result is still tender and safe to eat. Ensure the internal temperature reaches at least 130°F (54°C).
Does venison backstrap need to be soaked before cooking?
Soaking in saltwater or milk is an older technique meant to reduce gaminess. With properly handled, fresh backstrap, this step is unnecessary. If the meat has a strong odor, a 30-minute soak in cold salted water can help, but quality backstrap should not require it.
What is the difference between backstrap and tenderloin in a deer?
The backstrap runs along the outside of the spine from the neck to the hindquarters. The tenderloin is a smaller, internal muscle located inside the body cavity near the hindquarters. Both are extremely tender, but the backstrap is larger and more versatile for the recipes above.
Can these recipes be scaled up for a larger cut?
Yes. For a 3 lb backstrap, increase the cook time by 2 to 3 minutes. Do not exceed the Instant Pot’s maximum fill line. For cuts over 3 lbs, cut the backstrap in half and stack the pieces.
Is it safe to eat venison at medium-rare temperatures?
The USDA recommends cooking whole muscle cuts of venison to a minimum internal temperature of 145°F (63°C) with a 3-minute rest. However, many experienced hunters and chefs prefer 130-135°F for backstrap, citing superior texture and flavor. The decision is a personal one based on risk tolerance and the known origin of the meat.
Conclusion
The 8 tender and fast venison backstrap recipes for your Instant Pot outlined above prove that wild game does not require hours of braising or complex technique to reach its full potential. The Instant Pot’s pressurized moist-heat environment is uniquely suited to venison’s lean profile, delivering consistent results that dry-heat methods simply cannot guarantee.
Actionable next steps:
- Start with Recipe 1 (Classic Garlic Herb) to build confidence with the sear-deglaze-pressure framework before moving to more complex flavor profiles.
- Invest in an instant-read thermometer. Internal temperature is the single most reliable indicator of doneness for lean wild game.
- Remove silver skin from every backstrap before cooking, this one step has the greatest impact on final texture.
- Save and reduce the cooking liquid from every recipe. These pan sauces are the difference between a good plate and a memorable one.
- Experiment with the dry rub from Recipe 8 (Coffee Ancho Chile) on other venison cuts, it works equally well on roasts and chops.
With the right technique and a reliable pressure cooker, venison backstrap becomes one of the most rewarding proteins to cook in any home kitchen.