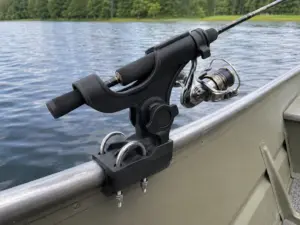
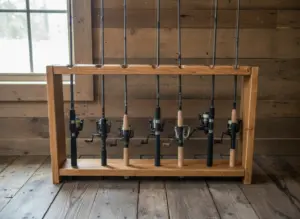
9 Simple DIY Fishing Rod Holder Ideas You Can Build This Weekend
Nearly 55 million Americans fish at least once a year, yet most of them store their rods leaning against a wall, crammed in a corner, or tangled in a closet. That careless storage chips guides, warps blanks, and costs real money in repairs and replacements. The good news is that the 9 simple DIY fishing rod holder ideas you can build this weekend solve that problem with basic tools, affordable materials, and a few hours of effort. Whether the goal is a wall-mounted rack in the garage, a truck-bed holder for road trips, or a compact solution for a small apartment, there is a project on this list that fits the budget and the skill level.
Disclosure: This post contains affiliate links. As an Amazon Associate, we earn from qualifying purchases, and at no extra cost to you.
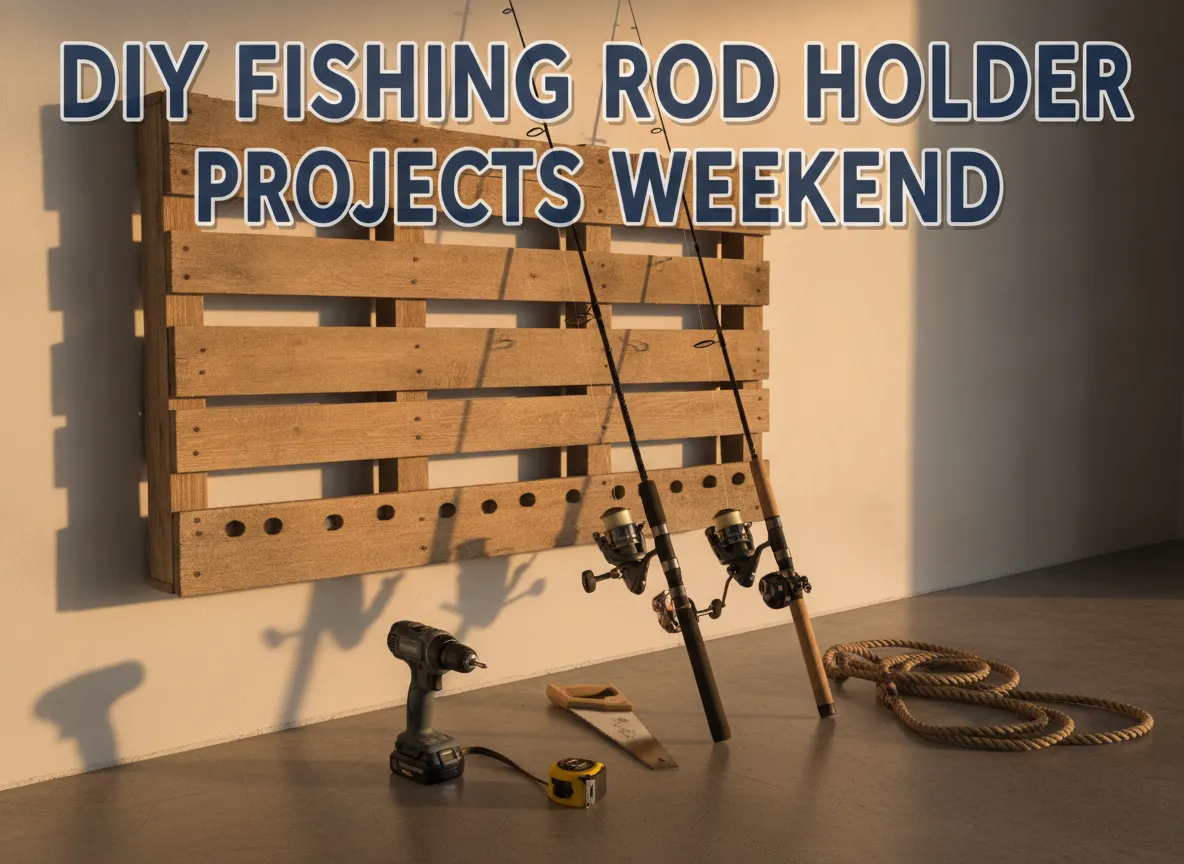
Key Takeaways
- All 9 projects use common materials available at hardware or home improvement stores for under $30 in most cases.
- No advanced woodworking or plumbing skills are required, a drill, a saw, and basic fasteners handle most builds.
- Proper rod storage prevents guide damage, blank warping, and reel wear, extending the life of expensive gear.
- Several designs double as display pieces, turning fishing rods into a conversation-starting wall feature.
- Most builds can be completed in two to four hours, making a genuine weekend project realistic for any skill level.
Why Building Your Own Rod Holder Makes More Sense Than Buying One
Commercial rod holders range from flimsy plastic racks that wobble under light loads to premium wall mounts that cost $80 or more per unit. A DIY approach closes that gap entirely. Builders control the dimensions, the finish, the mounting style, and the number of rods accommodated. Materials like PVC pipe, pine boards, and pool noodles cost a fraction of retail prices, and the result is a holder tailored to the exact space available.
Beyond cost, there is a practical durability argument. Many store-bought holders use thin injection-molded plastic that cracks in cold garages or under UV exposure. A wooden rack sealed with polyurethane or a PVC holder reinforced with quality fittings will outlast cheap commercial alternatives by years.
Bottom line: A well-built DIY rod holder protects gear better, costs less, and fits the space perfectly.
The 9 Simple DIY Fishing Rod Holder Ideas You Can Build This Weekend
The projects below are ranked roughly from the simplest and cheapest to the slightly more involved builds. Each entry covers materials, approximate cost, build time, and best use case.
1. PVC Pipe Wall Mount
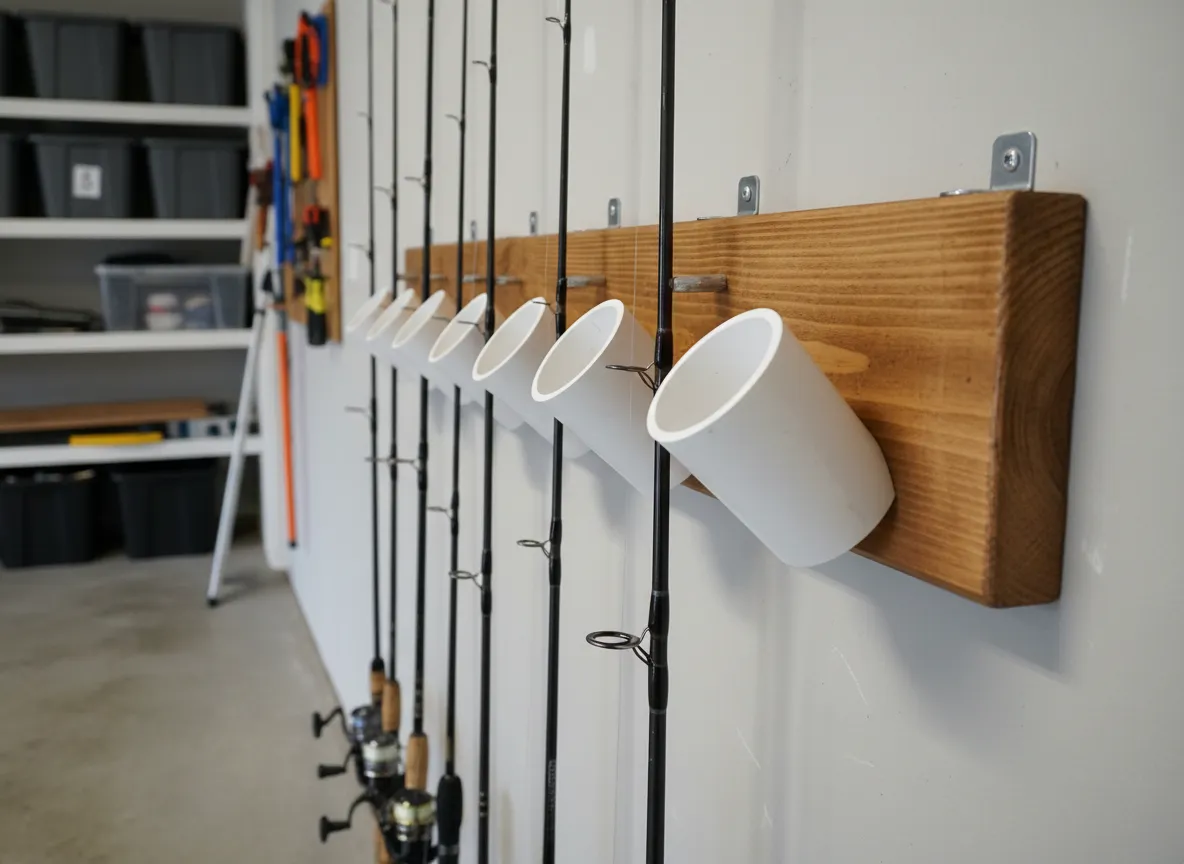
Best for: Garage or shed walls | Estimated cost: $8,$15 | Build time: 1-2 hours
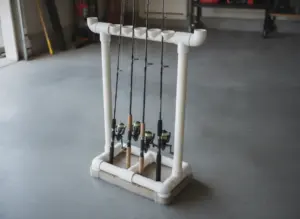
PVC pipe is the workhorse of DIY rod storage. A standard 1.5-inch diameter PVC pipe cut into 6-inch sections creates individual rod tubes that mount directly to a wall-mounted board or directly to studs.
Materials needed:
- 10-foot length of 1.5-inch PVC pipe
- 1×6 pine board (length depends on rod count)
- PVC cement or pipe straps
- Wood screws and wall anchors
Cut the PVC into equal sections using a hacksaw or miter saw. Sand the cut edges smooth to prevent scratching rod blanks. Attach the sections to the pine board at a slight downward angle so rods slide in and rest securely. Mount the board to wall studs for maximum weight support.
A 10-foot PVC pipe yields roughly 18 to 20 sections, enough for a full rod collection at minimal cost. Spray-paint the PVC in a matching color for a cleaner look.
2. Pool Noodle Rod Rack
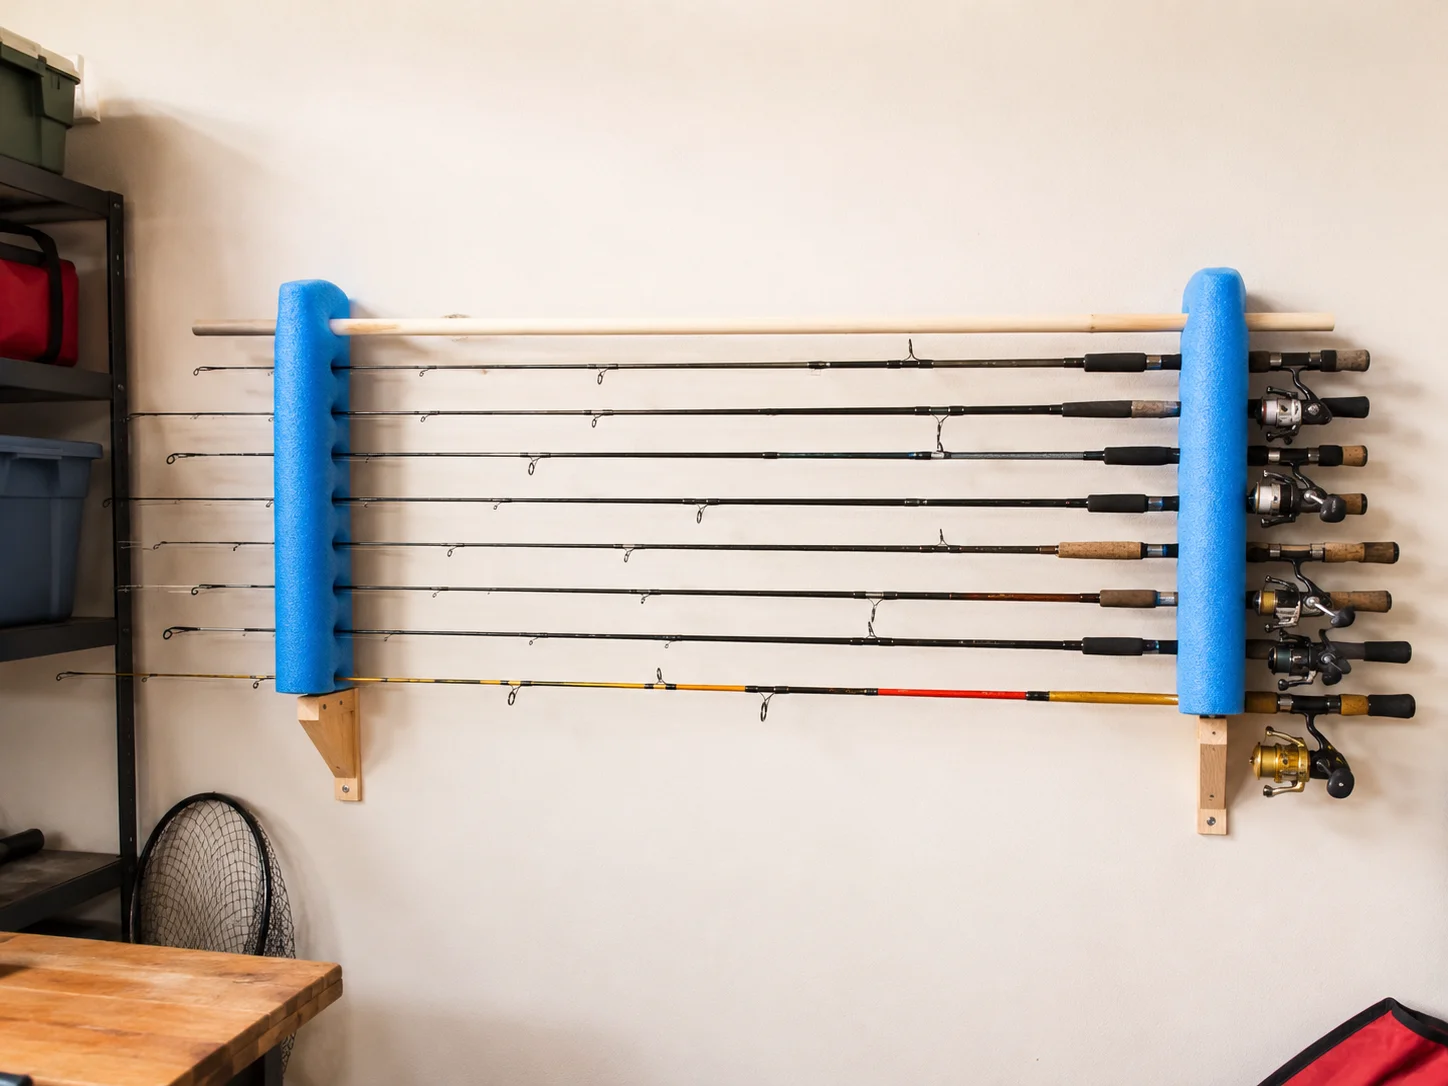
Best for: Budget builds, renters, temporary storage | Estimated cost: $3,$6 | Build time: 30-45 minutes
Pool noodles are one of the most underrated storage materials available. Their foam construction is soft enough to cradle rod blanks without scratching, and they cost less than a dollar per foot at most dollar stores during summer months.
Materials needed:
- 2 pool noodles
- A wooden dowel or broom handle
- Zip ties or bungee cords
- Two mounting hooks or a shelf bracket
Thread the wooden dowel through the center hole of both pool noodles to create a horizontal bar. Mount the bar between two shelf brackets or hooks at a comfortable height. Rods rest horizontally across the noodles, cushioned from contact with hard surfaces.
For a vertical version, cut the noodle into 8-inch sections and stand them upright in a plastic bin or wooden crate. Rods slide down into the foam and stand on their own.
“The pool noodle rack is the fastest rod storage solution that actually works, built in under an hour with materials that cost less than a cup of coffee.”
3. Wooden Pallet Rod Holder
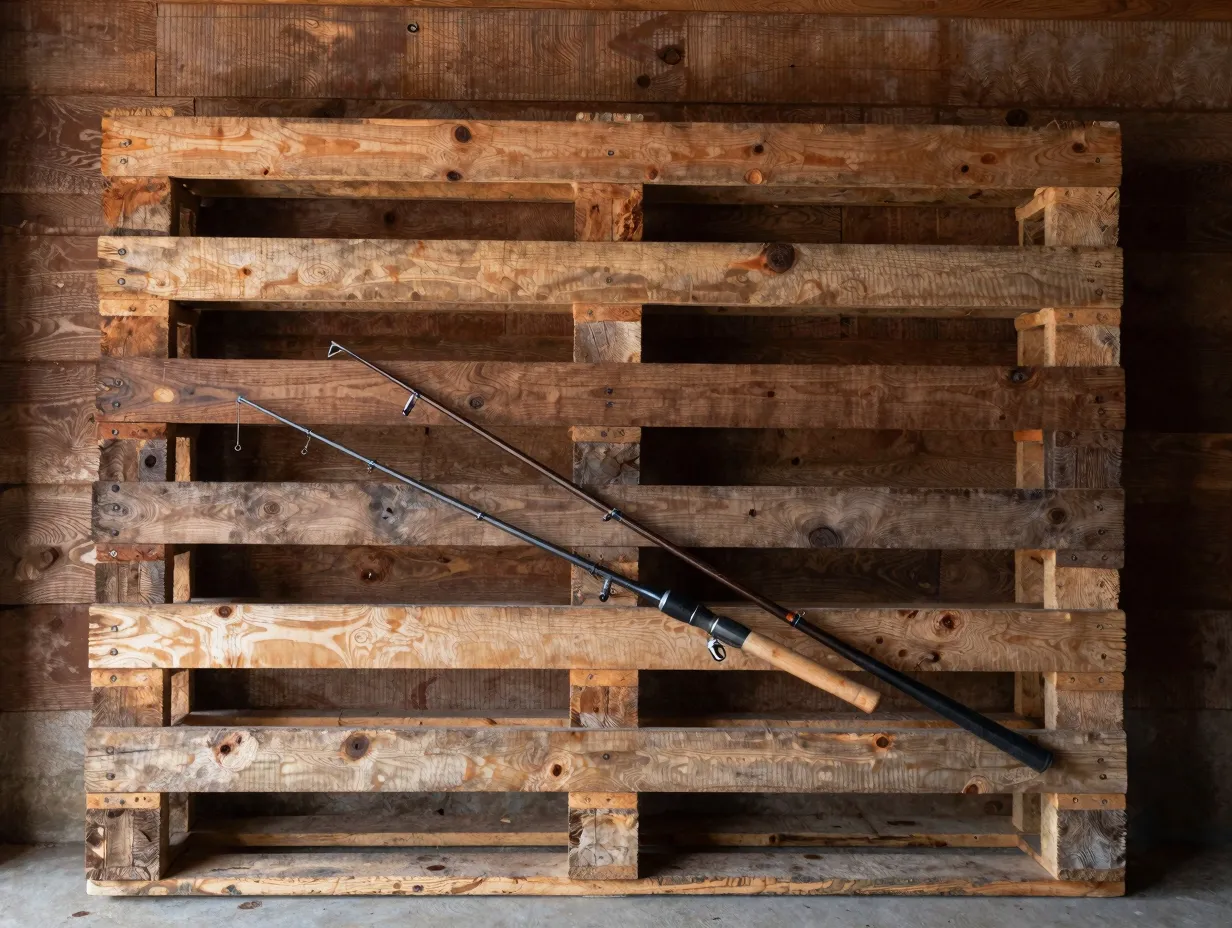
Best for: Rustic garage or cabin aesthetic | Estimated cost: $0,$10 | Build time: 2-3 hours
Free wooden pallets are available behind most grocery stores, hardware stores, and warehouses. With light sanding and a coat of stain or paint, a pallet transforms into a wall-mounted rod display that looks intentional and holds a dozen rods with ease.
Materials needed:
- 1 wooden pallet (standard 48×40 inch)
- Sandpaper (80-grit and 120-grit)
- Wood stain or exterior paint
- Lag bolts for wall mounting
- Optional: PVC pipe sections inserted into pallet gaps
Sand the pallet thoroughly to remove splinters. The natural gaps between pallet boards serve as rod slots, rods lean at an angle through the upper gaps and rest in the lower ones. For a tighter fit, insert short PVC sections into the gaps to create smooth-lined tubes.
Mount the pallet flat against the wall using lag bolts driven into studs. Two bolts at the top and two at the bottom provide more than enough support for a full load of rods.
4. Pegboard Rod Organizer
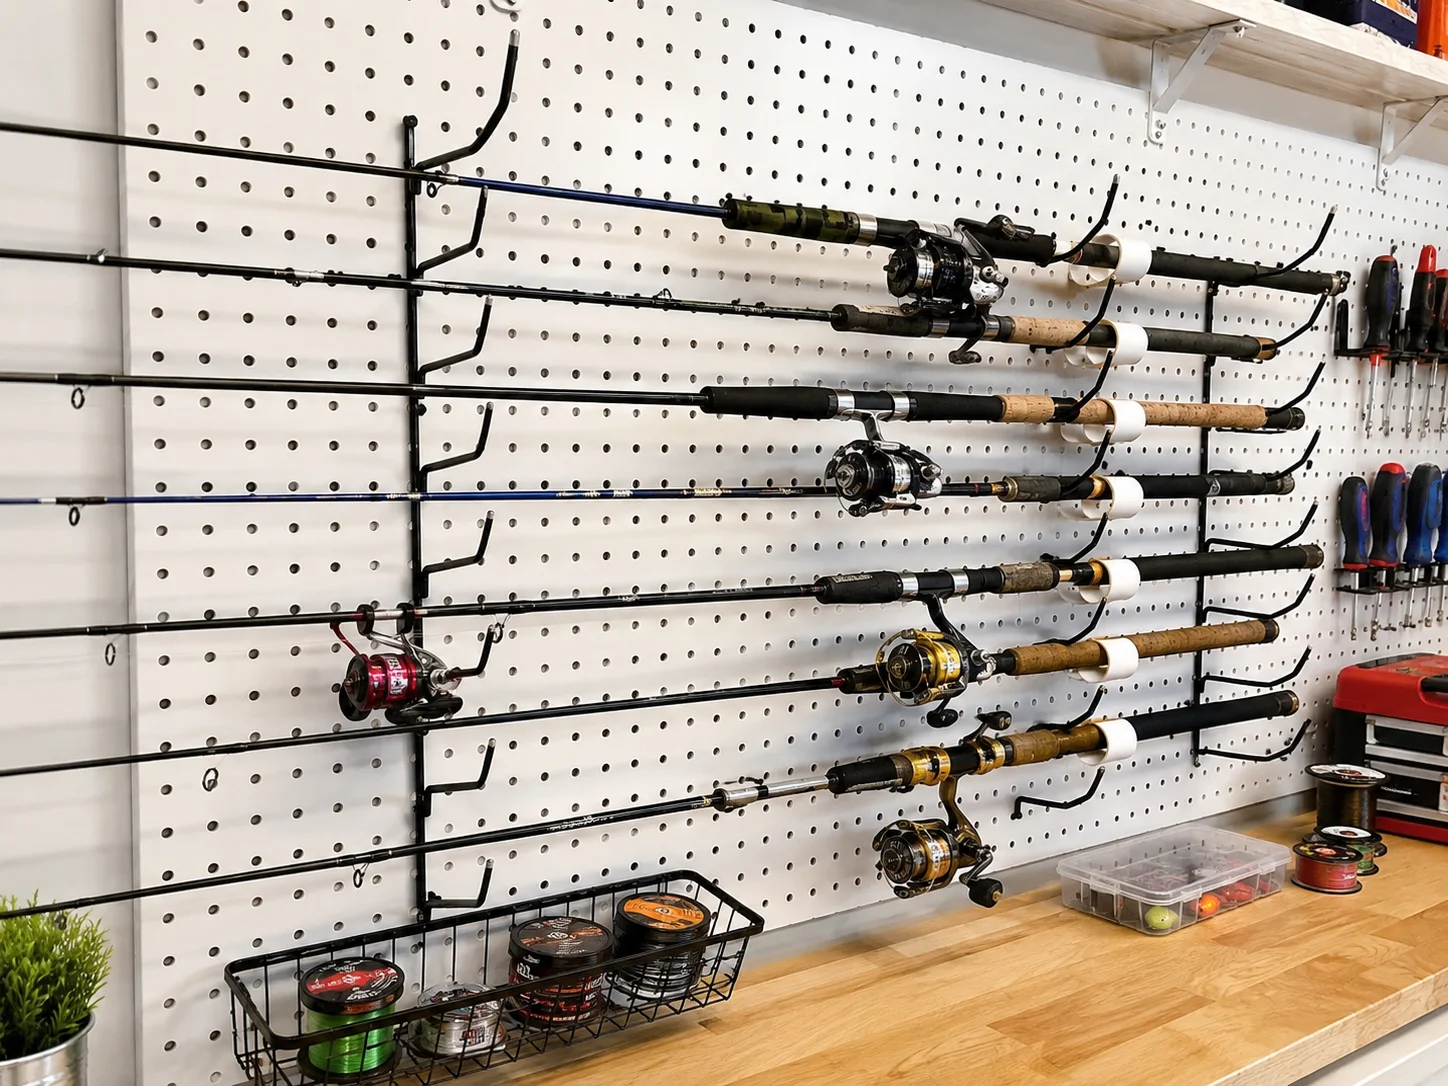
Best for: Versatile garage organization | Estimated cost: $15,$25 | Build time: 2-3 hours
Pegboard is already a garage staple for tool storage, and it works equally well for fishing rod organization. The grid of holes accepts a wide variety of hooks, brackets, and custom-cut PVC holders that can be rearranged at any time without drilling new holes.
Materials needed:
- 4×4 foot sheet of 1/4-inch pegboard
- Pegboard mounting standoffs (to create clearance from the wall)
- Assorted pegboard hooks and rod-cradle attachments
- Optional: short PVC pipe sections with pegboard hook backs
Mount the pegboard to the wall using standoffs, these create a gap between the board and the wall that allows hooks to engage properly. Insert pegboard hooks at two heights per rod: one near the tip and one near the handle. Rods rest horizontally in the cradles.
The major advantage of pegboard is flexibility. As the rod collection grows or changes, the layout adjusts in minutes without any tools beyond a pair of hands.
5. Ceiling-Mounted Overhead Rack
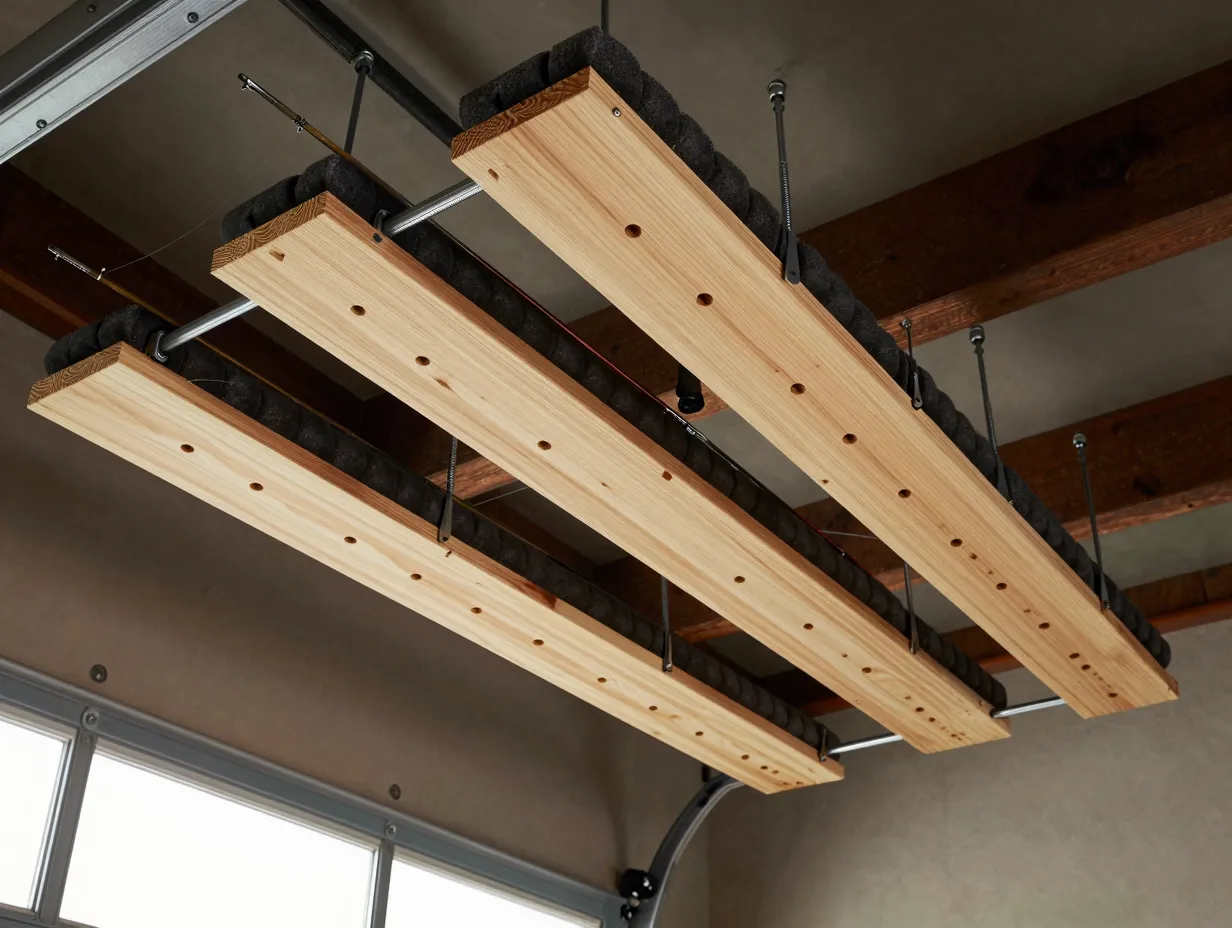
Best for: Maximizing floor and wall space in garages | Estimated cost: $20,$35 | Build time: 3-4 hours
When wall space is limited, the ceiling becomes prime real estate. An overhead rod rack keeps rods safely out of the way while freeing up walls for other gear. This build requires locating ceiling joists, but the result is a clean, professional-looking storage solution.
Materials needed:
- Two 2×4 boards (length to match rod count)
- Threaded rod or heavy-duty eye bolts
- PVC pipe sections or foam pipe insulation
- Lag screws for joist attachment
Cut two 2×4 boards to the desired length. Drill evenly spaced holes (slightly larger than rod diameter) along both boards. Line the holes with foam pipe insulation or short PVC sections to protect rod blanks. Suspend the boards from the ceiling joists using threaded rod or eye bolts, keeping them parallel and level. Rods slide through the holes and rest securely overhead.
Space the two boards far enough apart to support rods near the tip and near the handle, typically 18 to 24 inches apart for most rod lengths.
6. Truck Bed PVC Rod Holder
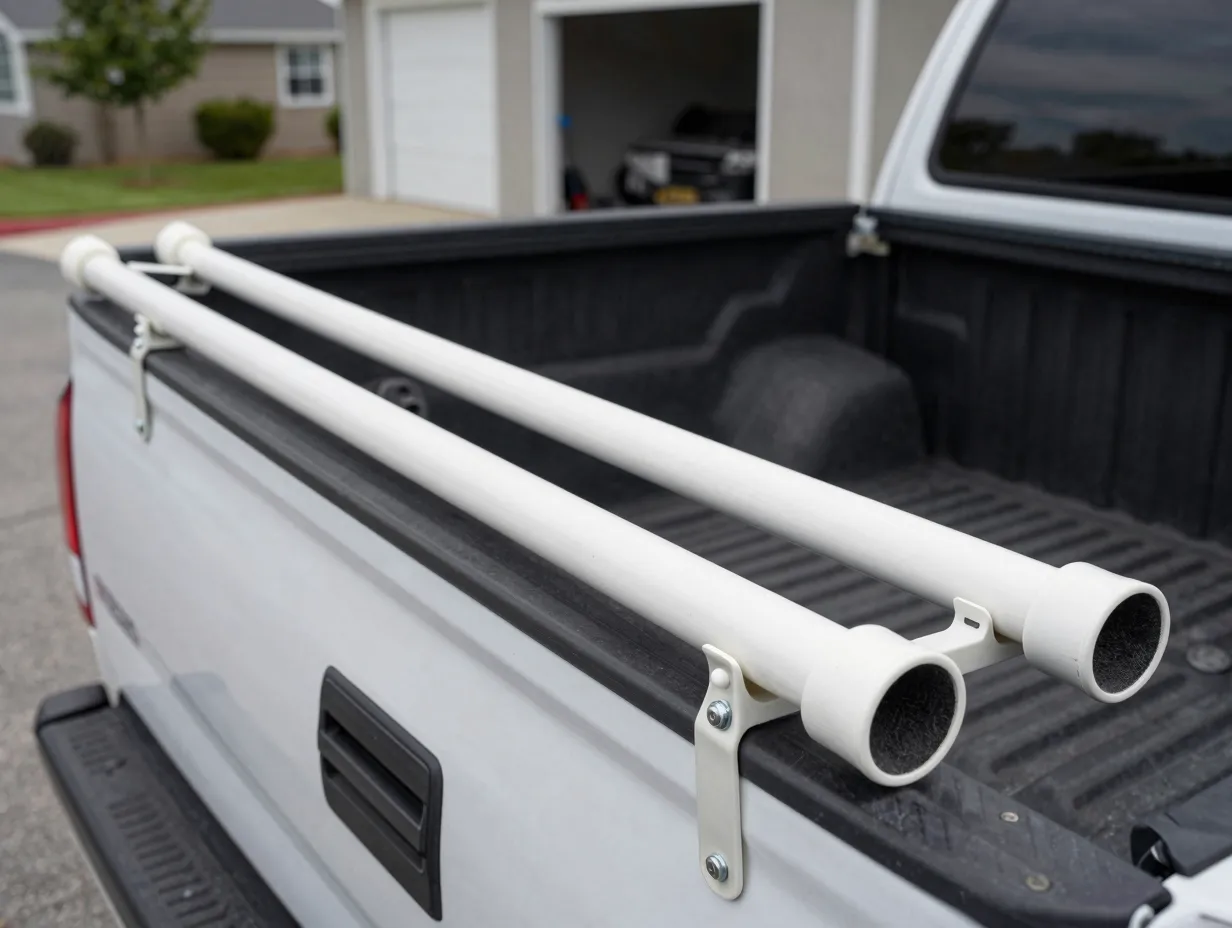
Best for: Anglers who fish from trucks | Estimated cost: $15,$25 | Build time: 2-3 hours
Transporting rods in a truck bed without a holder is a recipe for broken tips and tangled lines. A simple PVC rack mounted to the truck bed rail keeps rods secure during transit and takes under three hours to build.
Materials needed:
- 2-inch diameter PVC pipe
- PVC end caps
- U-bolt clamps or hose clamps
- Foam pipe insulation for the interior
- Drill and hole saw
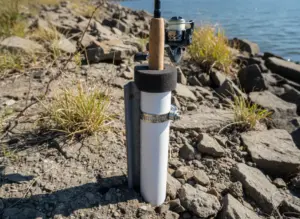
Cut PVC pipe sections to 18-24 inches in length. Cap one end with a PVC end cap. Line the interior with foam pipe insulation to cushion rod tips. Mount the tubes to the truck bed rail using U-bolt clamps, angling them slightly forward so rods do not slide out during acceleration.
For a cleaner installation, run a second set of shorter tubes at the cab end of the bed to cradle rod handles. This two-point support system prevents rods from bouncing and vibrating against each other on rough roads.
7. Wine Rack Rod Holder
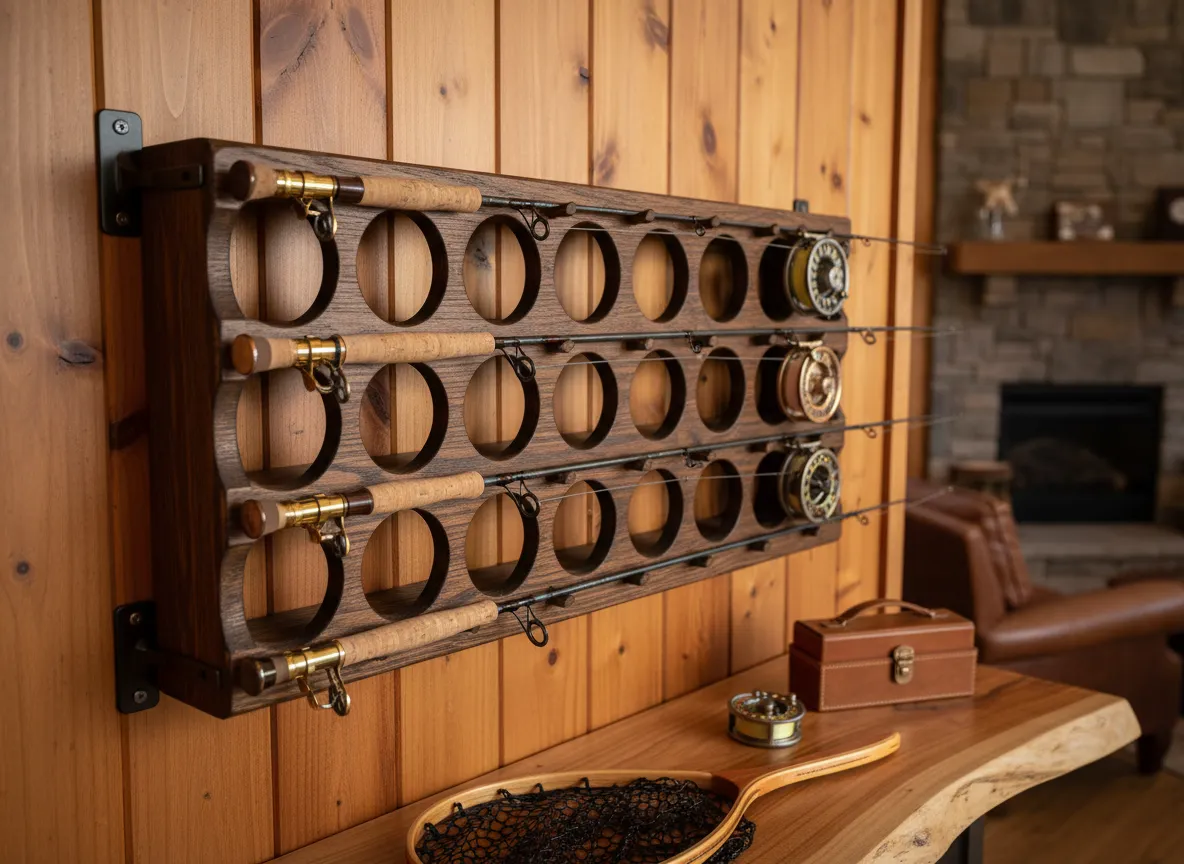
Best for: Repurposing household items, display-worthy storage | Estimated cost: $0,$20 | Build time: 1-2 hours
A standard countertop wine rack, the kind with individual circular slots, holds fishing rods with almost no modification. The circular openings that cradle wine bottles are nearly identical in diameter to most rod handles and reel seats.
Materials needed:
- Countertop wine rack (6 to 12 bottle capacity)
- Optional: foam pipe insulation to line the slots
- Optional: wall-mounting hardware
Stand the wine rack upright and slide rod handles into the individual slots. The rods lean at a natural angle and stay separated, preventing guides from tangling. For added protection, line each slot with a short section of foam pipe insulation cut lengthwise.
For a wall-mounted version, attach the wine rack to a wall using L-brackets and screws through the rack’s frame. This version works particularly well in a fishing cabin or den where the rods serve as both storage and decor.
8. Wooden Dowel Display Rack
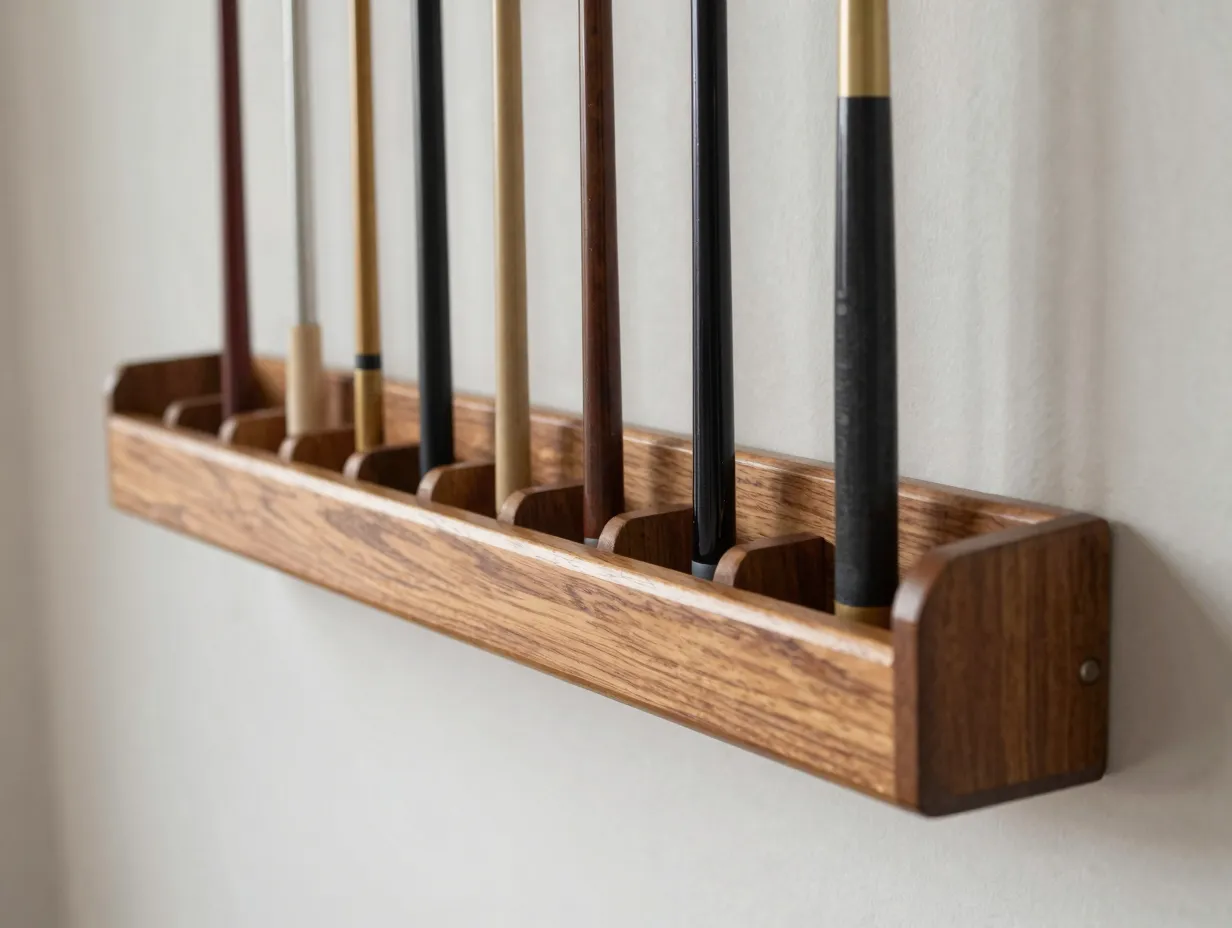
Best for: Living rooms, dens, display-quality storage | Estimated cost: $20,$30 | Build time: 3-4 hours
For anglers who want rod storage that looks at home in a living space rather than a garage, a wooden dowel rack offers a clean, furniture-quality finish. This build uses a hardwood board and wooden dowels to create a wall-mounted rack that doubles as a display piece.
Materials needed:
- 1×8 hardwood board (oak, walnut, or pine)
- 3/4-inch wooden dowels
- Wood glue
- Drill and 3/4-inch drill bit
- Sandpaper and polyurethane finish
Cut the hardwood board to the desired length. Mark evenly spaced hole positions along the board, one row near the top and one near the bottom. Drill the holes at a slight upward angle so dowels point slightly toward the wall, creating a natural cradle. Cut dowels to 4-inch lengths, apply wood glue, and press them into the holes. Allow the glue to cure fully before mounting.
Sand the entire assembly to 220-grit smoothness and apply two coats of polyurethane. The result is a rack that looks custom-made and holds six to twelve rods depending on board length.
9. Repurposed Ladder Rod Rack
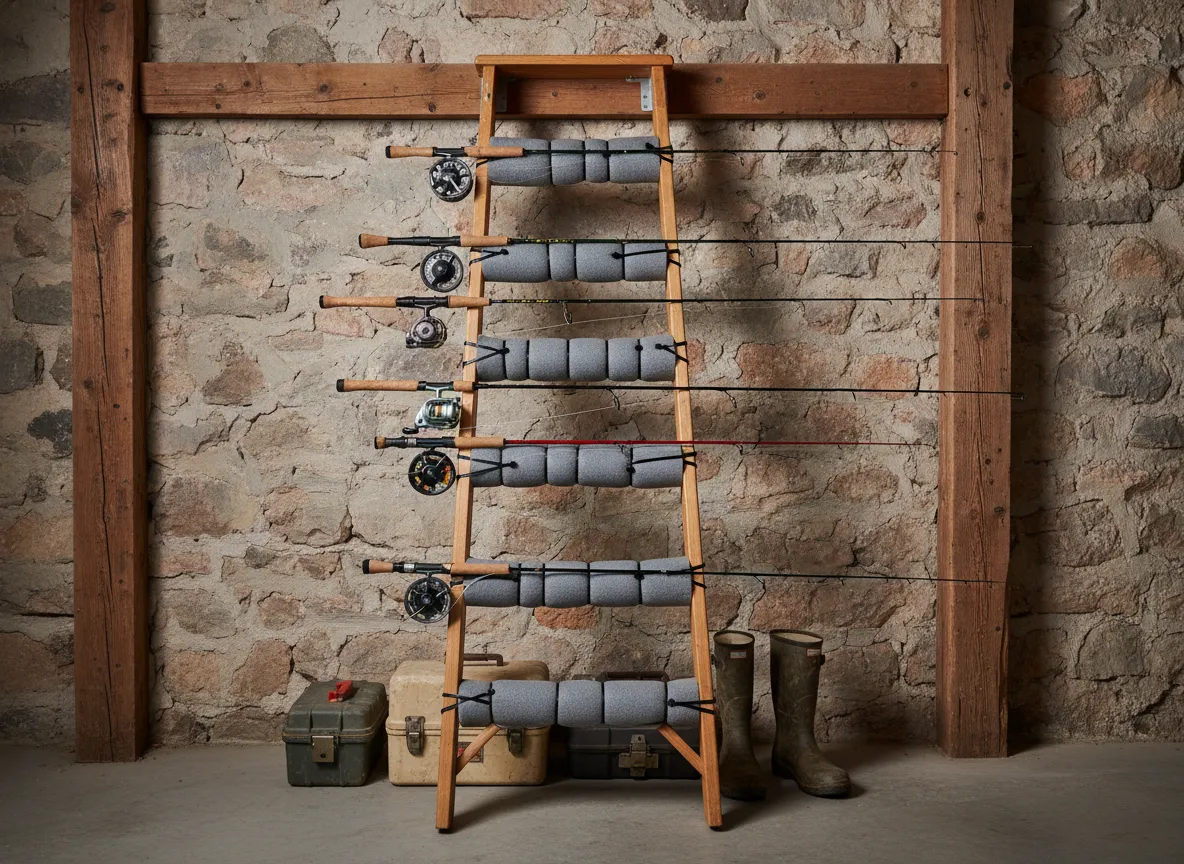
Best for: Freestanding storage, no wall drilling required | Estimated cost: $0,$15 | Build time: 1-2 hours
An old wooden ladder, the kind found at garage sales, thrift stores, or in the back of a barn, converts into a freestanding rod rack with almost no modification. The rungs serve as natural rod cradles, and the ladder’s lean-against-the-wall design keeps it stable without any mounting hardware.
Materials needed:
- Old wooden ladder (6 to 8 feet tall)
- Sandpaper
- Paint or stain (optional)
- Foam pipe insulation or pool noodle sections for rung padding
Sand the ladder smooth to remove any splinters or old paint. Wrap each rung with foam pipe insulation or pool noodle sections secured with zip ties to create soft cradles that protect rod blanks. Lean the ladder against the wall at a stable angle and rest rods across the rungs.
For added stability, attach a small L-bracket at the top of the ladder to the wall. This prevents the ladder from sliding sideways while still allowing it to be moved when needed. The finished piece has an intentional, vintage aesthetic that works in rustic spaces.
Choosing the Right Build for Your Space and Budget
Not every project suits every situation. Use the comparison below to match the right build to the available space, budget, and skill level.
| Project | Best Location | Est. Cost | Skill Level |
|---|---|---|---|
| 1. PVC Pipe Wall Mount | Garage / Shed | $8,$15 | Beginner |
| 2. Pool Noodle Rack | Anywhere | $3,$6 | Beginner |
| 3. Wooden Pallet Holder | Garage / Cabin | $0,$10 | Beginner |
| 4. Pegboard Organizer | Garage | $15,$25 | Beginner |
| 5. Ceiling Overhead Rack | Garage | $20,$35 | Intermediate |
| 6. Truck Bed PVC Holder | Truck / Vehicle | $15,$25 | Beginner |
| 7. Wine Rack Holder | Den / Cabin | $0,$20 | Beginner |
| 8. Wooden Dowel Rack | Living Room / Den | $20,$30 | Intermediate |
| 9. Repurposed Ladder Rack | Anywhere | $0,$15 | Beginner |
Tips for Building Any DIY Fishing Rod Holder
Regardless of which project from the 9 simple DIY fishing rod holder ideas you can build this weekend gets chosen, a few universal principles apply to every build.
Protect the rod blank first. Any surface that contacts a rod should be padded with foam, rubber, or pool noodle material. Hard PVC or bare wood edges can scratch or chip rod blanks over time, especially with vibration during transport.
Account for reel clearance. Many anglers store rods with reels attached. Make sure the holder design leaves enough clearance below the rod so the reel hangs freely without pressing against the wall or a shelf.
Use proper fasteners for wall mounting. A rod holder loaded with six to ten rods carries more weight than it might appear. Always drive screws into wall studs or use appropriate wall anchors rated for the expected load. Toggle bolts work well in drywall when studs are not accessible.
Label sections for different rod types. If the collection includes spinning rods, baitcasting rods, and fly rods, labeling sections of the holder prevents accidental mixing and makes grabbing the right rod faster before a trip.
Seal wood before use in humid environments. Garages, sheds, and boat storage areas experience humidity swings that cause untreated wood to warp and crack. A coat of exterior polyurethane or outdoor paint adds years to the life of any wooden holder.
Conclusion
The 9 simple DIY fishing rod holder ideas you can build this weekend cover every storage scenario, from a $3 pool noodle rack assembled in 30 minutes to a polished wooden dowel display that belongs in a living room. Every project uses materials available at any hardware or home improvement store, and none requires more than basic hand tools and a free afternoon.
Actionable next steps to take right now:
- Measure the available wall, ceiling, or floor space before selecting a project to ensure the finished holder fits the intended location.
- Inventory the existing rod collection, count the rods and note whether reels will be stored attached or separately, since this affects holder design.
- Visit a local hardware store or check the garage for materials already on hand; several of these builds cost nothing if scrap lumber and PVC are available.
- Start with the simplest project (the pool noodle rack or the wine rack conversion) to build confidence before tackling the ceiling mount or the dowel display rack.
- Once the first holder is complete, consider combining two designs, for example, a ceiling rack for long rods paired with a pegboard organizer for shorter spinning setups.
Proper rod storage is not a luxury. It is basic gear maintenance that extends the life of expensive equipment and keeps the tackle room organized for faster, more enjoyable trips. Pick a project, gather the materials, and spend this weekend building something that will protect the rod collection for years to come.