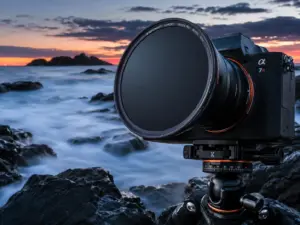
9 Pro Tips For Capturing The Perfect Beach Sunset Aesthetic
Only 11% of sunset photos shared on social media are taken during the actual moment the sun touches the horizon, yet that fleeting window accounts for the majority of the most-shared coastal images online. The gap between a forgettable snapshot and a scroll-stopping frame almost always comes down to preparation, technique, and timing. Whether shooting with a mirrorless camera or a smartphone, applying the 9 Pro Tips For Capturing The Perfect Beach Sunset Aesthetic covered in this guide can transform ordinary beach visits into a consistent source of stunning imagery. From understanding light windows to mastering long exposures, these strategies are used by working photographers, travel content creators, and portrait specialists alike.
Disclosure: This post contains affiliate links. As an Amazon Associate, we earn from qualifying purchases, and at no extra cost to you.
Key Takeaways
- Arrive at least 45 minutes before sunset and stay 45 minutes after to capture three distinct light windows: golden hour, the sunset moment, and blue hour.
- Expose for the sky rather than the sun to preserve rich color and avoid blown highlights.
- Use a tripod, low ISO (100-200), and mid-range apertures (f/8-f/11) for sharp, clean sunset landscapes.
- ND filters and long exposures (1-30 seconds) create a dreamy, silky water effect that elevates the beach sunset aesthetic.
- Post-processing is not optional, targeted adjustments to highlights, shadows, and color temperature make the difference between a good shot and a great one.
Understanding the Three Light Windows That Define the Beach Sunset Aesthetic
Before touching a camera setting, understanding how light behaves around sunset is the single most important investment a photographer can make. A complete guide to beach sunrise and sunset photography identifies three distinct phases, each offering a unique visual character [3]:
Golden Hour, roughly 20 to 30 minutes before the sun reaches the horizon, delivers warm, directional light with long shadows and a soft orange glow. Skin tones look flattering, sand textures become dramatic, and the sky begins to shift from blue to amber.
The Sunset Moment, the period when the sun actually meets the horizon, produces the most saturated reds, oranges, and pinks. This is the window most people wait for, but it lasts only a few minutes.
Blue Hour, approximately 20 to 40 minutes after sunset, transitions the sky through pastel purples, deep blues, and soft greens. Many experienced photographers argue this is the most underrated phase for the beach sunset aesthetic, as colors are often more complex and less predictable than during golden hour [3].
“The most common mistake is packing up right after the sun disappears. Blue hour regularly produces the most painterly skies of the entire session.”
Shooting across all three windows in a single session gives a cohesive series with tonal variety, warm, vibrant, and cool, that works exceptionally well for editorial spreads and social content alike [3][8].
9 Pro Tips For Capturing The Perfect Beach Sunset Aesthetic
1. Arrive 45 Minutes Early and Stay 45 Minutes Late
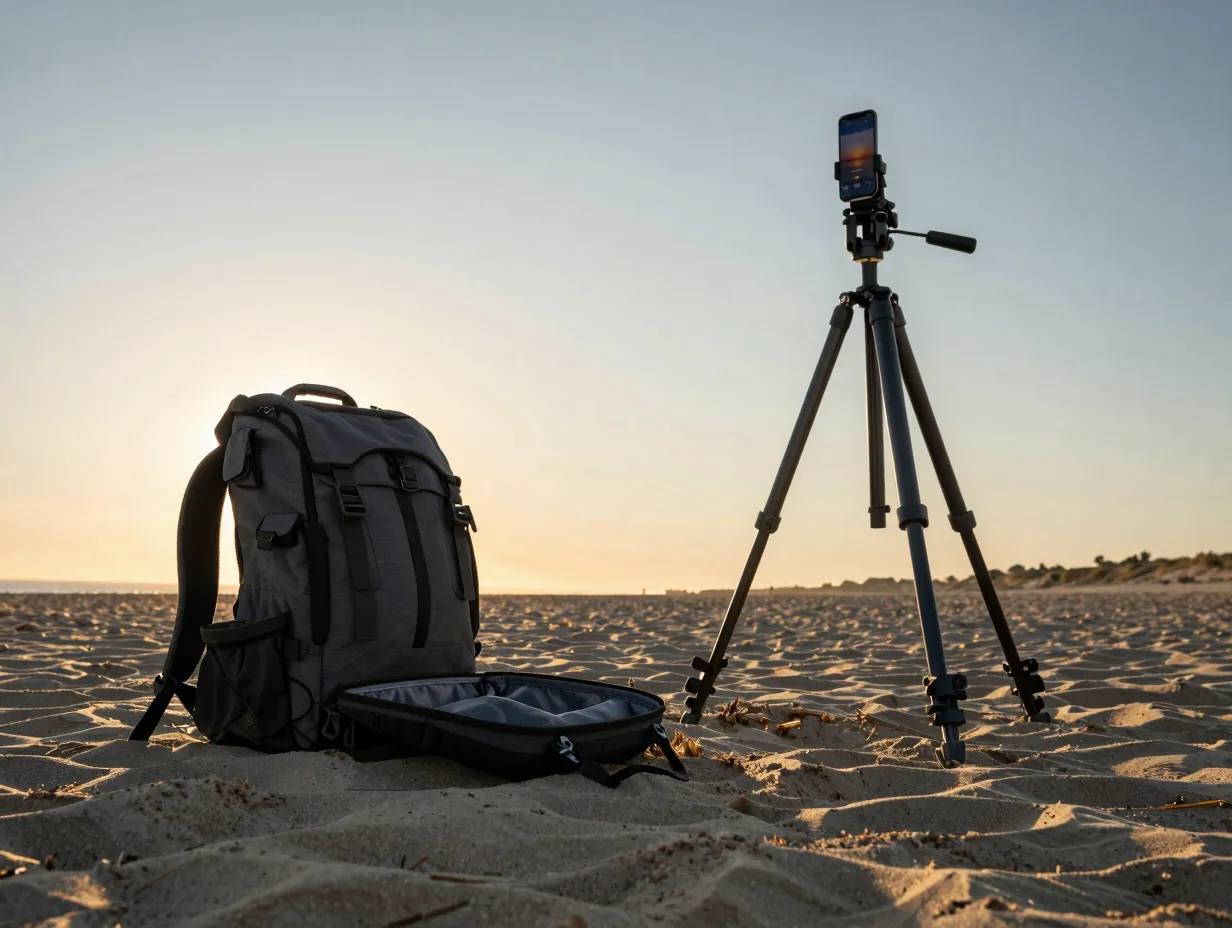
Timing is the foundation of every tip that follows. Pro guides and portrait specialists consistently recommend arriving at least 45 minutes before sunset and remaining on location for at least 45 minutes after the sun disappears [4][2]. This extended window serves multiple purposes:
- Setup time for tripods, filters, and composition scouting
- Opportunity to capture pre-sunset beach activity and ambient light
- Access to afterglow tones, the saturated pinks and purples that appear 10 to 20 minutes post-sunset, which often outperform the sunset itself for aesthetic impact [4]
Use a free sunset time app (such as PhotoPills or The Photographer’s Ephemeris) to plan the exact schedule for any location on any date.
2. Expose for the Sky, Not the Sun
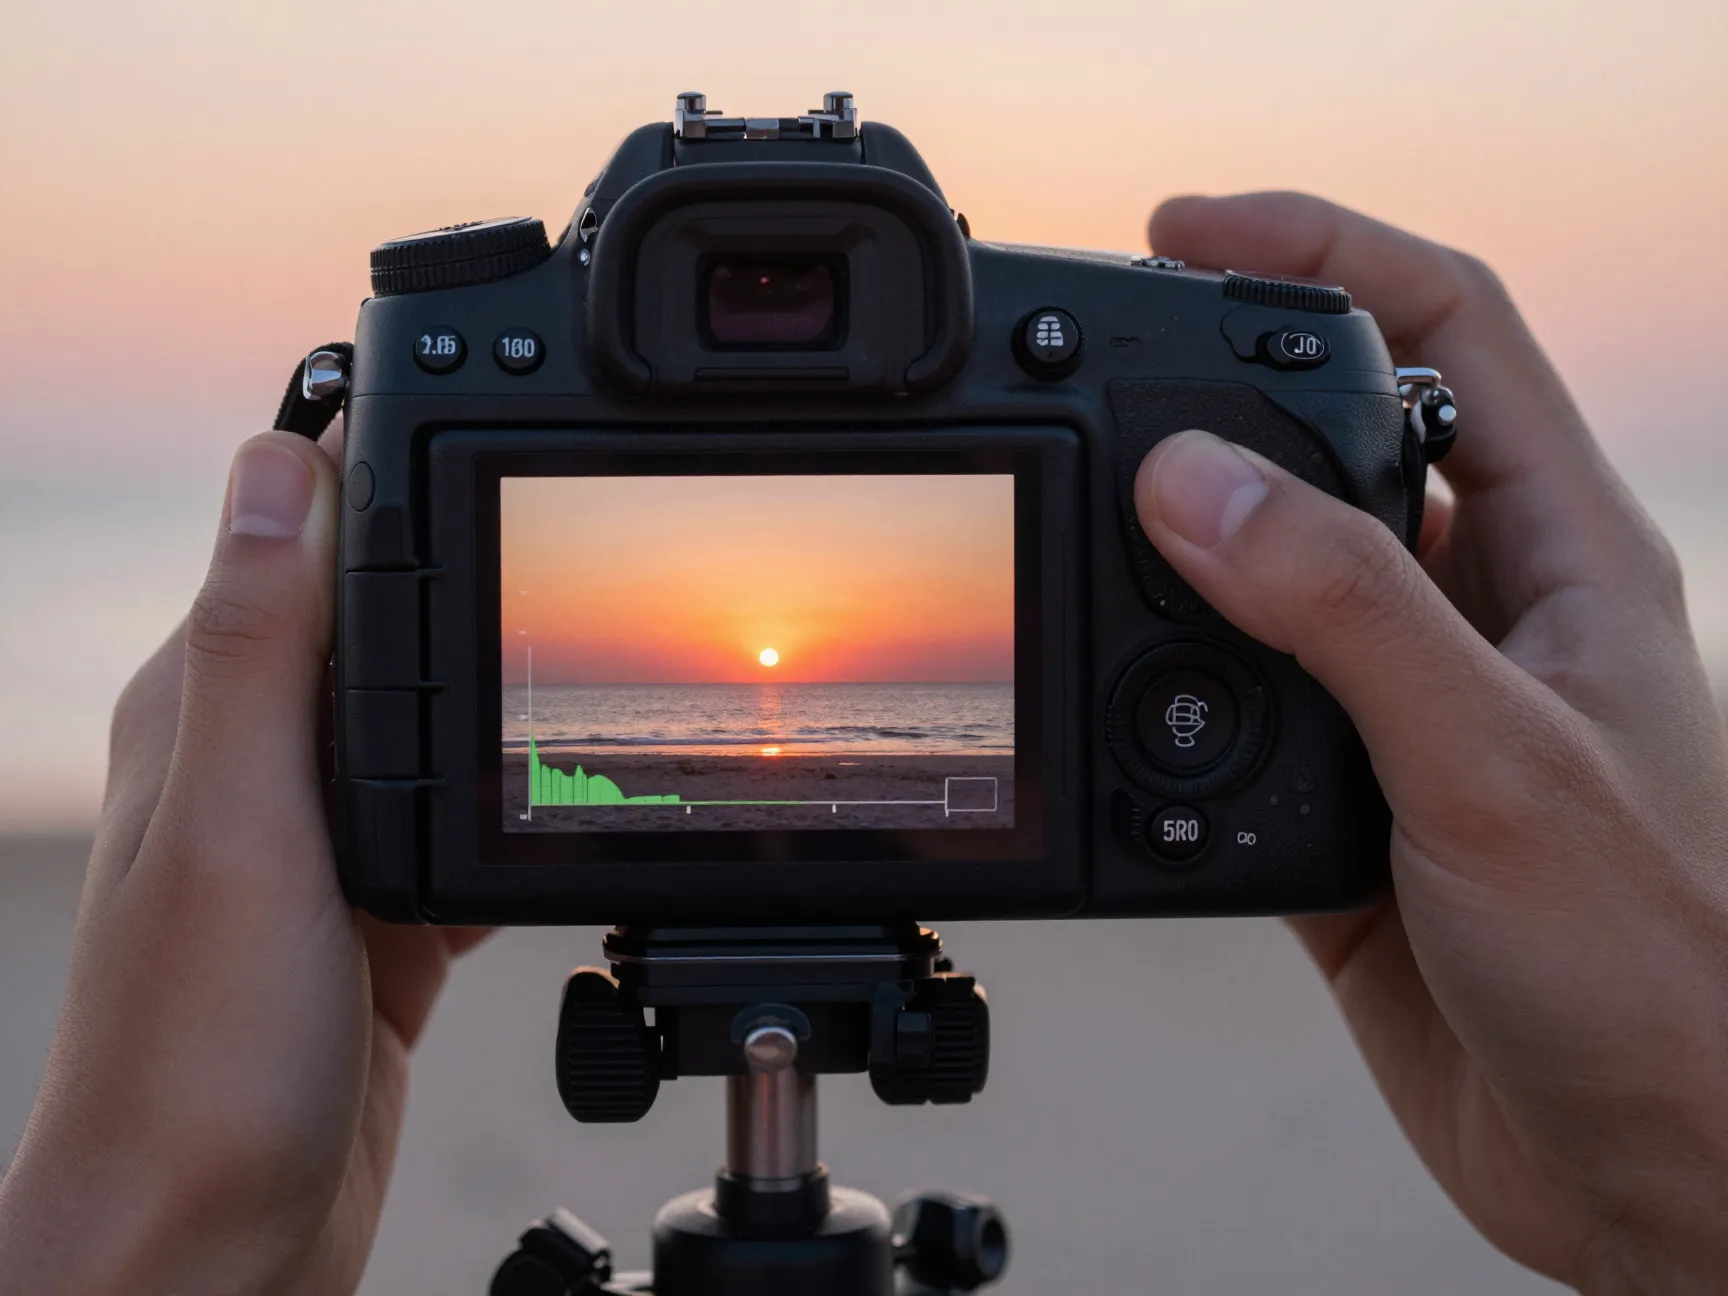
Metering directly on the sun is one of the most common technical errors in beach sunset photography. The result is a washed-out, overexposed sky that loses all color depth. Instead, point the camera at the sky slightly away from the sun and lock exposure there [4][5].
Practical steps:
- On a DSLR or mirrorless camera, use spot metering or center-weighted metering aimed at the sky.
- Dial exposure compensation down by -0.3 to -1.0 stop to deepen oranges, pinks, and purples without crushing the shadows.
- On a smartphone, tap the brightest part of the sky to set exposure, then use the exposure slider to reduce brightness slightly [9].
This technique also works in portrait sessions. Slightly underexposing the sky while using a reflector or fill flash on the subject keeps the background dramatic without sacrificing skin detail [2].
3. Use Mid-Range Apertures for Sharp, Detailed Landscapes
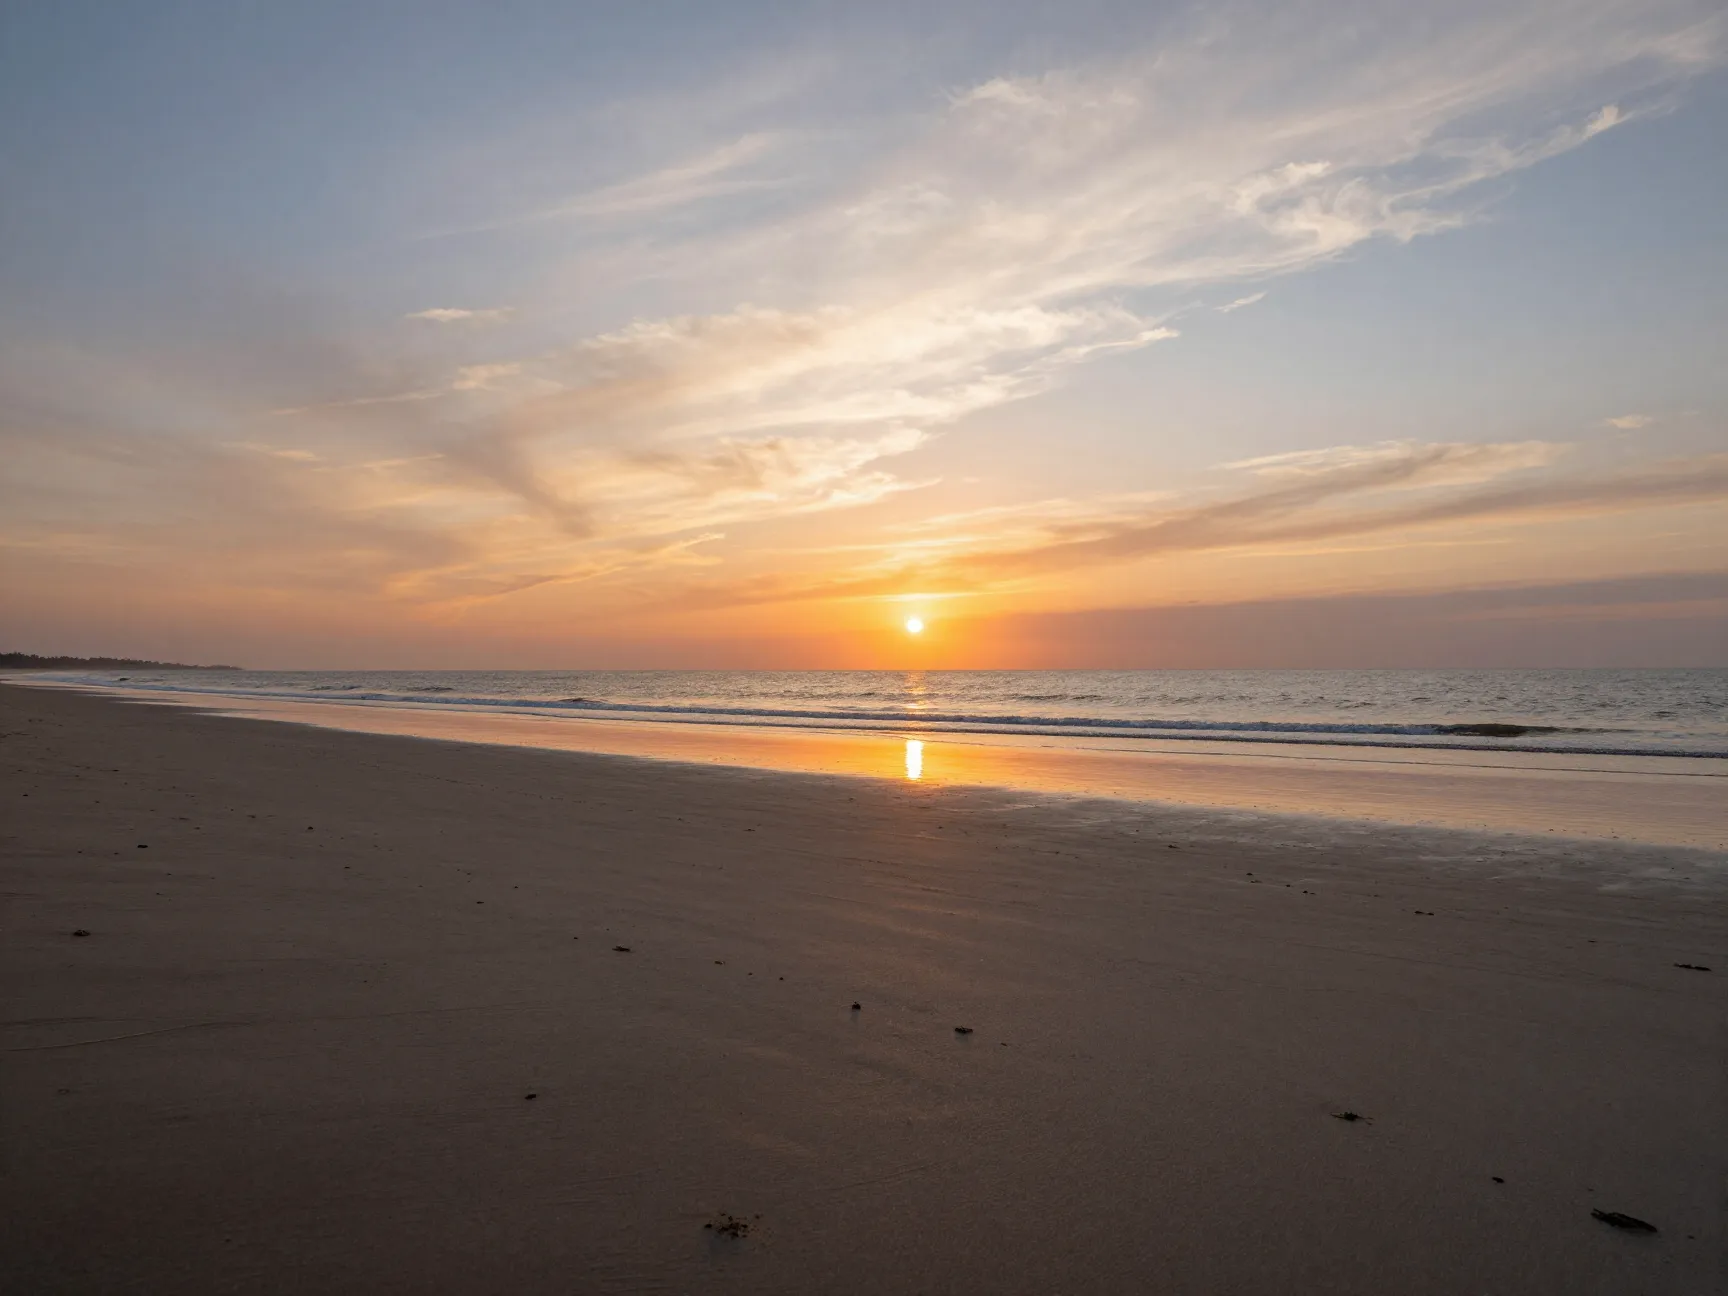
For landscape-style beach sunset shots, aperture choice directly affects sharpness across the entire scene, from the wet sand foreground to the distant horizon. Multiple technical guides converge on f/8 to f/11 as the optimal range for most beach sunset scenarios [3][11]. When maximum depth of field is needed, for example, when including detailed rock formations or pier structures in the foreground, f/16 is a reliable choice [3].
| Aperture | Best Use Case | Effect |
|---|---|---|
| f/6.3 – f/8 | Balanced landscape / portrait hybrid | Sharp subject, soft background transition |
| f/8 – f/11 | Standard landscape sunset | Full scene sharpness, good color rendering |
| f/16 | Wide foreground-to-horizon depth | Maximum depth of field, star-burst sun effect |
For portrait-focused beach sunset work, apertures between f/2.8 and f/5.6 separate the subject from the background while still rendering enough sky detail to maintain the aesthetic mood [2].
4. Keep ISO Low and Adjust Shutter Speed for Conditions
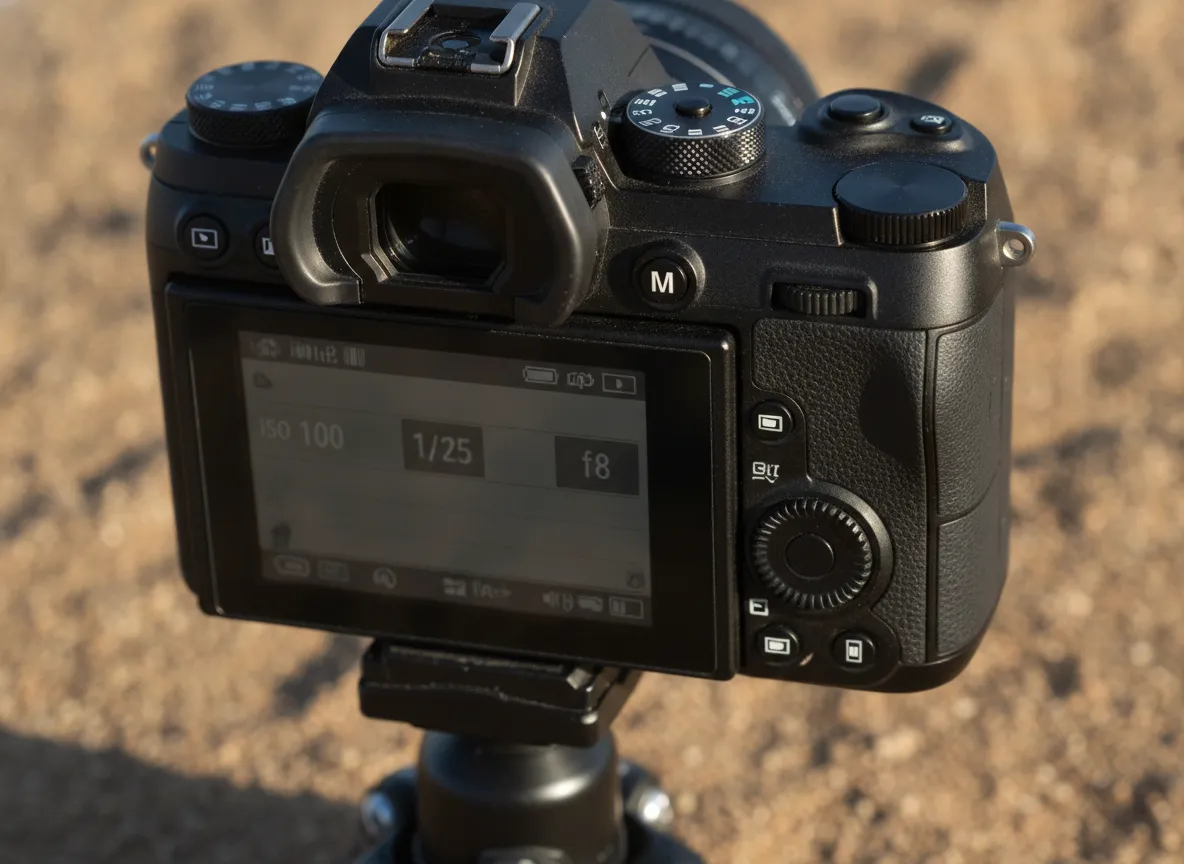
Clean, noise-free files start with ISO discipline. At golden hour and during the sunset moment, there is still enough ambient light to shoot at ISO 100 to 200 without sacrificing shutter speed [3][8]. One brand-specific guide recommends ISO 200 paired with an aperture around f/6.3 to f/8 as a reliable starting point for balanced sharpness and minimal noise in sunset scenes [8].
As light drops into blue hour, gradually increase ISO, typically to ISO 400 or ISO 800, rather than making large jumps. Shutter speed adjustments should be the first response to changing light, with ISO increases reserved as a secondary correction [3].
Quick reference for blue hour transitions:
- Start at ISO 100-200 at golden hour
- Move to ISO 400 as the sun sets
- Use ISO 800-1600 during deep blue hour if not on a tripod
- Shoot RAW to preserve maximum recovery latitude in post
5. Use a Tripod and Long Exposures for a Dreamy Water Effect
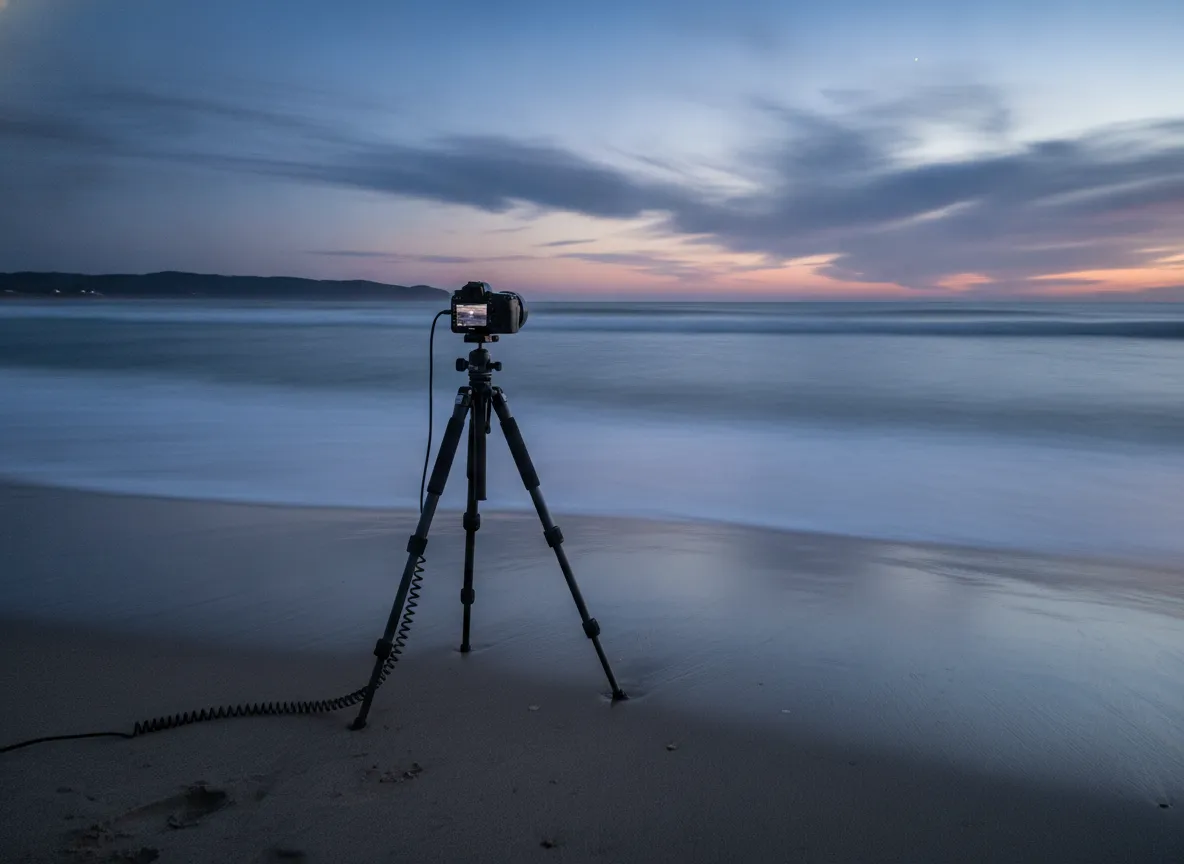
A tripod is not optional for serious beach sunset work, it is the tool that unlocks the most visually distinctive element of the coastal aesthetic: silky, blurred water. Long exposures in the 1 to 30 second range, shot at f/8 to f/11 with ISO 100, smooth out wave motion and create a misty, ethereal foreground that contrasts beautifully with a sharp, colorful sky [3].
How to execute a long exposure at the beach:
- Mount the camera on a stable tripod and press it firmly into the sand.
- Attach a neutral density (ND) filter, a 6-stop or 10-stop ND is recommended for daytime long exposures.
- Use a remote shutter release or the camera’s 2-second self-timer to eliminate camera shake.
- Set exposure to 1-30 seconds depending on wave speed and desired blur intensity.
- Review the histogram after each shot to confirm highlight retention in the sky.
A 3-stop ND filter is sufficient during blue hour when light levels are already low, while a 10-stop ND allows long exposures even in the brighter golden hour window [3][6].
6. Scout Foreground Elements to Anchor the Composition
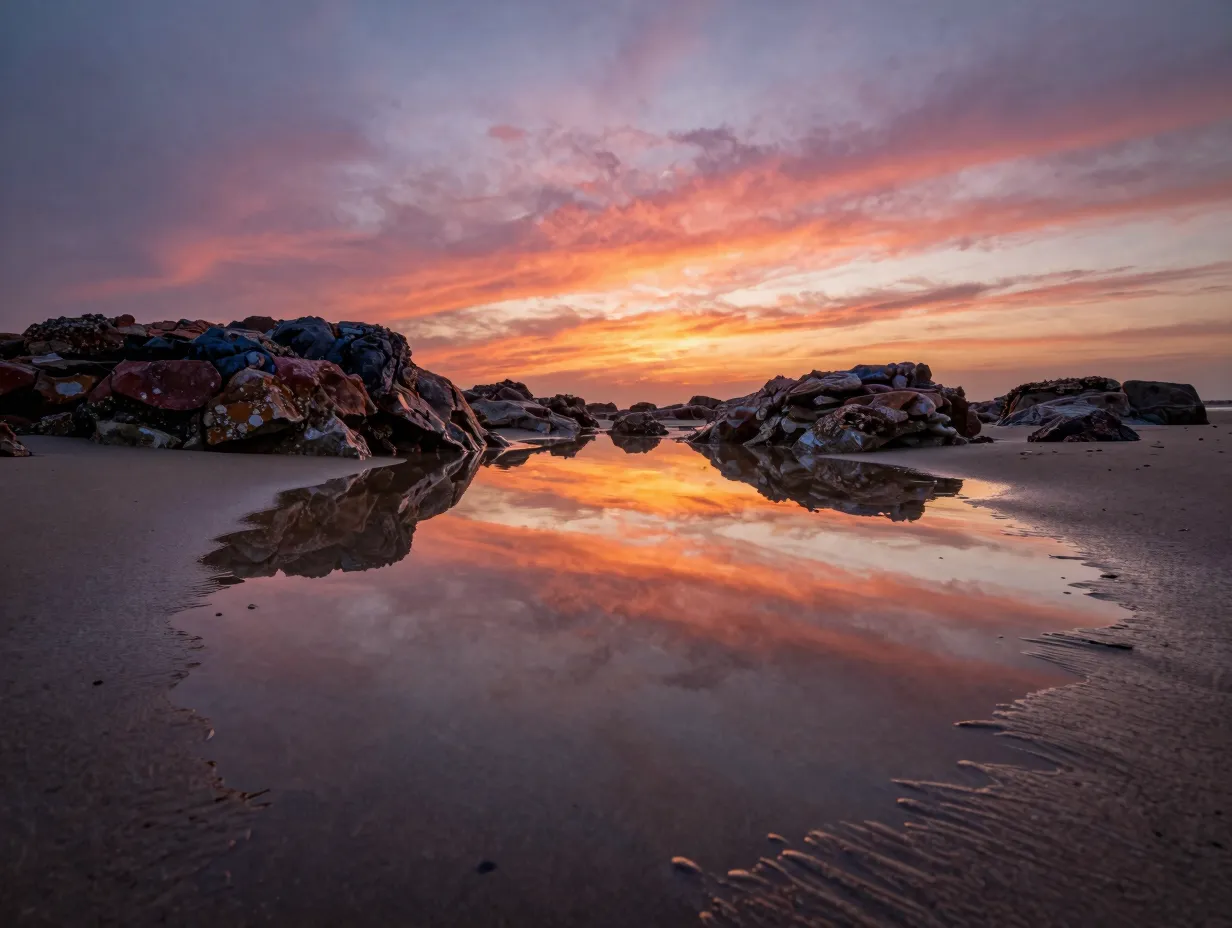
A sky alone, no matter how spectacular, rarely produces a memorable beach sunset image. Strong foreground elements give the viewer an entry point into the frame and create a sense of depth that flat horizon shots cannot achieve [6][7].
High-impact foreground options at the beach:
- Wet sand reflections (position the camera low, nearly at sand level)
- Tide pools with colorful rocks or sea life
- Pier pilings or jetty structures leading toward the horizon
- Silhouetted beach grass or driftwood in the lower third
- Footprints or wave patterns in the sand
The rule of thirds is a reliable starting framework: place the horizon on the upper or lower third line rather than dead center, and position a foreground anchor in the opposite third [7][10]. Breaking the rule intentionally, for example, centering a perfectly reflected sunset in still water, can be equally effective when the symmetry is strong.
7. Use Silhouettes Strategically for Maximum Aesthetic Impact

Silhouette photography is one of the most powerful and reproducible techniques in the beach sunset toolkit. When a subject is placed between the camera and the bright sunset sky, the resulting dark outline against vivid color creates instant visual drama [2][10].
Key silhouette techniques:
- Expose for the sky (as covered in Tip 2) and allow the subject to go fully dark.
- Choose subjects with recognizable outlines: a person with arms raised, a couple holding hands, a surfer carrying a board, or a lone palm tree.
- Shoot from a low angle to maximize the contrast between the dark subject and the bright sky.
- Ask portrait subjects to create clear separation between their arms and body to avoid a merged, unreadable silhouette [2].
For lifestyle and travel content, silhouettes are among the most consistently high-performing image types because they are universally relatable and require no specific location branding to resonate with an audience [10].
8. Apply Targeted Post-Processing to Elevate Color and Mood
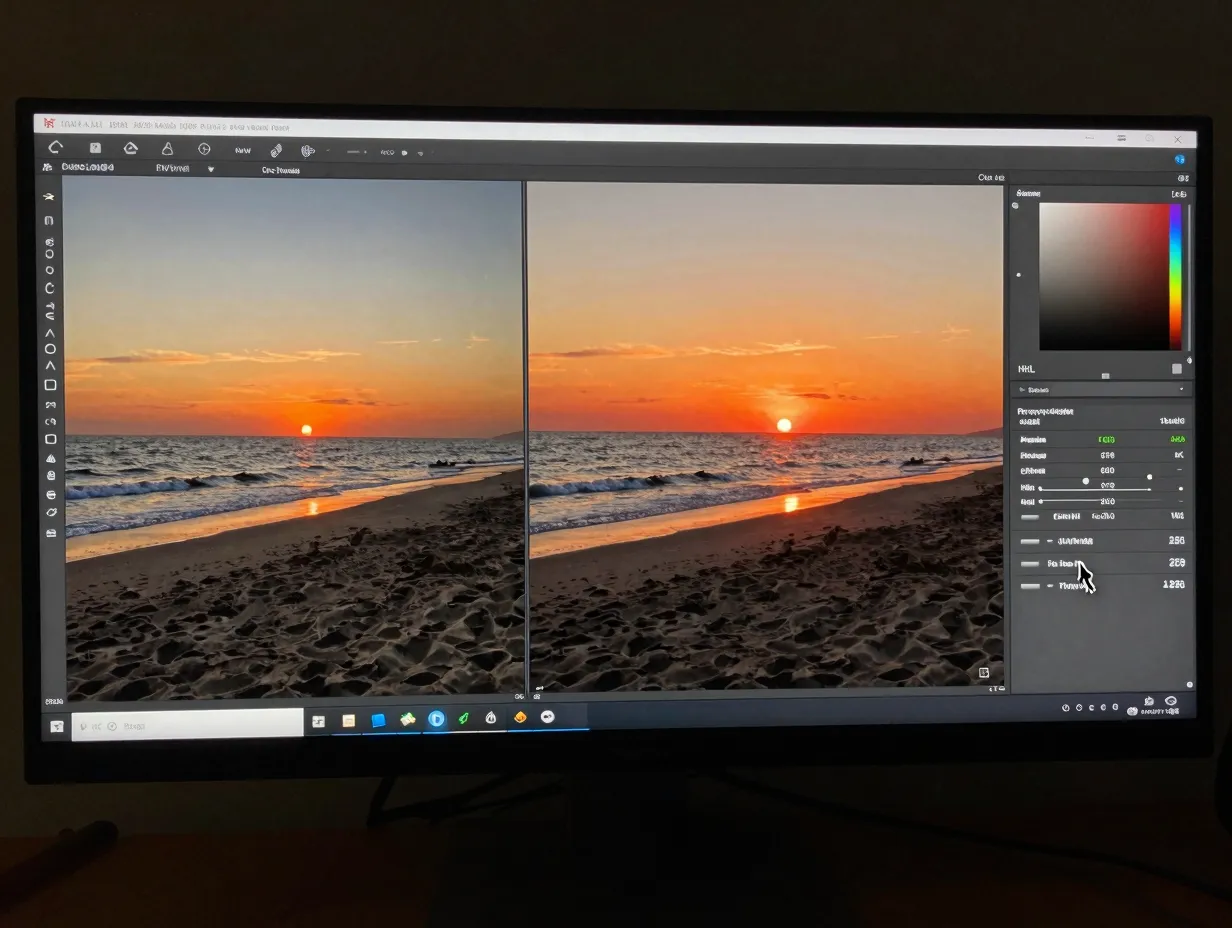
Capturing a great RAW file is the first half of the workflow. Targeted post-processing is the second half, and skipping it leaves significant aesthetic potential on the table. The goal is not to fabricate a sky that was not there, but to reveal the full tonal range that the sensor recorded [4][9].
Essential adjustments for the beach sunset aesthetic:
- Highlights: Pull down to recover detail in the brightest sky areas.
- Shadows: Lift slightly to reveal foreground sand and water texture without flattening the overall contrast.
- White Balance: Shift warmer (toward 6500-7500K) during golden hour edits for richer amber tones; shift cooler (toward 4500-5500K) for blue hour images to deepen the mood.
- HSL Panel (Hue/Saturation/Luminance): Boost orange and red saturation selectively; reduce luminance on oranges to deepen sunset colors without oversaturating.
- Graduated Filter: Apply a subtle darkening gradient to the sky to balance exposure between sky and foreground.
For mobile editing, apps such as Lightroom Mobile, VSCO, and Snapseed offer the same core controls in a streamlined interface. A consistent preset or editing style applied across a session creates the cohesive aesthetic that performs well on visual platforms [9].
9. Adapt Camera Settings and Gear for Smartphone Shooters
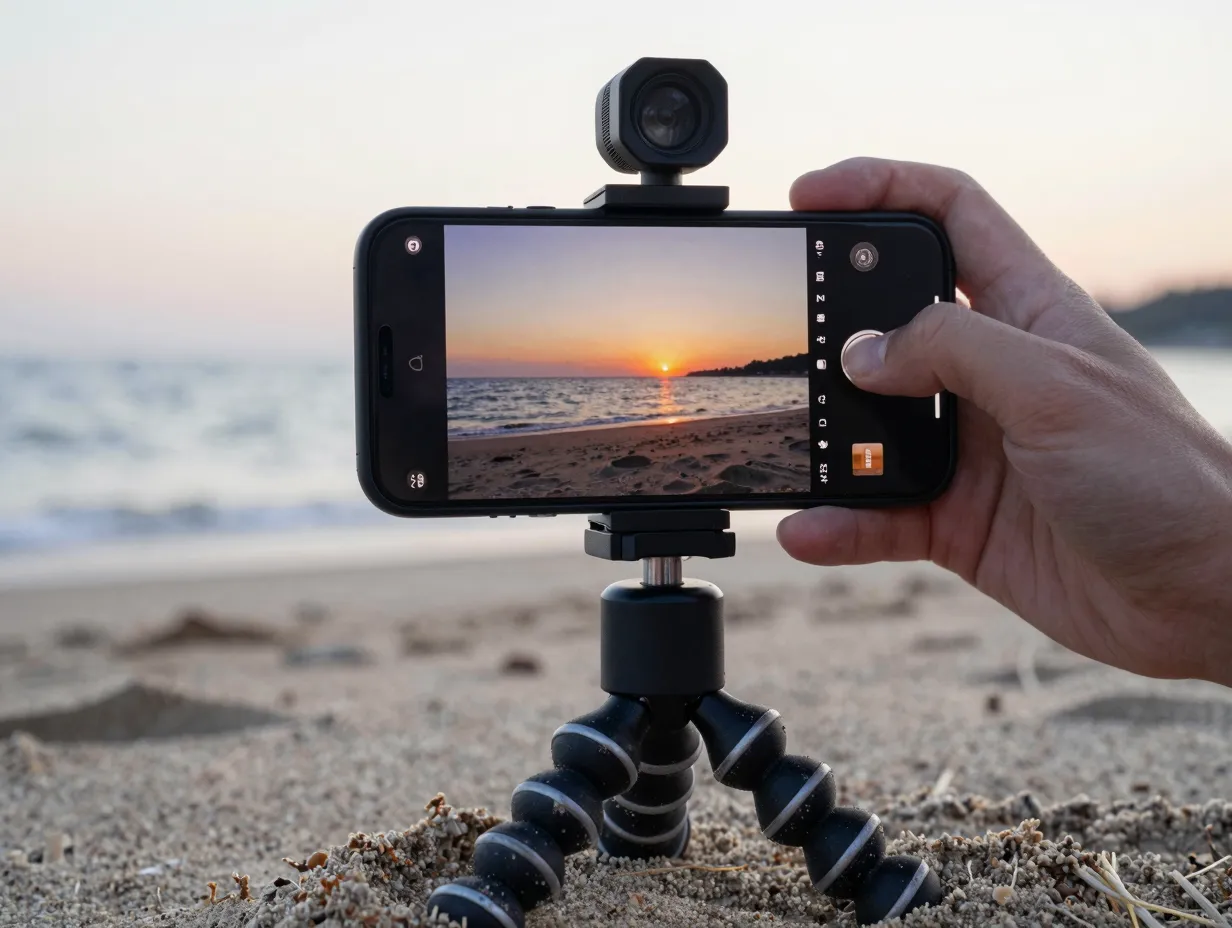
The 9 Pro Tips For Capturing The Perfect Beach Sunset Aesthetic are not exclusive to DSLR or mirrorless users. Smartphone cameras in 2026 are capable of producing professional-quality sunset images when used with intentional technique [9].
Smartphone-specific adaptations:
- Manual or Pro Mode: Use the manual camera mode available on most flagship phones to control ISO, shutter speed, and white balance independently.
- Tap to Focus on the Sky: Tap the brightest area of the sky to set exposure, then drag the exposure slider down to deepen colors [9].
- Use a Mini Tripod: A small gorilla-pod or phone tripod enables the same long-exposure and silhouette techniques described above.
- Shoot in RAW (DNG): Most flagship phones now support RAW capture, which provides far more editing flexibility than JPEG.
- Avoid Digital Zoom: Move physically closer to foreground subjects rather than zooming in, which degrades image quality in low light.
- Use the Ultrawide Lens at Sunset: The wider field of view captures more sky and foreground simultaneously, enhancing the sense of scale that defines the coastal sunset aesthetic [9][10].
Common Mistakes That Undermine the Beach Sunset Aesthetic
Even with the right settings, several habitual errors consistently produce weak results. Recognizing these patterns is as valuable as knowing the correct techniques.
Mistake 1, Shooting only at the horizon. Rotating the camera upward to capture the full sky, including the zenith colors above, often reveals the most dramatic gradients [7].
Mistake 2, Ignoring the 180-degree rule. The sky behind the photographer during golden hour is frequently as colorful as the sky facing the sun. Turning around to capture the warm light falling on beach scenes, people, or dunes adds variety to any session [4].
Mistake 3, Leaving the tripod in the car. Handheld shots during blue hour almost always show motion blur from camera shake, especially at the slower shutter speeds required in low light.
Mistake 4, Over-saturating in post. Pushing saturation globally turns natural sunset colors into artificial-looking neon. Selective HSL adjustments produce far more believable and aesthetically pleasing results [9].
Mistake 5, Neglecting the foreground. A compelling foreground element is what separates a snapshot from a composed photograph. Always scout the sand, rocks, and water line before the light arrives [6][7].
Essential Gear Checklist for Beach Sunset Photography
Preparation prevents missed shots. The following kit covers the core needs for both landscape and portrait beach sunset work:
Camera and Lens
- Mirrorless or DSLR camera with manual controls
- Wide-angle lens (16-35mm equivalent) for landscapes
- Short telephoto (85-135mm) for compressed sunset portraits
Stabilization and Filters
- Sturdy tripod with sand-resistant leg locks
- Remote shutter release or intervalometer
- ND filter set (3-stop, 6-stop, 10-stop)
- Circular polarizer (reduces glare on water and wet sand)
Accessories
- Lens cleaning cloth (salt spray is constant at the beach)
- Extra batteries (cold water air drains batteries faster)
- Waterproof camera bag or dry bag
- Reflector or portable LED panel for portrait fill light [2][6]
Conclusion
Mastering the beach sunset aesthetic is a repeatable skill, not a matter of luck. The 9 Pro Tips For Capturing The Perfect Beach Sunset Aesthetic outlined in this guide, from timing the three light windows and exposing for the sky, to using long exposures for dreamy water effects and applying targeted post-processing, give photographers at every level a clear, actionable framework for consistent results.
Next steps to put these tips into practice:
- Use a sunset time app to plan the next session with a 45-minute arrival buffer.
- Practice exposing for the sky in the next available outdoor light, even before reaching the beach.
- Invest in a basic ND filter set and practice long-exposure technique in any low-traffic outdoor space.
- Build a simple Lightroom preset based on the HSL and tone adjustments described in Tip 8, then apply it consistently across a full session to develop a recognizable aesthetic.
- Review the foreground element checklist before every shoot and scout the location at least 30 minutes before golden hour begins.
The difference between a good beach sunset photo and one that stops the scroll is almost always found in the preparation that happened before the shutter was pressed.
References
[1] Watch – https://www.youtube.com/watch?v=K2G9FPu7GMU
[2] How To Take Amazing Sunset Portraits On The Beach – https://weddingsbyadina.com/how-to-take-amazing-sunset-portraits-on-the-beach/
[3] Complete Guide To Beach Sunrise And Sunset Photography – https://www.bestbeachreviews.com/articles/complete-guide-to-beach-sunrise-and-sunset-photography
[4] Five Tips To Improve Your Beach Sunset Shots – https://photofocus.com/photography/five-tips-to-improve-your-beach-sunset-shots/
[5] Watch – https://www.youtube.com/watch?v=NLe7MjGHhTk
[6] How To Pro Tips For Photographing The Beach At Sunset – https://tamron-americas.com/blog/how-to-pro-tips-for-photographing-the-beach-at-sunset/
[7] How To Capture Perfect Beach Sunset Photos – https://vocal.media/photography/how-to-capture-perfect-beach-sunset-photos
[8] Taking A Great Sunset Photo – https://learnandsupport.getolympus.com/learn-center/photography-tips/seasonal-tips-summer/taking-a-great-sunset-photo
[9] Tips To Photograph Pretty Sunsets On The Beach – https://www.lemon8-app.com/experience/tips-to-photograph-pretty-sunsets-on-the-beach?region=us
[10] Sunset Beach Photo Ideas – https://travelingnsolo.com/sunset-beach-photo-ideas/