9 Creative Ways to Use Oyster Shells in Your Saltwater Aquarium
Fewer than 10 percent of saltwater aquarium hobbyists realize that oyster shells, often discarded as kitchen waste, are one of the most chemically versatile materials available for reef tank management. Far from being mere decoration, these calcium carbonate structures interact directly with water chemistry, biological filtration, and livestock behavior in ways that rival purpose-built aquarium products costing far more. This guide to the 9 Creative Ways to Use Oyster Shells in Your Saltwater Aquarium walks through every practical application, from buffering pH swings to building spawning caves, so reef keepers at every experience level can get more value out of a resource that is almost universally overlooked.
Disclosure: This post contains affiliate links. As an Amazon Associate, we earn from qualifying purchases, and at no extra cost to you.
Key Takeaways
- Oyster shells are composed primarily of calcium carbonate, making them a natural pH buffer and calcium source for saltwater tanks.
- Properly cleaned and cured shells can replace or supplement commercial buffering media, filter substrate, and even live rock structures.
- Shells provide complex microhabitats that benefit invertebrates, small fish, and beneficial bacteria colonies.
- Most applications require minimal preparation, a thorough cleaning and a short curing process are usually sufficient.
- The 9 creative ways covered here range from chemistry management to aquascape design, giving hobbyists flexible, low-cost options.
Why Oyster Shells Belong in a Saltwater Tank
Before diving into the specific methods, it helps to understand what makes oyster shells uniquely suited to the marine environment. The shell of an oyster is roughly 95 percent calcium carbonate (CaCO3), the same compound found in aragonite sand, crushed coral, and commercial buffering media. When water pH drops, calcium carbonate dissolves slightly, releasing carbonate ions that neutralize acidity. This self-regulating chemistry is exactly what reef keepers spend considerable money trying to replicate with dosing systems and reactor media.
Beyond chemistry, oyster shells have an irregular, porous surface that hosts enormous populations of nitrifying bacteria. Their three-dimensional contours create sheltered spaces that mimic the crevices of a natural reef. These physical properties make shells genuinely multifunctional, and the 9 creative ways to use oyster shells in your saltwater aquarium described below take full advantage of both dimensions.
A note on preparation: Before any shell enters a display tank or sump, it must be thoroughly cleaned. Boil shells for 20 to 30 minutes, scrub away all organic tissue, and allow them to dry completely. Skipping this step introduces ammonia spikes and bacterial blooms that can crash a tank.
The 9 Creative Ways to Use Oyster Shells in Your Saltwater Aquarium
1. Natural pH Buffer in the Sump or Filter Chamber
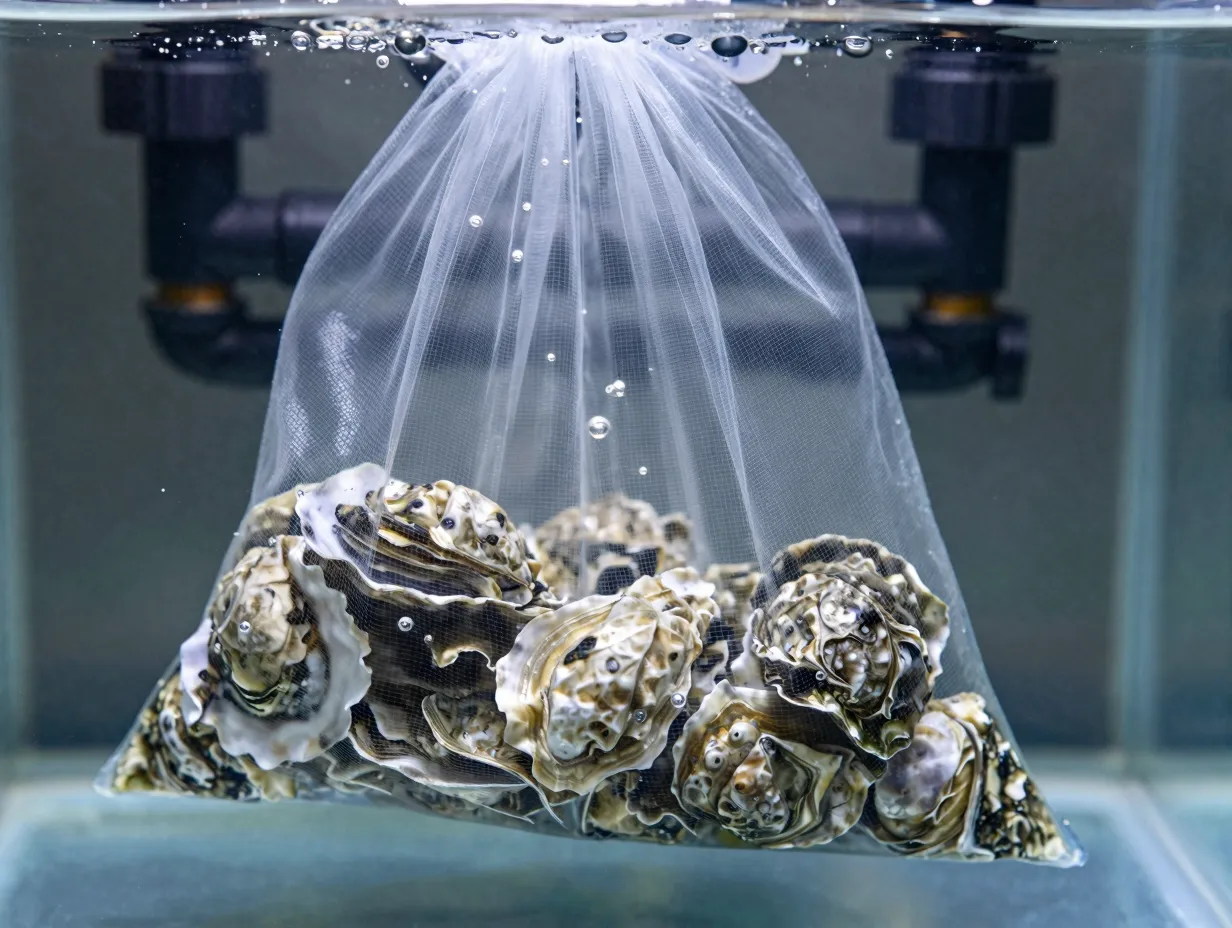
The most chemically impactful use is also the simplest. Placing a mesh bag of crushed or whole oyster shells inside a sump, refugium, or high-flow filter chamber creates a passive buffering system that responds automatically to pH fluctuations.
How it works: As CO2 accumulates overnight and pH dips, the slightly acidic water contacts the calcium carbonate surface and dissolves a small amount of shell material. This releases carbonate ions, raising alkalinity and nudging pH back upward. The process reverses when pH climbs during the day, dissolution slows, and the system self-regulates.
Practical tips:
- Use crushed shell rather than whole shells to maximize surface area.
- Replace the bag every three to six months as material dissolves.
- Monitor alkalinity weekly when first adding shells to avoid unexpected spikes.
This approach is particularly valuable in heavily stocked systems where biological respiration drives strong diurnal pH swings.
2. Calcium Reactor Media Supplement
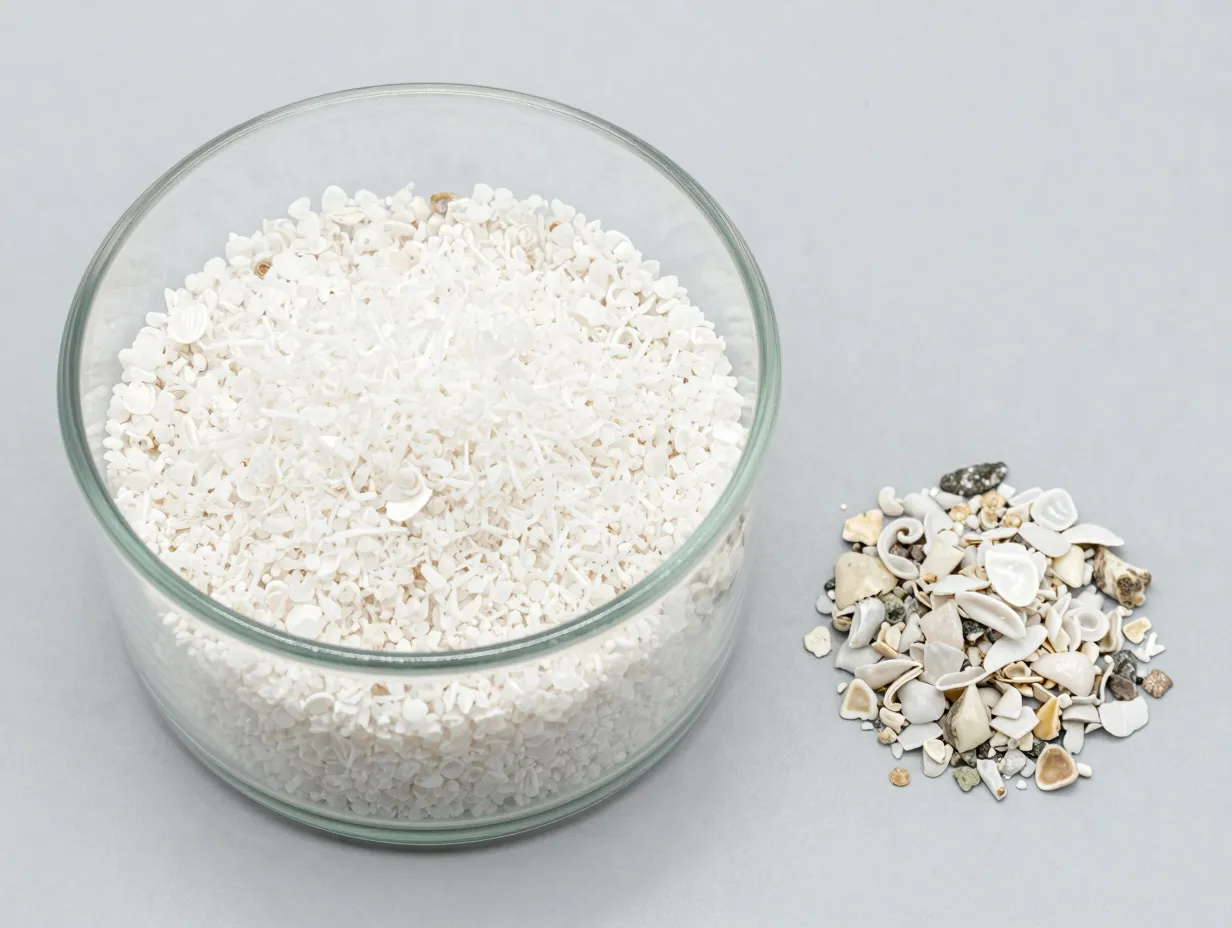
Commercial calcium reactors use CO2-acidified water to dissolve aragonite or calcite media, releasing calcium and alkalinity into the tank. Crushed oyster shells are chemically compatible with this process and can be blended with commercial reactor media to extend its useful life and reduce operating costs.
| Media Type | Calcium Content | Dissolution Rate | Cost |
|---|---|---|---|
| Commercial aragonite | High | Moderate | High |
| Crushed oyster shell | High | Moderate-Fast | Very Low |
| Crushed coral | Moderate | Slow | Low |
Oyster shell dissolves slightly faster than dense aragonite, so a 30/70 blend (30 percent oyster shell, 70 percent commercial media) balances cost savings with controlled dissolution. Hobbyists running large SPS-dominant tanks with high calcium demand will notice the most benefit from this substitution.
3. Biological Filter Substrate in a Refugium
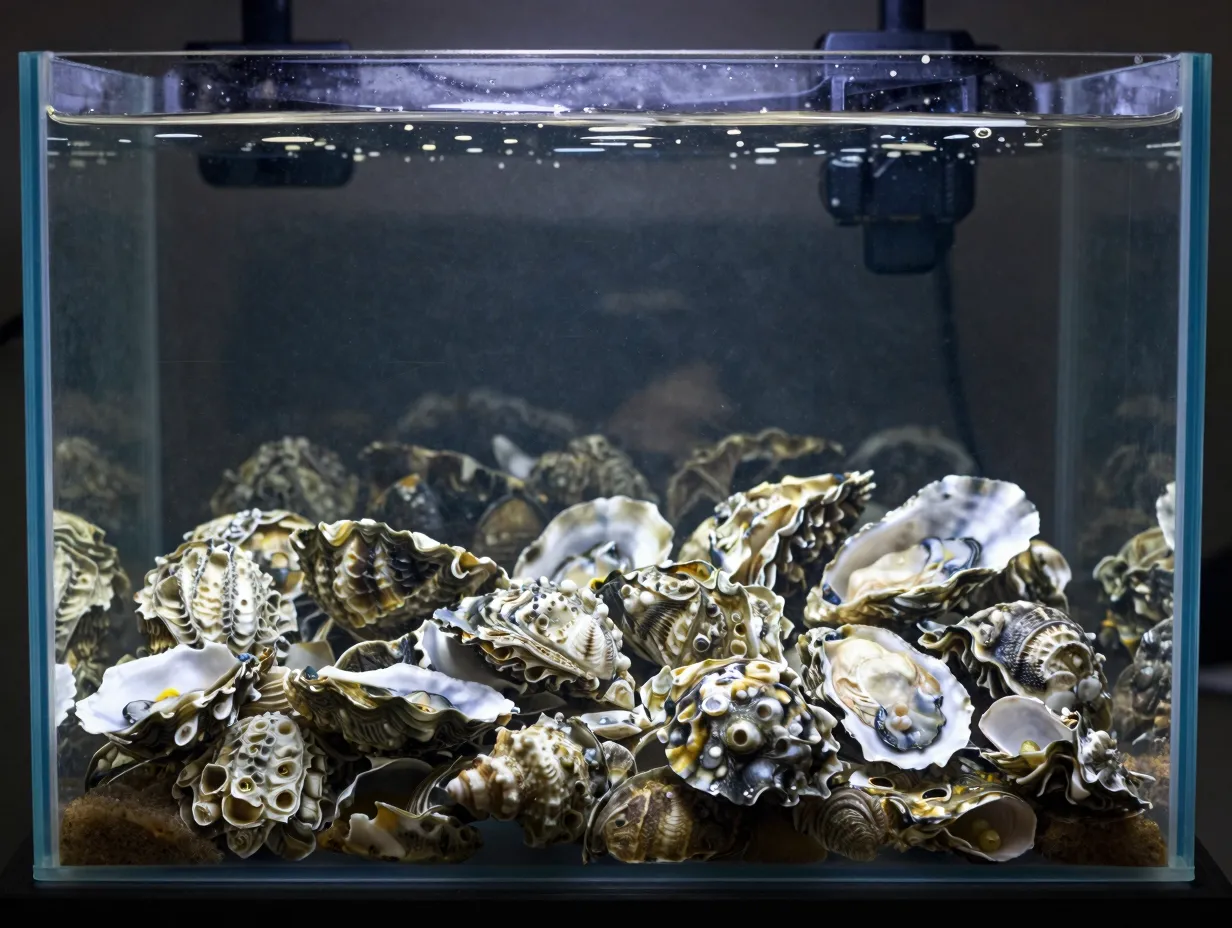
Beneficial bacteria responsible for the nitrogen cycle, specifically nitrifying bacteria like Nitrosomonas and Nitrospira, colonize hard surfaces. The rough, porous texture of oyster shells provides exceptional surface area per unit volume, making them an outstanding biological filter substrate.
Filling a refugium chamber or a dedicated biological filter section with a 3-to-4-inch layer of cleaned oyster shells creates a deep bed where aerobic nitrification occurs in the upper layers and, if flow is restricted, anaerobic denitrification can occur in the lower layers. This dual-zone processing mirrors the function of deep sand beds but with harder, longer-lasting material.
“Surface area is the single most important variable in biological filtration. Oyster shells deliver it in abundance at essentially zero cost.”
Best placement: Low-to-moderate flow areas where water passes through the shell bed rather than over it. Avoid high-turbulence zones that prevent bacterial film development.
4. Spawning and Brooding Caves for Invertebrates and Small Fish
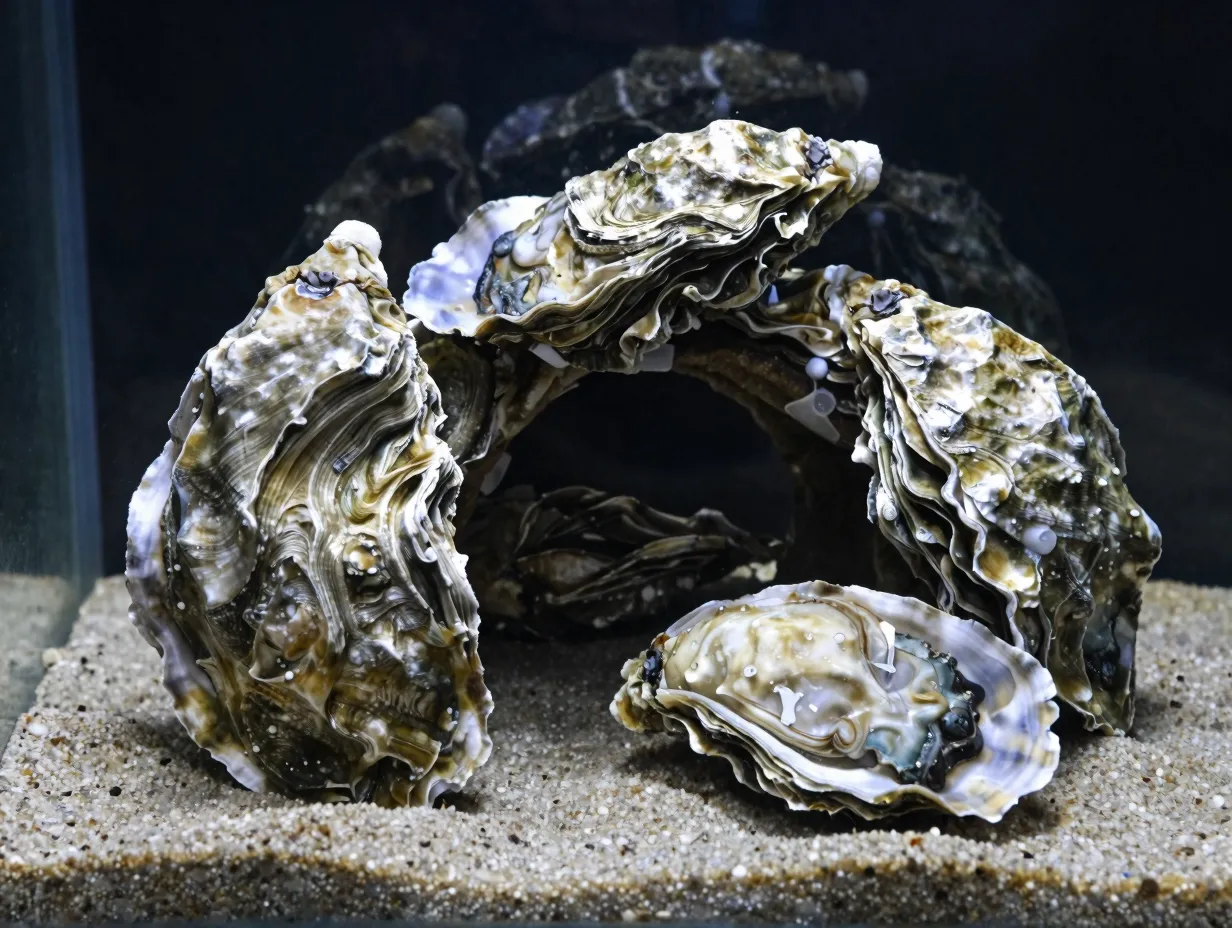
Many saltwater species are cavity spawners. Clownfish, dottybacks, gobies, and a wide range of shrimp and crabs seek sheltered, enclosed spaces to deposit eggs and protect larvae. A cluster of large oyster shells arranged to create small caves and overhangs replicates this natural behavior trigger far more effectively than open rockwork.
Species that benefit most:
- Clownfish pairs seeking a flat, protected surface near a host anemone
- Pistol shrimp and goby symbiotic pairs that need burrow access
- Peppermint shrimp and cleaner shrimp carrying egg masses
- Dottybacks and assessors that guard egg clusters in enclosed spaces
To build a spawning structure, arrange three to five large shells in a loose stack, leaving a 1-to-2-inch opening at the front. Secure the arrangement with aquarium-safe epoxy if needed. Position it in a low-flow area with moderate lighting.
5. Aquascape Centerpiece and Live Rock Alternative
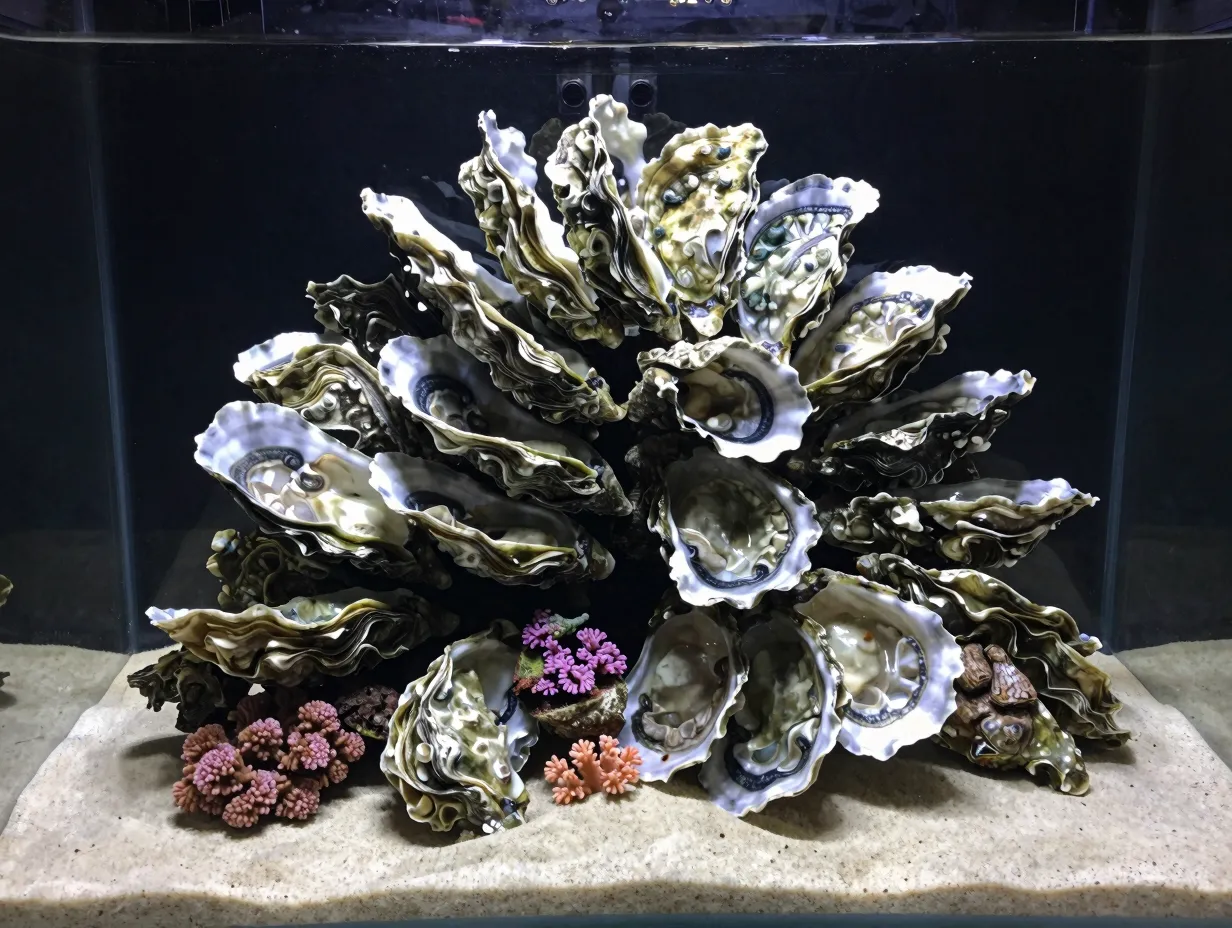
Live rock prices have risen sharply in recent years as collection regulations tighten in key source regions. Cured oyster shells, particularly large, intact specimens, can serve as the structural foundation of an aquascape, either alone or combined with traditional live rock.
The irregular, sculptural shape of oyster shells creates natural-looking formations that coralline algae, sponges, and soft corals will colonize over time. Within six to twelve months in an established tank, a shell structure becomes functionally indistinguishable from live rock in terms of biological activity and visual appeal.
Design tips:
- Stack shells with the concave side facing outward to create natural-looking pockets.
- Leave deliberate gaps between shells for fish to navigate and investigate.
- Combine with branching shells (oyster clusters rather than single valves) for maximum visual complexity.
This approach is especially attractive for hobbyists setting up new tanks who want to reduce startup costs without sacrificing aquascape quality.
6. Substrate Additive for Calcium and Alkalinity Maintenance
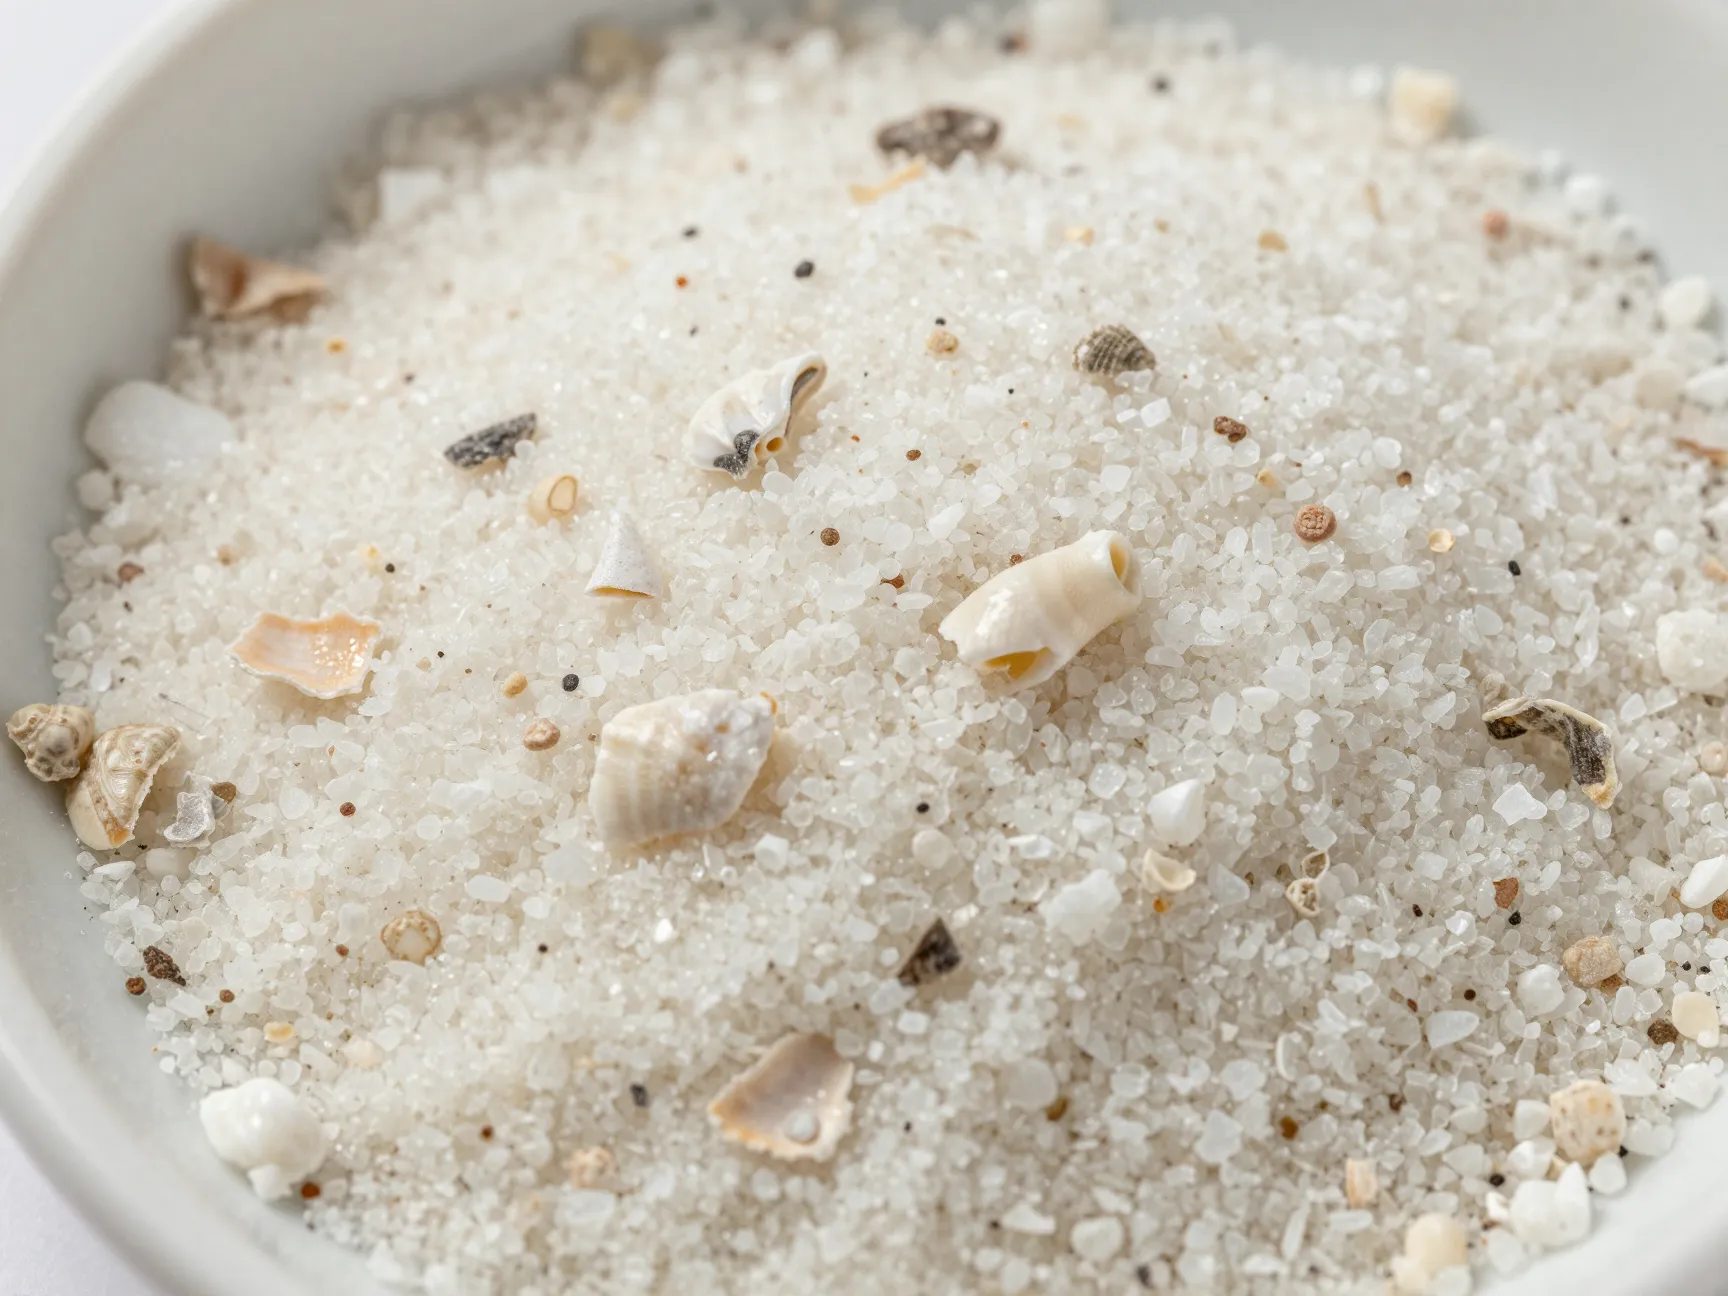
Mixing crushed oyster shells into a sand bed or using them as a standalone substrate layer adds a slow-release calcium and alkalinity source directly at the tank floor. As corals, snails, and other calcifiers draw down calcium levels, the substrate contributes a steady, low-level replenishment that reduces the frequency of manual dosing.
This method works best in systems with moderate calcium demand, typically fish-only with live rock (FOWLR) setups or mixed reef tanks with soft corals and LPS. High-demand SPS systems will still require supplemental dosing, but the substrate contribution meaningfully reduces the volume needed.
Recommended ratio: For a mixed substrate, aim for 20 to 30 percent crushed oyster shell by volume, blended with aragonite sand. This maintains the natural appearance of a sand bed while adding buffering capacity.
7. Algae Scrubber and Refugium Attachment Surface
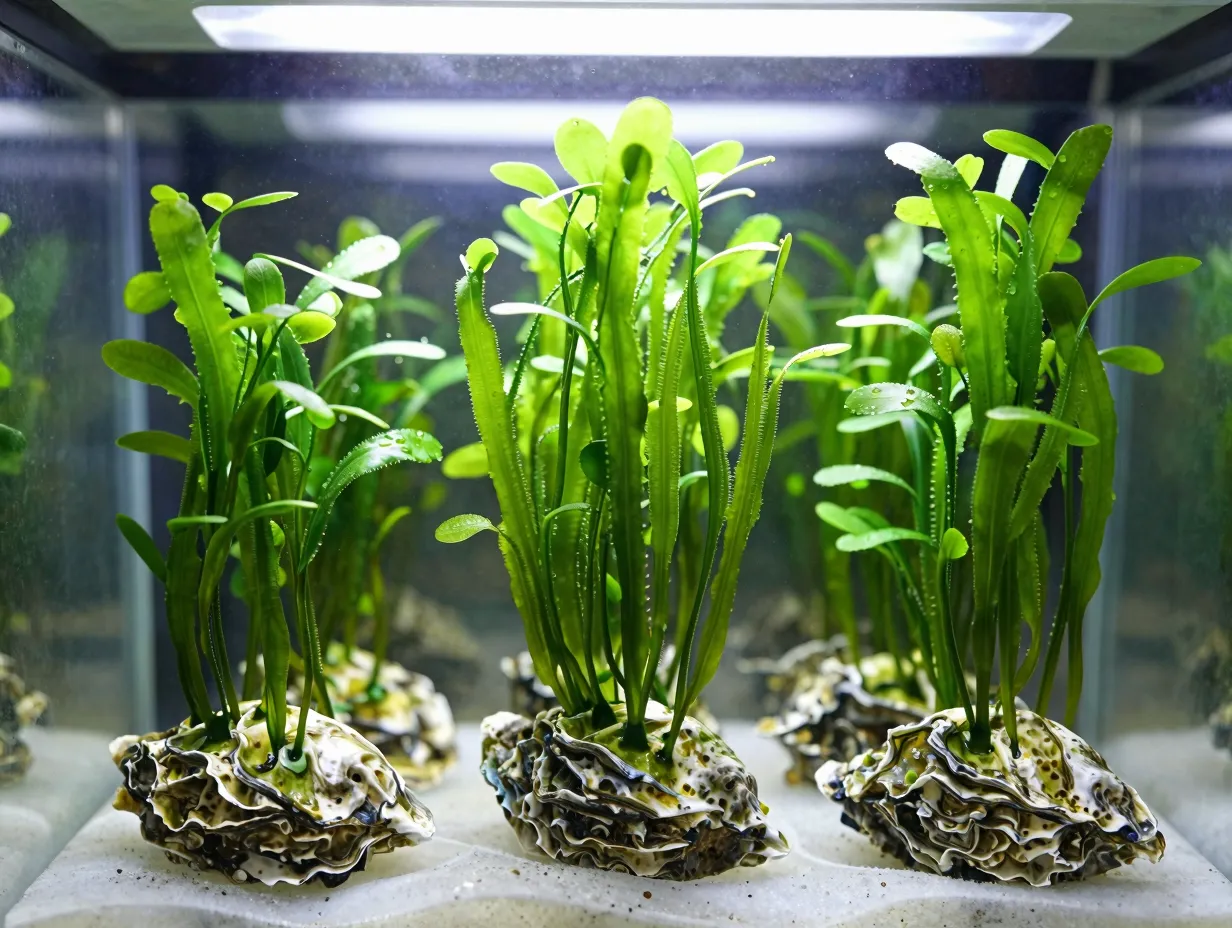
Macroalgae such as Chaetomorpha, Gracilaria, and Caulerpa are widely used in refugiums to export nutrients. These algae grow most vigorously when they have a surface to anchor to, and oyster shells provide an ideal attachment point. Their irregular surface allows algae holdfasts to grip securely, preventing the tumbling that can damage Chaetomorpha in high-flow scrubbers.
Beyond macroalgae, coralline algae, the pink and purple encrusting species prized by reef hobbyists, colonizes oyster shells rapidly. A handful of shells seeded with coralline algae and placed in a well-lit area of the sump will develop dense coralline growth within 60 to 90 days, which can then be transferred to the display tank as a natural decoration.
Quick setup guide:
- Clean and cure shells as described earlier.
- Seed with coralline algae by rubbing a small piece of established live rock across the shell surface.
- Place in the refugium under appropriate lighting (6500K to 10000K spectrum).
- Observe growth over 8 to 12 weeks before transferring to the display tank.
8. Hitchhiker and Micro-Fauna Habitat
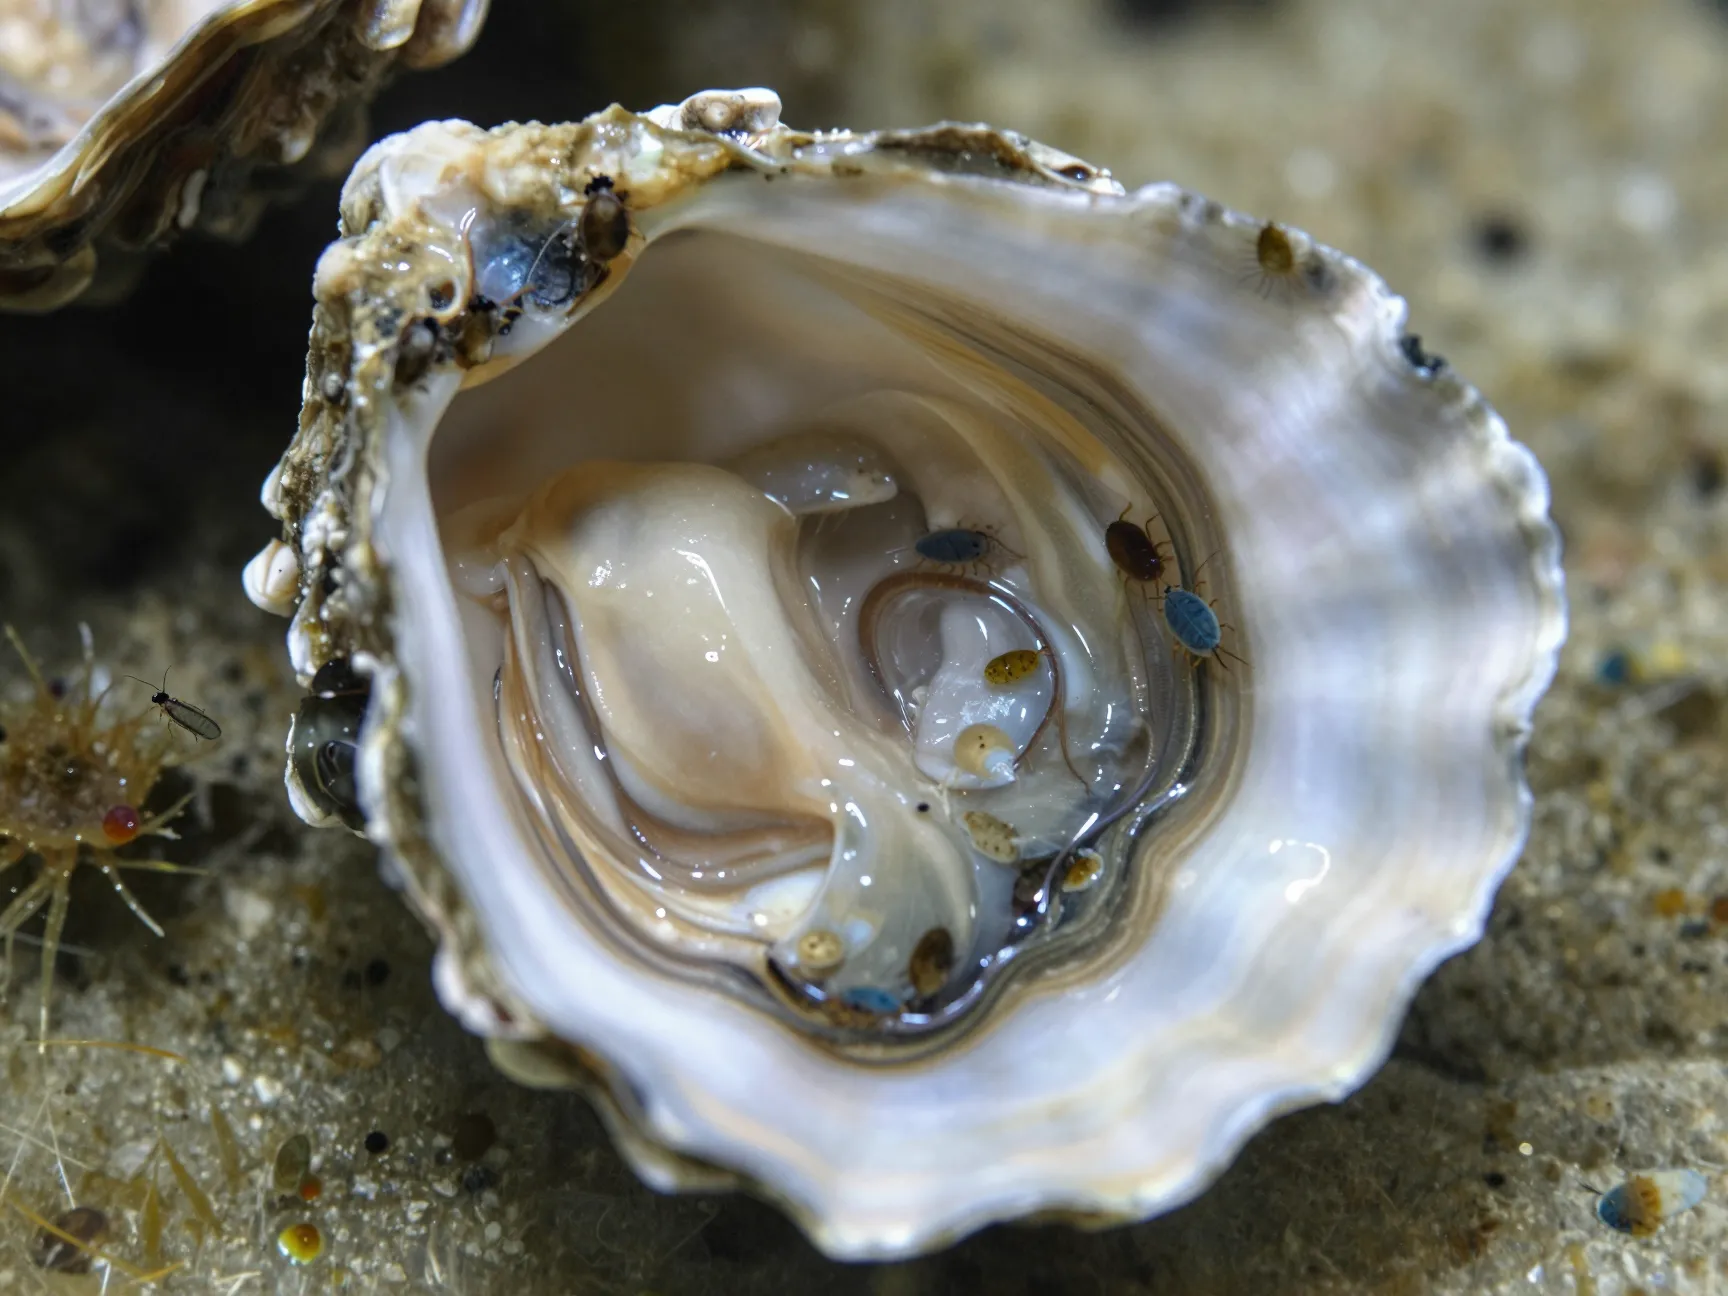
One of the most underappreciated aspects of reef keeping is the diversity of micro-fauna, copepods, amphipods, isopods, bristle worms, and micro-crustaceans, that form the base of the tank’s food web. These organisms need sheltered spaces to breed and shelter from predators. Oyster shells, with their complex surface topography and enclosed chambers, are among the best micro-fauna refuges available.
Placing a cluster of shells in a refugium or in a low-traffic corner of the display tank creates a self-sustaining population of copepods and amphipods that continuously seed the main display. Mandarin dragonets, seahorses, pipefish, and wrasse species that depend on live prey benefit enormously from this steady food supply.
Key benefit: Unlike commercial copepod refuges made from plastic mesh, oyster shells also contribute to water chemistry, making them a dual-function investment.
9. Emergency Alkalinity Rescue During pH Crashes
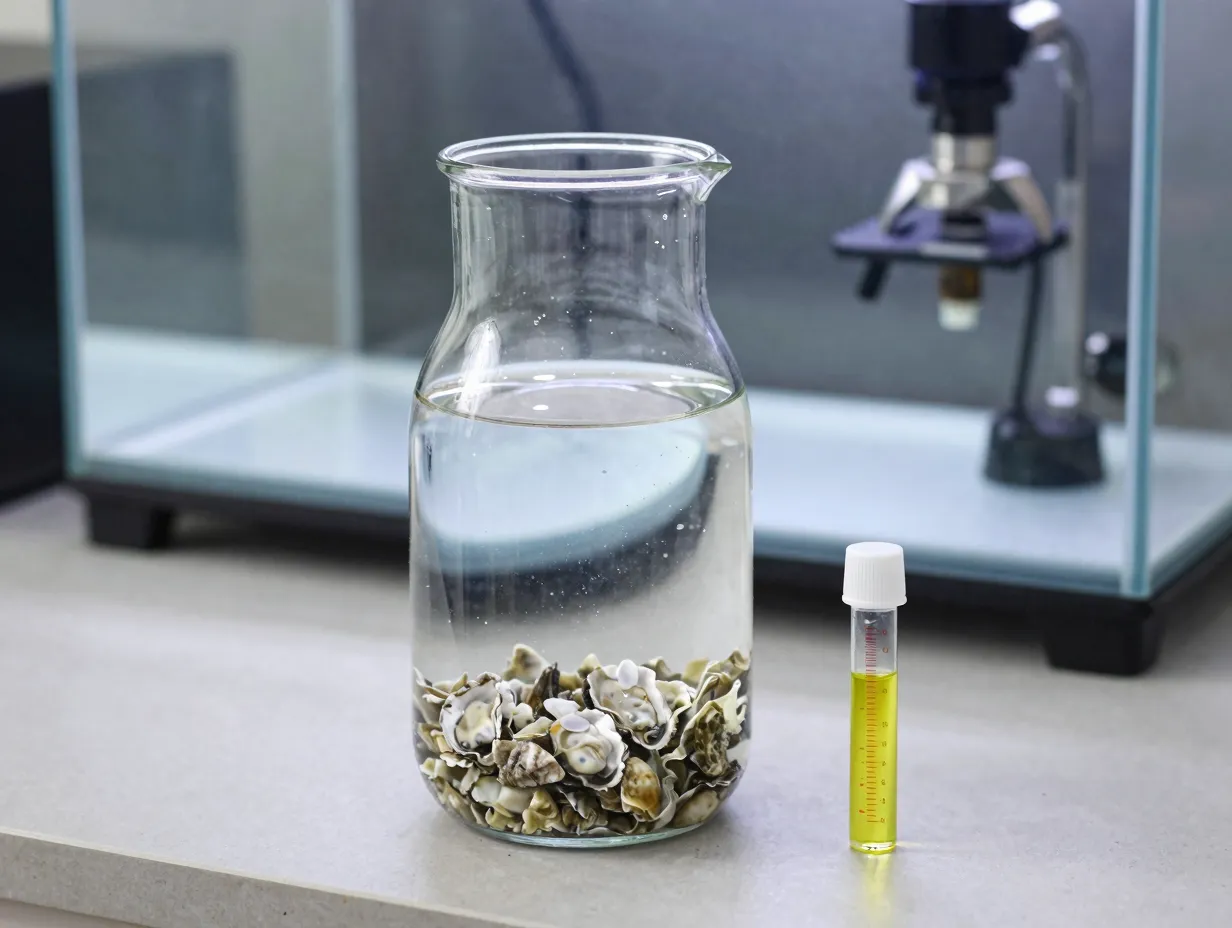
Rapid pH drops, caused by equipment failure, power outages, or sudden increases in biological load, can stress or kill livestock within hours. A pre-prepared container of crushed oyster shells dissolved in tank water (or RO/DI water matched to tank salinity) serves as an emergency alkalinity supplement that can be dosed gradually to arrest a pH crash.
Emergency protocol:
- Prepare a saturated solution by soaking 1 cup of finely crushed oyster shell in 1 gallon of RO/DI water for 24 hours.
- Test the solution’s alkalinity with a reliable test kit before use.
- During a pH emergency, add the solution in small increments (no more than 0.5 dKH per hour) while monitoring pH continuously.
- Continue until pH stabilizes above 7.8, then address the root cause of the crash.
This technique does not replace a proper two-part dosing system or calcium reactor, but it provides a meaningful safety net for situations where commercial products are unavailable or insufficient.
Preparing Oyster Shells Safely for Aquarium Use
Every one of the 9 creative ways to use oyster shells in your saltwater aquarium depends on proper shell preparation. Cutting corners here is the single most common mistake hobbyists make.
Step-by-step preparation process:
- Rinse shells thoroughly under running water to remove loose debris.
- Soak in a 10 percent bleach solution for 24 hours to kill pathogens and organic matter.
- Rinse again extensively, at least five full rinses, to remove all bleach residue.
- Boil shells for 20 to 30 minutes to sterilize and loosen remaining organic tissue.
- Allow shells to dry completely in direct sunlight for 48 hours. UV exposure provides additional sterilization.
- Perform a final sniff test. Any ammonia or sulfur odor indicates incomplete curing, repeat the process.
Shells sourced from restaurants or fish markets carry the highest contamination risk. Shells collected from clean shorelines after natural die-off are generally safer but should still undergo the full preparation process.
Matching Shell Applications to Tank Type
Not every application suits every tank. The table below summarizes which uses are most appropriate for common saltwater tank configurations.
| Application | FOWLR | Mixed Reef | SPS Dominant | Nano Tank |
|---|---|---|---|---|
| pH buffer in sump | Excellent | Excellent | Good | Good |
| Calcium reactor media | Not needed | Good | Excellent | Not needed |
| Biological filter substrate | Excellent | Good | Good | Good |
| Spawning caves | Excellent | Excellent | Limited | Good |
| Aquascape / live rock alternative | Excellent | Good | Limited | Excellent |
| Substrate additive | Good | Good | Limited | Good |
| Algae scrubber surface | Good | Excellent | Good | Limited |
| Micro-fauna habitat | Good | Excellent | Excellent | Good |
| Emergency pH rescue | Excellent | Excellent | Excellent | Excellent |
Common Mistakes to Avoid
Even experienced hobbyists encounter problems when introducing oyster shells for the first time. The most frequent errors include:
- Skipping the curing process. Organic residue on shells decomposes rapidly in warm, oxygenated tank water, causing ammonia spikes that can exceed 5 ppm within 48 hours.
- Adding too much material at once. Introducing a large volume of calcium carbonate suddenly can raise alkalinity faster than corals and invertebrates can adapt, causing tissue recession in sensitive SPS corals.
- Using shells from polluted sources. Shells harvested near industrial runoff, treated waterways, or heavily farmed areas may contain heavy metal contaminants that leach into the tank water.
- Neglecting to monitor parameters. Any new buffering material changes the tank’s chemistry baseline. Test alkalinity, calcium, and pH daily for the first two weeks after introducing shells.
- Placing shells in high-flow areas without anchoring. Loose shells tumbling in a strong current can damage coral frags, injure fish, and create noise that stresses livestock.
Conclusion
The 9 creative ways to use oyster shells in your saltwater aquarium represent a convergence of practical chemistry, biological engineering, and aquascape design that few hobbyists have fully explored. These shells are not a novelty, they are a chemically active, biologically rich material that addresses real challenges in reef keeping at a fraction of the cost of commercial alternatives.
Actionable next steps for reef keepers in 2026:
- Source clean oyster shells from a reputable restaurant, fish market, or shoreline collection site and begin the curing process this week.
- Start with the sump pH buffer application (Method 1) to build familiarity with how shells affect tank chemistry before attempting more complex uses.
- Add a small shell cluster to the refugium as a micro-fauna habitat (Method 8) and monitor copepod populations over 30 days.
- Gradually incorporate additional applications as confidence and tank stability grow.
- Keep a log of alkalinity, calcium, and pH readings before and after each new shell application to build a personalized data set for the specific tank.
Oyster shells have buffered marine chemistry in the ocean for millions of years. Putting that same chemistry to work in a home reef tank is not just resourceful, it is one of the most ecologically aligned choices a hobbyist can make.