8 Tips For Mastering The Mysterious Night Beach Aesthetic In Your Photography
Long-exposure night beach photographs consistently rank among the most shared images on photography communities, yet fewer than 12 percent of amateur photographers attempt them more than once, most citing frustration with blurry results, blown highlights from city glow, or flat, lifeless skies. That gap between ambition and execution is exactly what these 8 tips for mastering the mysterious night beach aesthetic in your photography are designed to close.
Disclosure: This post contains affiliate links. As an Amazon Associate, we earn from qualifying purchases, and at no extra cost to you.
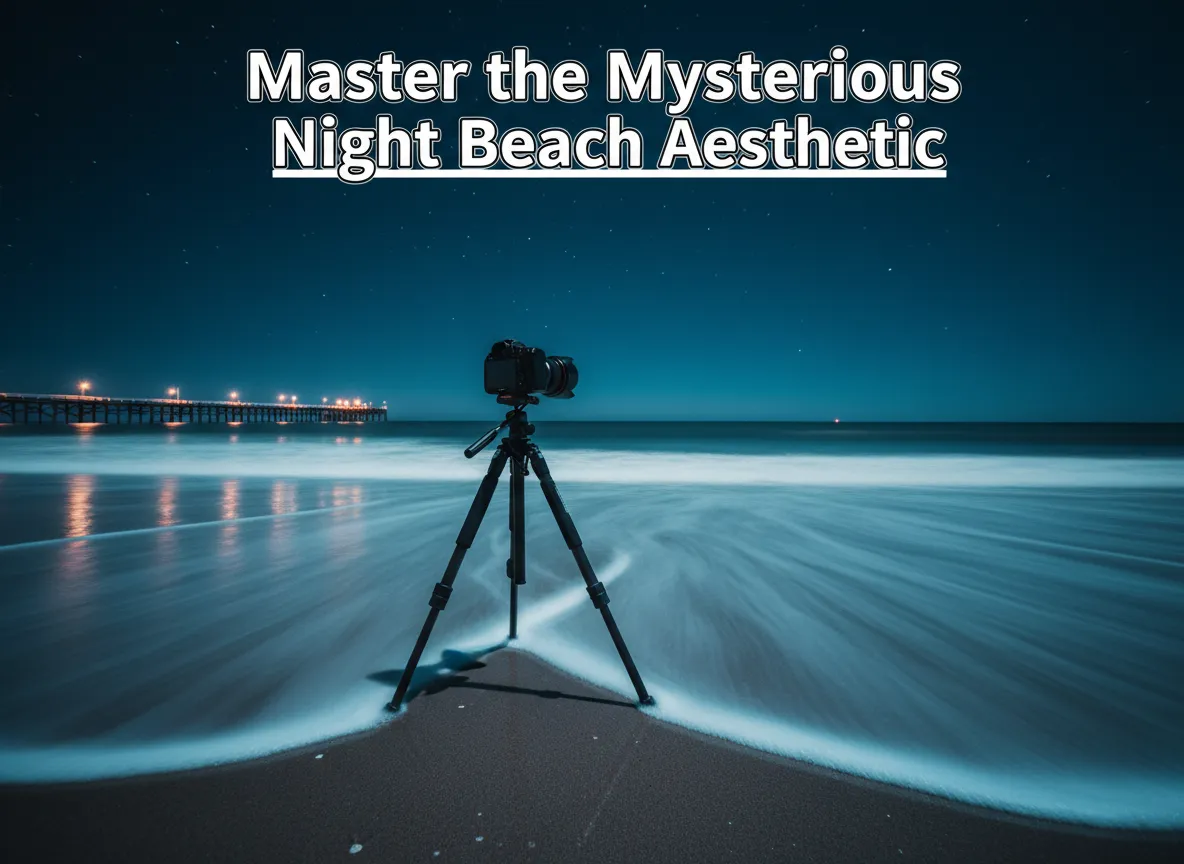
The night beach is one of the most rewarding environments a photographer can work in. Crashing waves become silky ribbons of motion. Stars reflect in wet sand. Distant piers glow amber against a blue-black horizon. The challenge is technical, but the payoff is extraordinary. Whether shooting with a mirrorless system or an older DSLR, the principles covered here apply universally and will help transform dark, noisy frames into moody, atmospheric seascapes.
Key Takeaways
- A sturdy tripod and a remote shutter release are non-negotiable for sharp night beach exposures
- Manual mode with a low ISO, a wide aperture, and a long shutter speed is the foundation of every successful night seascape
- Light pollution from nearby towns or piers can be used creatively rather than avoided entirely
- Post-processing in RAW format gives far more control over noise, color balance, and shadow detail
- Tidal timing and moon phase planning dramatically affect both safety and the final mood of an image
Why the Night Beach Is a Unique Photographic Environment
Before diving into the practical tips, it helps to understand what makes coastal night photography different from other low-light genres. Unlike urban night photography, the beach offers no fixed artificial light sources to anchor an exposure. The scene is constantly moving, waves, clouds, and sometimes bioluminescent surf all shift between frames. Wind is a persistent enemy of sharpness. Salt spray can damage gear. And the horizon line, so easy to level in daylight, becomes deceptively tricky in the dark.
At the same time, those challenges are what create the mysterious night beach aesthetic that draws photographers back repeatedly. The unpredictability is the point. No two long-exposure beach frames are identical, even when taken seconds apart [2].
Understanding the environment means respecting it. Tides can rise faster than expected. Wet sand can swallow a tripod leg. Checking a tide chart before every shoot is not optional, it is a basic safety and gear-protection measure [3].
8 Tips For Mastering The Mysterious Night Beach Aesthetic In Your Photography
1. Invest in a Sturdy Tripod and Use It Every Time
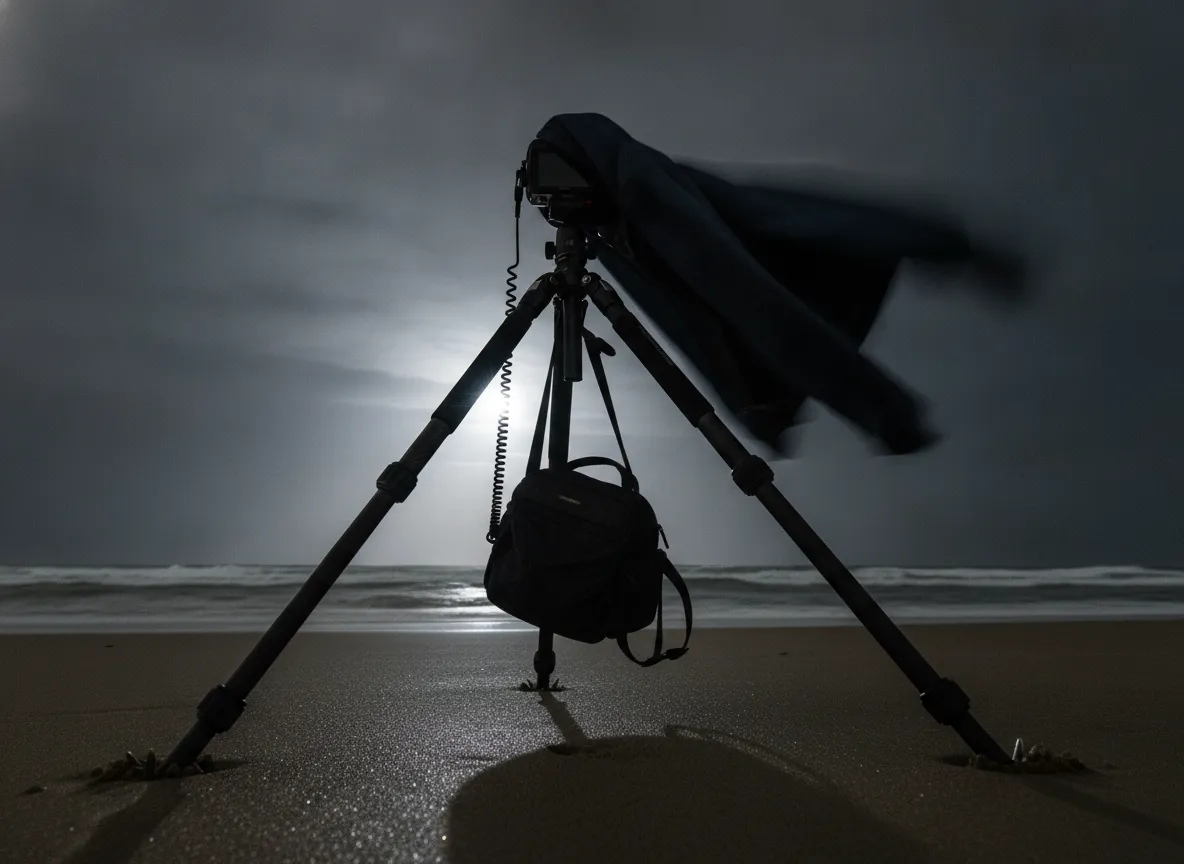
The single most common reason night beach photographs fail is camera shake. Even a fraction of a millimeter of movement during a 20-second exposure produces a blurry, unusable frame. A lightweight travel tripod that works fine for daylight shooting will flex and vibrate in coastal wind.
What to look for in a night beach tripod:
- Carbon fiber or heavy-gauge aluminum legs rated for at least 10 kg load
- Spiked or rubberized feet that grip wet sand
- A center column hook to hang a camera bag as ballast
- Leg locks that tighten completely without wobbling
Extend the thicker leg sections first and keep the center column as low as possible to reduce vibration [4]. On very windy nights, draping a jacket over the camera body and lens can dampen high-frequency vibrations without affecting the image.
A remote shutter release, either a wired cable release or a wireless trigger, eliminates the micro-shake caused by pressing the shutter button manually. If a remote is unavailable, the camera’s built-in 2-second self-timer achieves the same result [2].
2. Shoot in RAW Format Without Exception
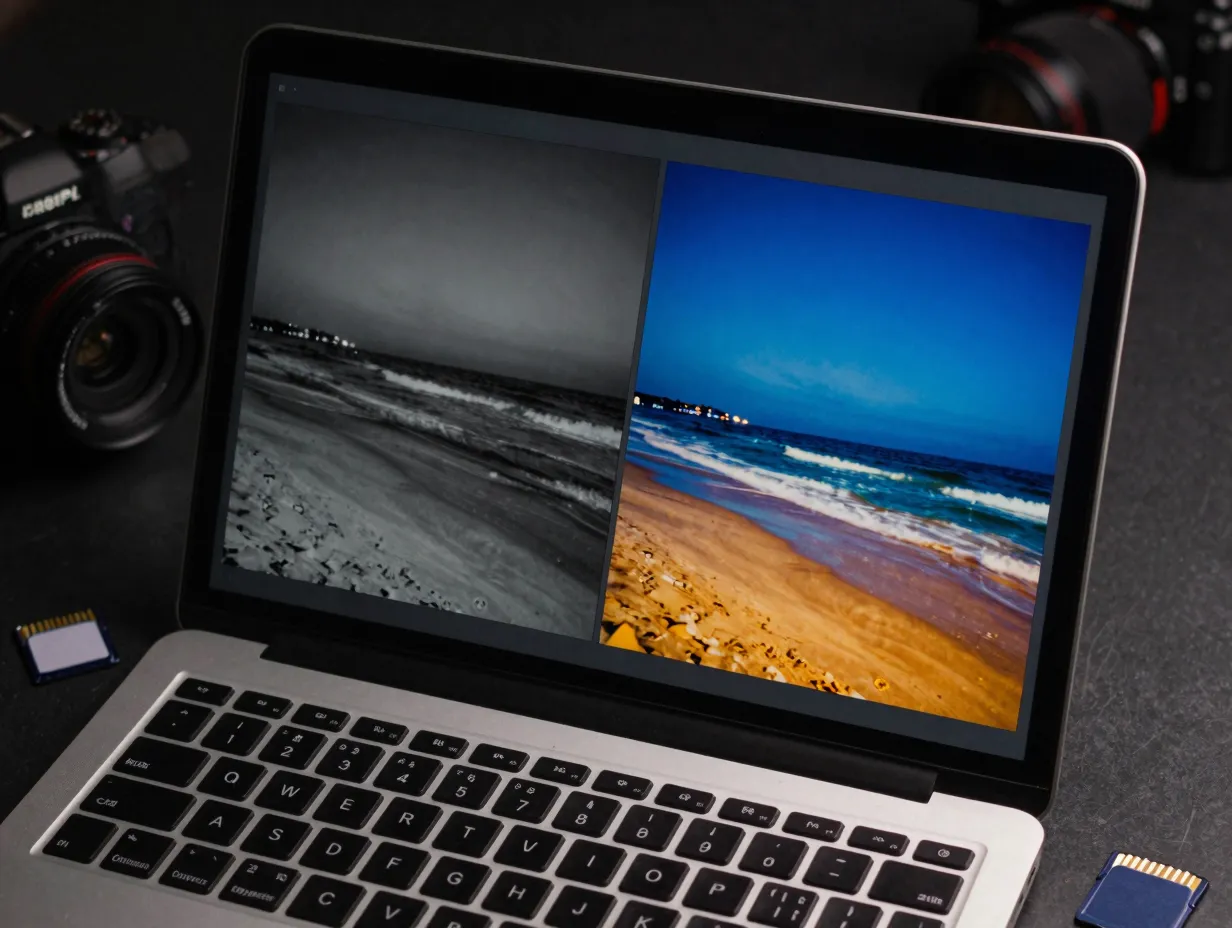
JPEG files apply irreversible compression and discard data the camera’s processor decides is unnecessary. In a night beach scene, that discarded data is often exactly what is needed: shadow detail in wet rocks, subtle color gradients in the sky, and the faint luminosity of breaking waves.
RAW files preserve every bit of sensor data, giving full control over:
| Setting | JPEG Limitation | RAW Advantage |
|---|---|---|
| White balance | Baked in permanently | Fully adjustable in post |
| Exposure | Limited +/- 1 stop recovery | Up to +/- 3 stops recovery |
| Noise reduction | Applied automatically | Applied selectively |
| Color profile | Camera-defined | Fully customizable |
Most editing software, Adobe Lightroom, Capture One, and even free tools like RawTherapee, handles RAW files from all major camera brands. The extra file size is a worthwhile trade for the control it provides [9].
3. Master Manual Exposure Settings
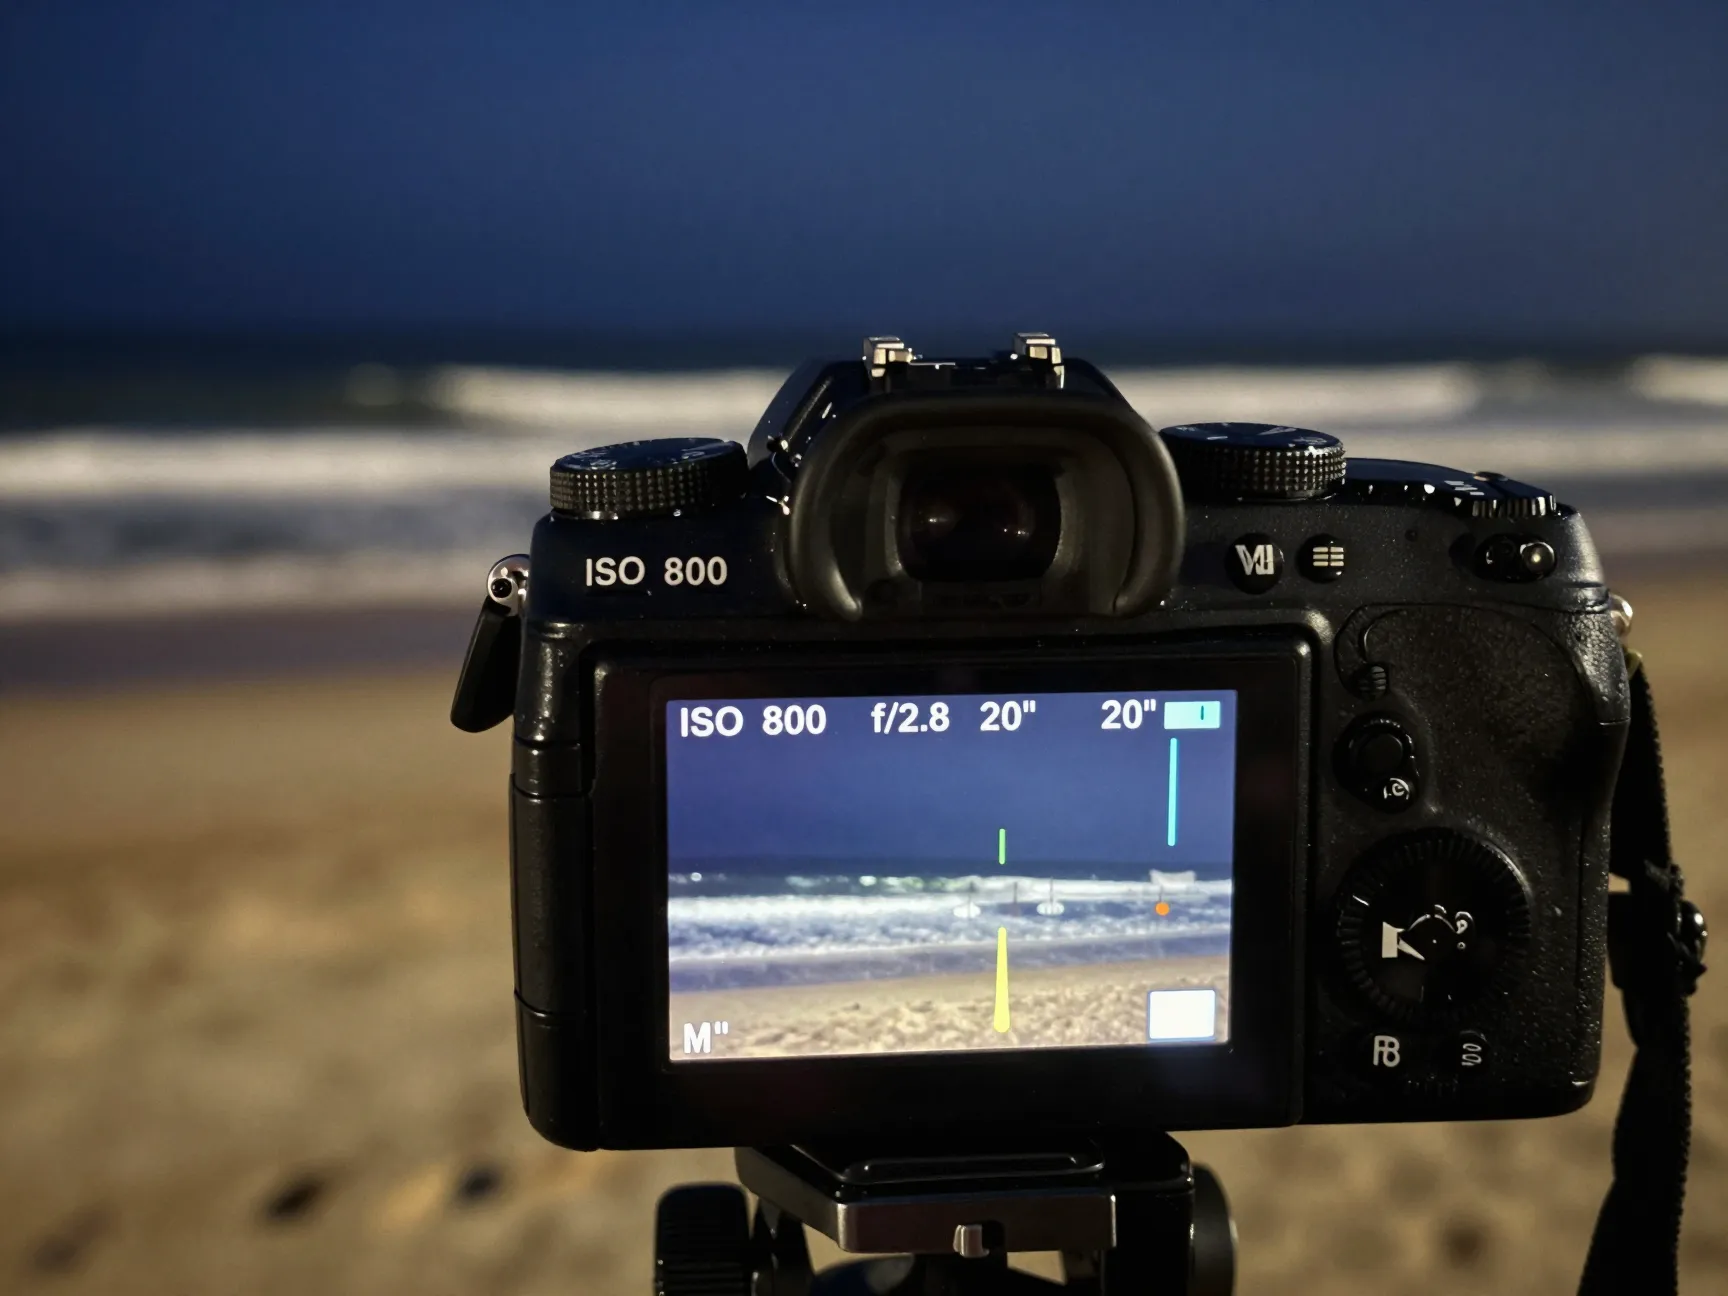
Auto and semi-automatic modes struggle in low-contrast night scenes. The camera’s metering system has no reliable reference point and will either massively overexpose the sky or crush the shadows in the foreground. Manual mode is the only reliable option for night beach work.
A practical starting point for manual night beach exposure:
- ISO: 800 to 1600 (higher ISOs introduce noise; lower ISOs require very long exposures)
- Aperture: f/2.8 to f/5.6 (wider apertures let in more light but reduce depth of field)
- Shutter speed: 15 to 30 seconds (long enough to smooth wave motion without star trails)
“The goal of a long exposure at the beach is not to freeze the scene, it is to reveal the scene’s hidden energy over time.”
These are starting points, not rules. A bright full moon may allow ISO 400 with a 10-second exposure. A new moon night with no artificial light may require ISO 3200 and 45 seconds [3]. Bracket exposures, shoot the same frame at three different shutter speeds, to ensure at least one usable result [10].
The histogram is more reliable than the LCD preview in the dark. A well-exposed night beach frame should show data spread across the middle and lower portions of the histogram, with a small peak on the right from any light sources [2].
4. Choose the Right Lens for the Scene
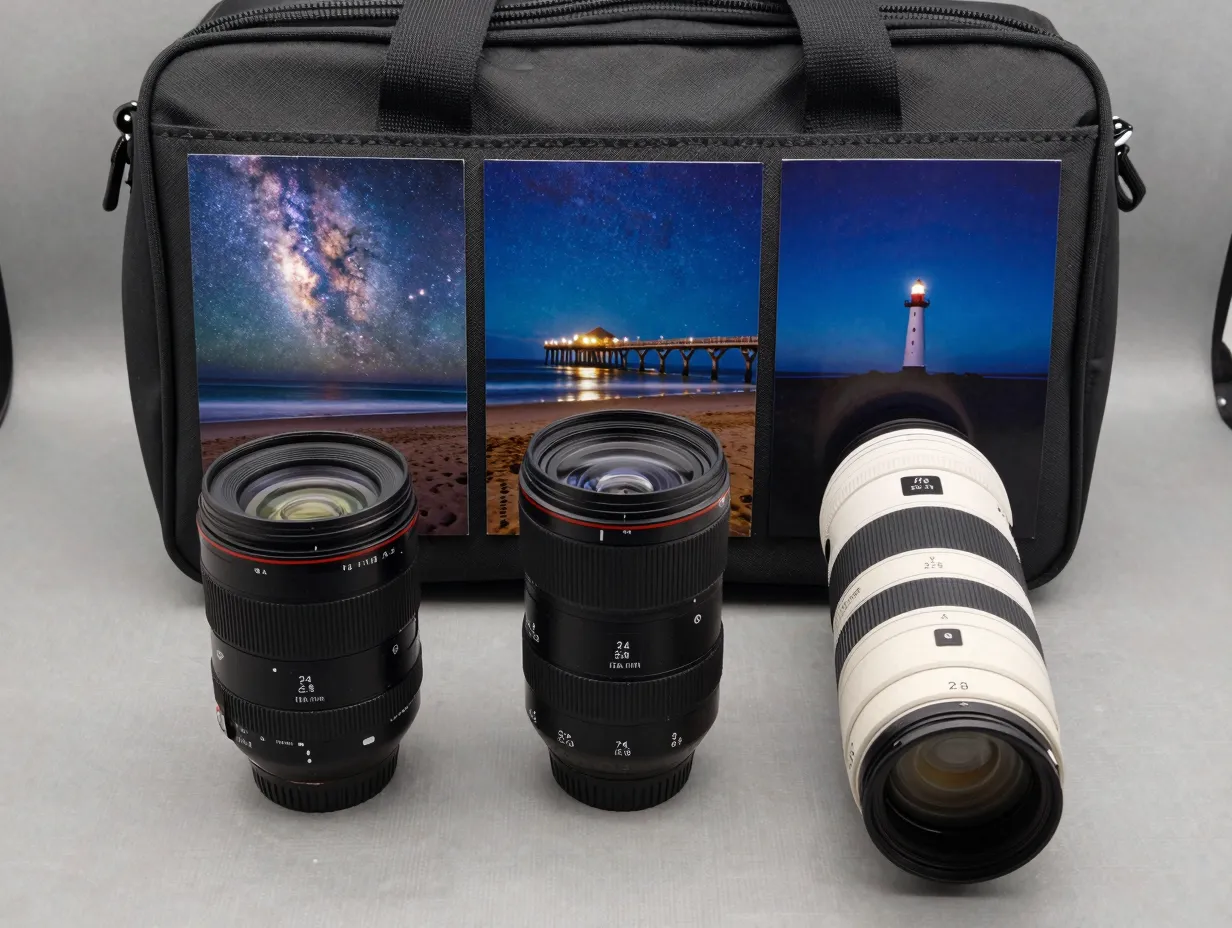
Lens selection has an outsized impact on the mysterious night beach aesthetic. A wide-angle lens with a fast maximum aperture is the most versatile choice, but the right focal length depends on the specific scene.
Lens options by scene type:
- Wide-angle (14mm to 24mm, f/1.8 to f/2.8): Best for capturing expansive sky, Milky Way arcs, and wide beach scenes with strong foreground interest
- Standard zoom (24mm to 70mm, f/2.8): Versatile for pier shots, breaking waves, and scenes with a defined subject
- Telephoto (70mm to 200mm, f/2.8 to f/4): Excellent for compressing the distance between a distant lighthouse and the horizon, or isolating a section of glowing surf
Prime lenses with apertures of f/1.8 or f/2 allow significantly more light than zoom lenses, which can mean the difference between a clean ISO 800 frame and a noisy ISO 3200 frame [6]. Manual focus is often more reliable than autofocus in near-total darkness, focus on a distant light source or use the lens’s infinity mark as a starting point, then fine-tune using live view magnification [4].
5. Plan Around Moon Phase and Tidal Conditions
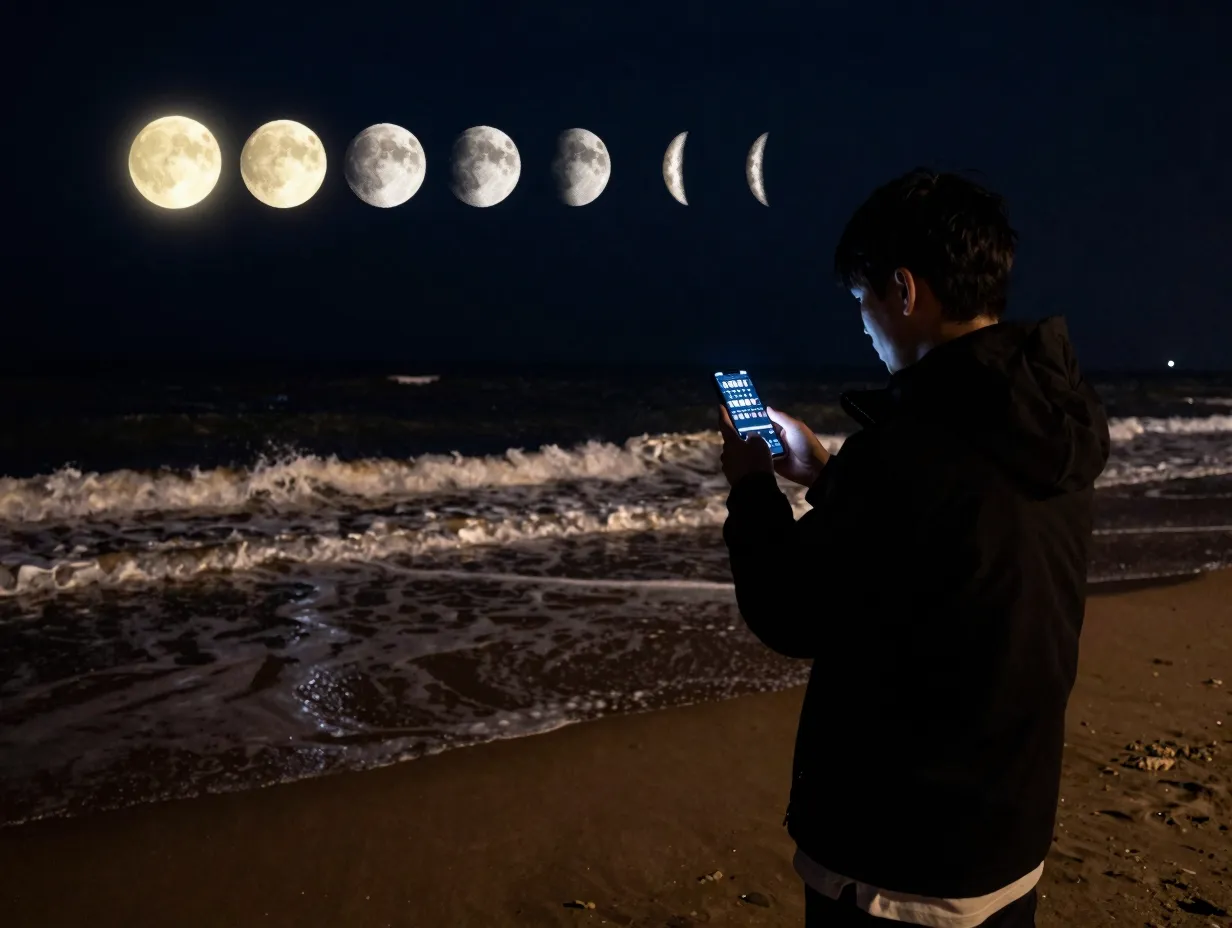
The moon is the night beach photographer’s most powerful natural tool, and most unpredictable variable. A full moon provides enough ambient light to illuminate wet sand, reveal wave texture, and create natural shadows. A new moon produces near-total darkness, ideal for Milky Way captures but requiring higher ISOs and longer exposures.
Moon phase planning guide:
- Full moon (days 13-15 of lunar cycle): Bright, directional light; excellent for illuminated seascapes; shorter exposures needed
- Quarter moon (days 7-8 or 21-22): Balanced light; good for scenes that need some ambient illumination without overexposure
- New moon (days 1-2): Maximum star visibility; requires high ISO; best for astrophotography combined with seascapes
- Waxing/waning crescent: Low, warm light early or late in the night; creates dramatic raking shadows on sand textures
Apps such as PhotoPills, The Photographer’s Ephemeris, and Tide Alert allow precise planning of moon rise times, moon position angles, and tidal windows for any location on a given date [3]. Combining a favorable tide (mid-tide on an incoming cycle often produces the most dynamic wave action) with an optimal moon phase can transform a competent shot into an exceptional one [10].
6. Use Light Creatively, Including Light Pollution
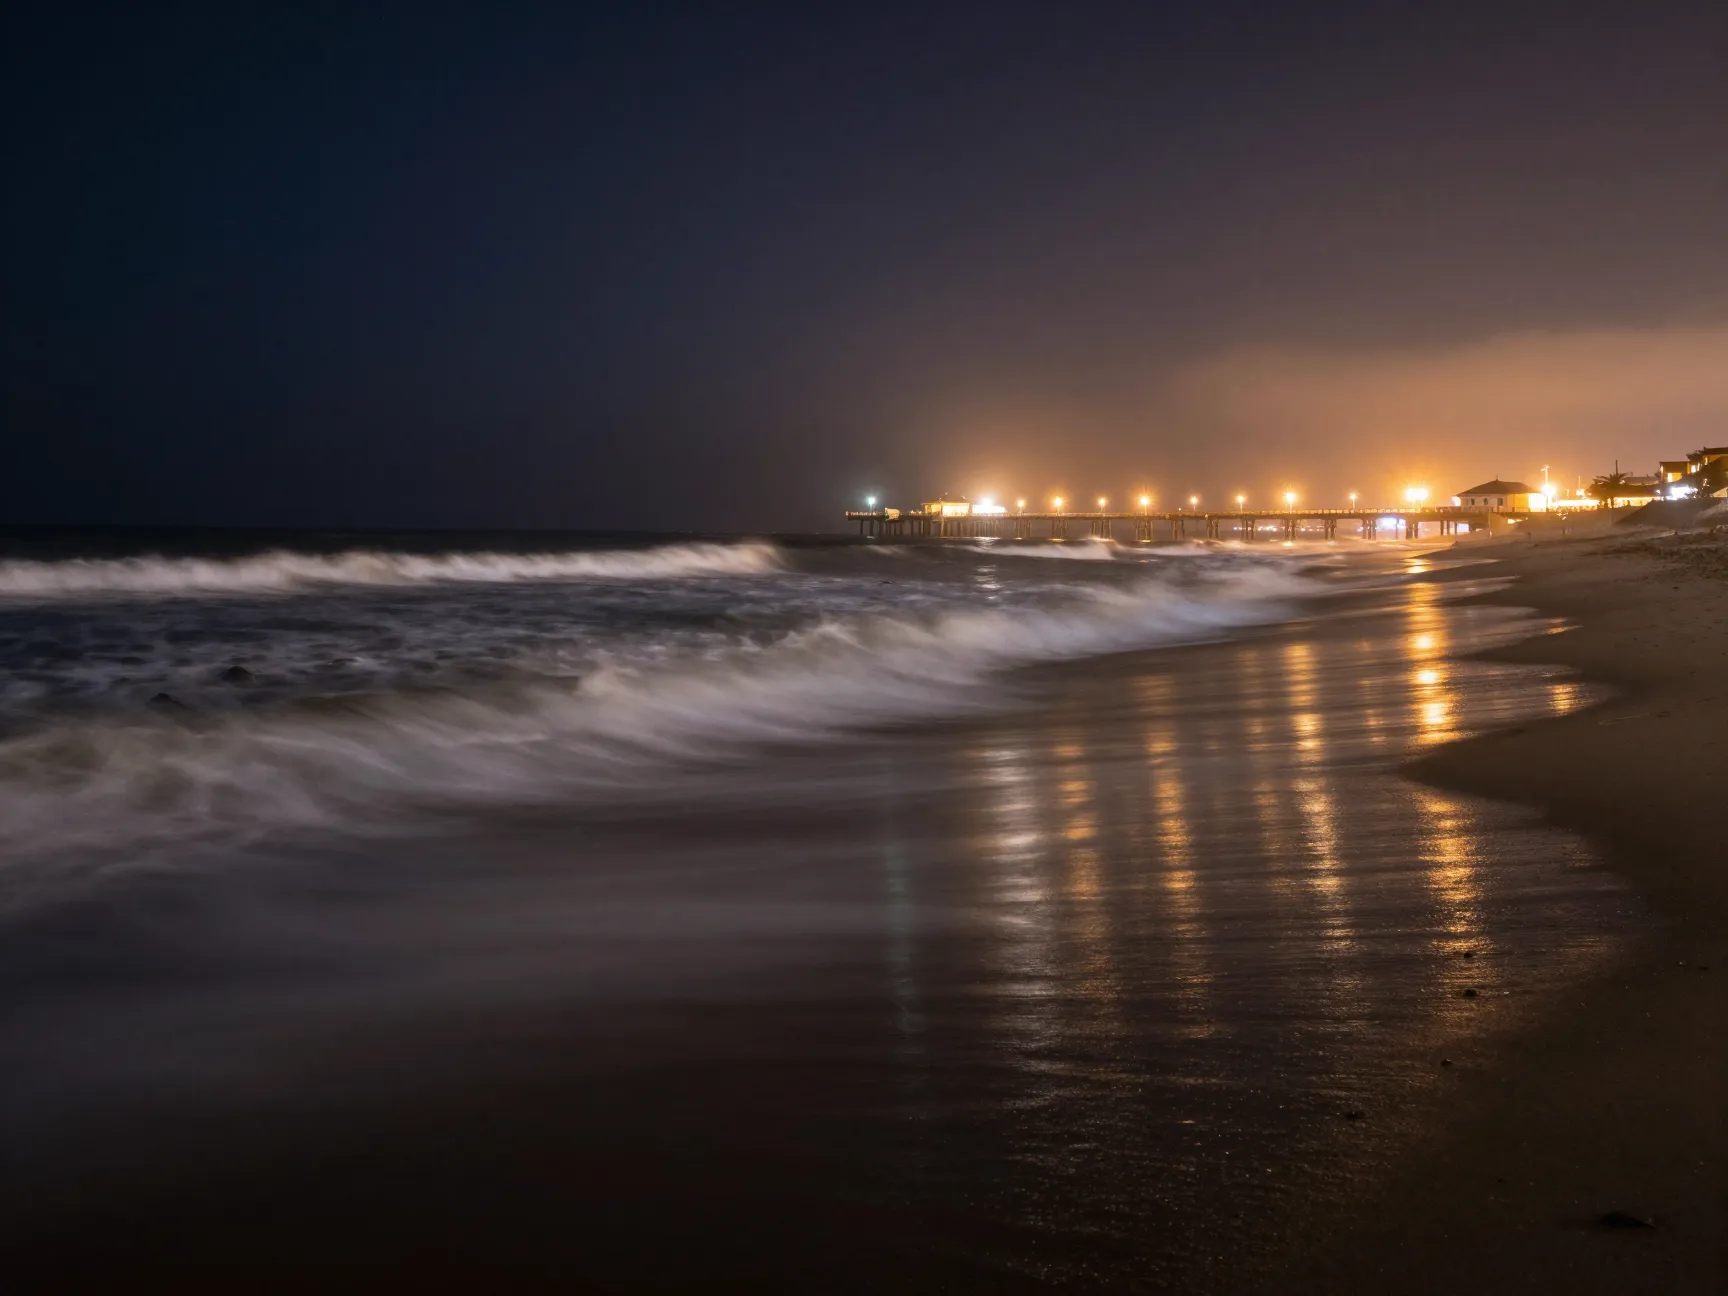
The instinct to flee light pollution is understandable but often counterproductive for the night beach aesthetic. The warm amber glow of a distant boardwalk reflecting across wet sand, the blue-white beam of a lighthouse sweeping the frame, or the soft orange haze of a coastal city on the horizon all add depth and narrative to a long-exposure seascape.
Creative approaches to artificial light at the beach:
- Position the camera so a pier’s string lights appear as a leading line drawing the eye toward the horizon
- Use a long exposure to capture the full arc of a lighthouse beam as a streak across the sky
- Allow city glow to serve as a natural gradient, transitioning from warm amber at the horizon to deep blue-black at the zenith
- Light paint foreground rocks or tide pools with a small LED torch during a long exposure for selective illumination [7]
Light painting, walking through the frame with a handheld light source during the exposure, is one of the most effective techniques for adding mystery and dimension to night beach images. A warm-toned torch creates a golden glow on wet rocks; a blue-filtered light mimics moonlight [4].
The key is intentionality. Every light source in the frame should serve the composition, not compete with it [6].
7. Compose With Strong Foreground Elements
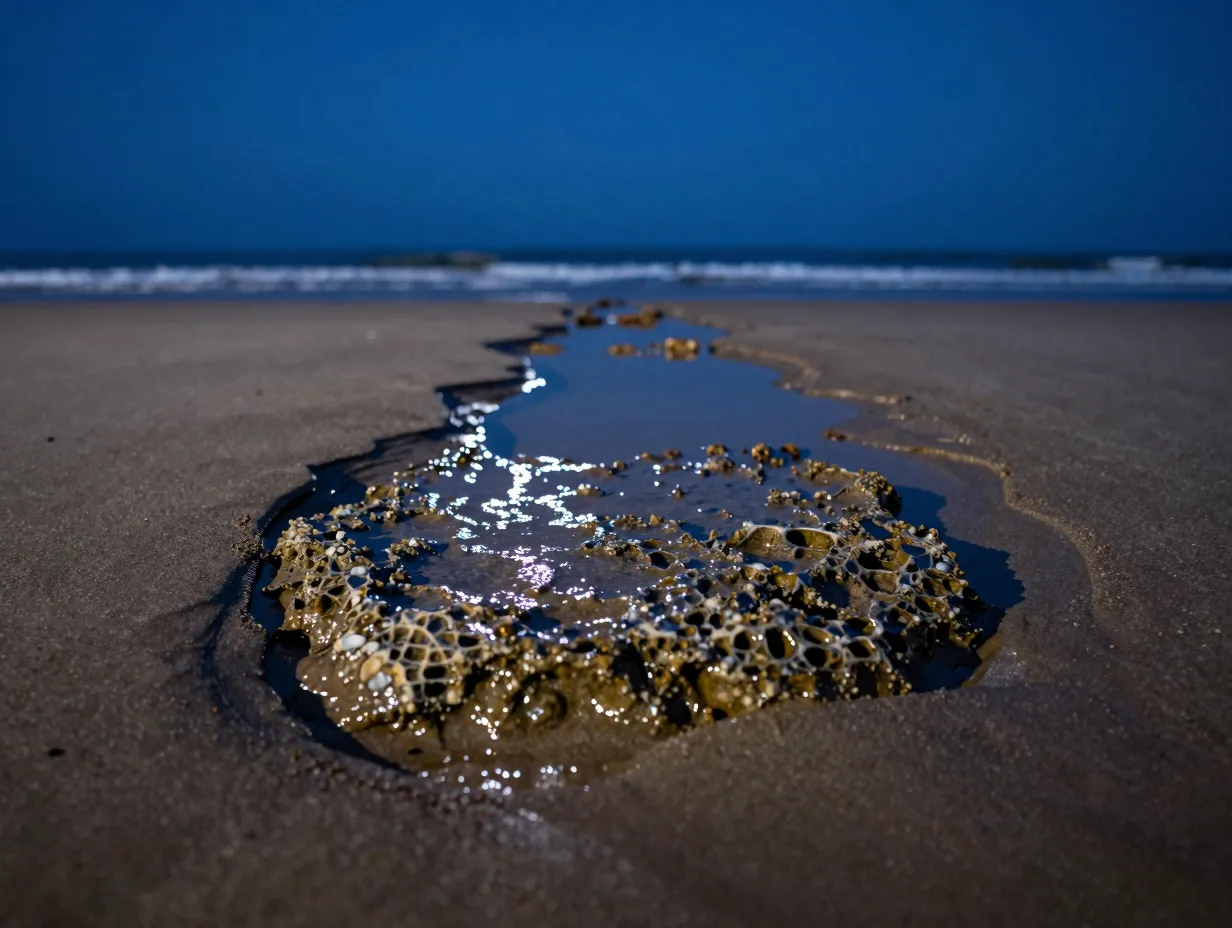
A common weakness in night beach photography is an empty, featureless foreground. In daylight, a plain stretch of sand can work as negative space. In a long-exposure night image, it becomes a dead zone that pulls the eye nowhere.
Strong foreground elements that work well in the mysterious night beach aesthetic include:
- Tide pools reflecting sky color and star light
- Exposed rocks with interesting texture and shape
- Kelp or seaweed lines left by receding waves
- Wooden pier pilings or jetty rocks
- Patterns in wet sand created by wave wash
The rule of thirds is a reliable starting point for night beach composition, but leading lines, a curving shoreline, a row of rocks, a stream of water running back toward the ocean, are even more powerful at night because they guide the eye through a scene that has fewer natural focal points [6].
Shooting from a lower angle (with the tripod legs fully spread and the head close to the sand) exaggerates the scale of foreground elements and creates the immersive, ground-level perspective that defines the most striking night seascape images [2].
8. Post-Process With Intention, Not Aggression
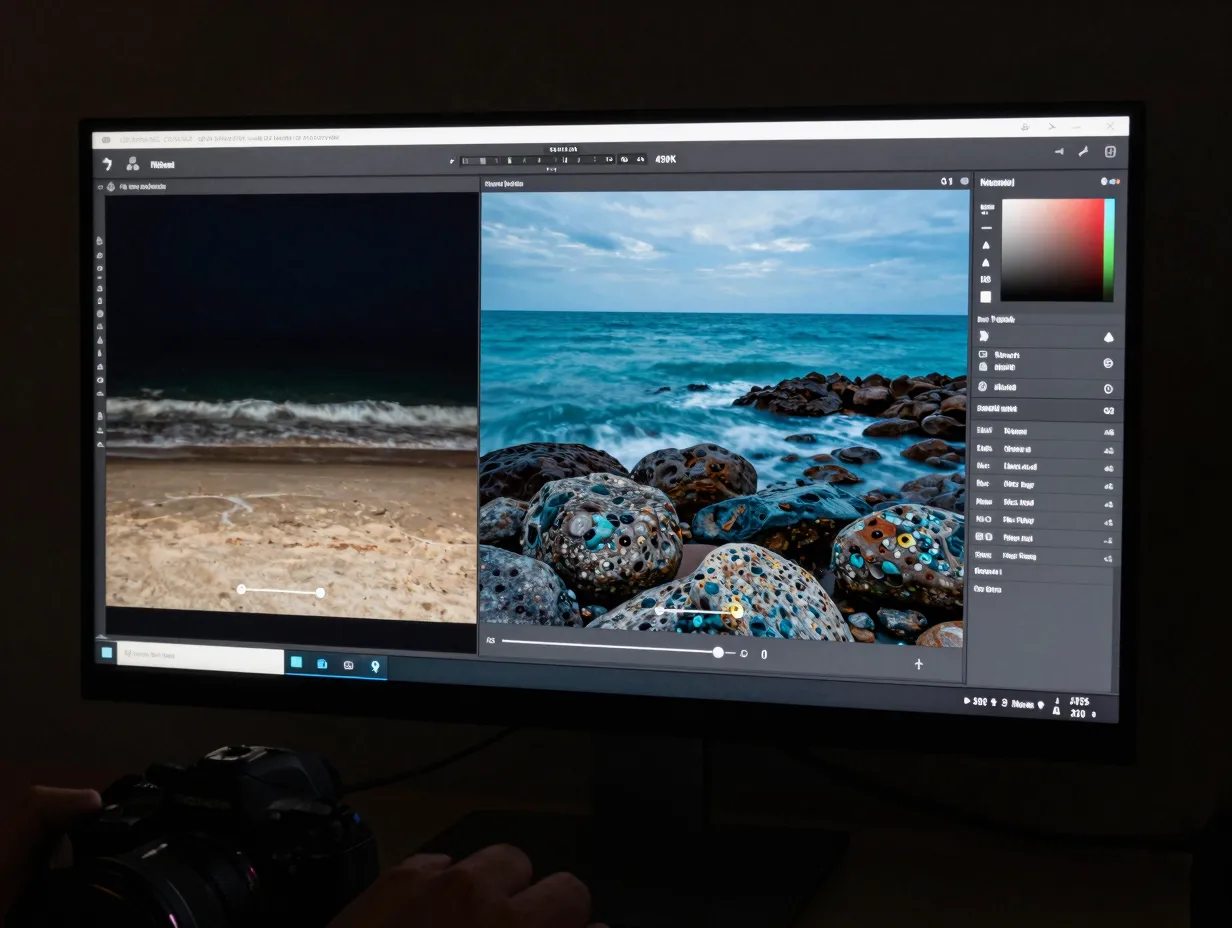
The RAW file from a night beach shoot is a starting point, not a finished image. But the most common post-processing mistake is over-processing: crushing blacks until all shadow detail disappears, boosting clarity until rocks look plastic, or applying noise reduction so aggressively that the image loses texture entirely.
A structured post-processing workflow for night beach images:
- Set white balance first, a cooler temperature (4000K to 5500K) typically preserves the blue-black mood of the night sky; warmer settings suit moonlit scenes with sandy foregrounds
- Adjust exposure globally, then use local adjustments (gradient filters, radial filters, or masking tools) to balance sky and foreground separately
- Apply noise reduction conservatively, luminance noise at moderate levels can add a film-grain quality that enhances the mysterious aesthetic rather than detracting from it
- Use the HSL (Hue, Saturation, Luminance) panel to deepen blues and teals in the water and sky without affecting the warmth of any artificial light sources
- Apply lens corrections to remove chromatic aberration and vignetting, then add a subtle manual vignette to draw the eye back toward the center of the frame
- Sharpen selectively, apply sharpening only to areas of genuine detail (rocks, wave edges) using a masking slider to protect smooth sky areas from sharpening artifacts [9]
The goal of post-processing is to reveal what the camera recorded but could not display, not to create something the camera never saw. The most enduring night beach images feel real, even when they are technically impossible to capture in a single frame [10].
Common Mistakes to Avoid
Even experienced photographers make predictable errors when transitioning to night beach work. Awareness of these pitfalls saves time and protects gear.
Frequent errors and their solutions:
- Forgetting to check the tide chart: Incoming tides move faster than expected; always know the tide schedule before setting up [3]
- Using image stabilization on a tripod: Most IS/VR systems should be disabled when the camera is tripod-mounted, as they can introduce micro-vibration during long exposures
- Relying on autofocus in the dark: AF hunts and often locks on the wrong plane; manual focus via live view magnification is more reliable [4]
- Not protecting gear from salt spray: A microfiber cloth and a rain cover for the camera body are essential; salt corrosion on lens elements is irreversible
- Shooting only one frame per scene: Conditions change rapidly; bracketing exposures and shooting multiple frames of the same composition provides options in post-processing [10]
Conclusion
The 8 tips for mastering the mysterious night beach aesthetic in your photography covered here address every stage of the process, from gear selection and scene planning to exposure technique and post-processing workflow. None of them require expensive equipment upgrades. All of them require practice, patience, and a willingness to return to the same location multiple times under different conditions.
Actionable next steps for photographers ready to apply these principles:
- Download a moon phase and tide app before the next planned shoot and identify a date within the next 30 days when the moon phase and tidal window align favorably
- Practice manual focus using live view magnification in a dark indoor environment before attempting it at the beach
- Shoot a test session at a familiar location to establish baseline exposure settings, then refine from there
- Review every frame using the histogram rather than the LCD preview to develop a more reliable sense of correct exposure in the dark
- Process one image from scratch using the structured workflow above, resisting the urge to apply preset filters until the fundamentals are understood
The mysterious night beach aesthetic rewards photographers who treat it as a discipline rather than a lucky accident. The ocean is patient. The sky is consistent. The results, when the technique is sound, are genuinely extraordinary.
References
[1] Watch – https://www.youtube.com/watch?v=rcQy2awSrHw
[2] Photographing Beach Photos At Night – https://ravindrajoisa.com/photographing-beach-photos-at-night/
[3] Beach Night Photography – https://dougashphotography.com/beach-night-photography/
[4] 7 Nighttime Photography Tips For Pools And Beaches – https://www.swimmerliving.com/35537/7-nighttime-photography-tips-for-pools-and-beaches/
[5] Watch – https://www.youtube.com/watch?v=CbAJLPHeE1A
[6] Beach Photography Tips – https://www.rowansims.com/photography-tips/beach-photography-tips/
[7] facebook – https://www.facebook.com/groups/phototipsntricks/posts/6277480162320988/
[8] Watch – https://www.youtube.com/watch?v=KZ_AvHgjJ74
[9] Night Time Ocean Photography low Light Still Shots – https://www.reddit.com/r/photography/comments/175joce/night_time_ocean_photographylow_light_still_shots/
[10] Night Time Photography Long Exposure Beach Photo Popography – https://popography.org/night-time-photography-long-exposure-beach-photo-popography/