8 Creative DIY Crochet Patterns for a Custom Fishing Rod Grip
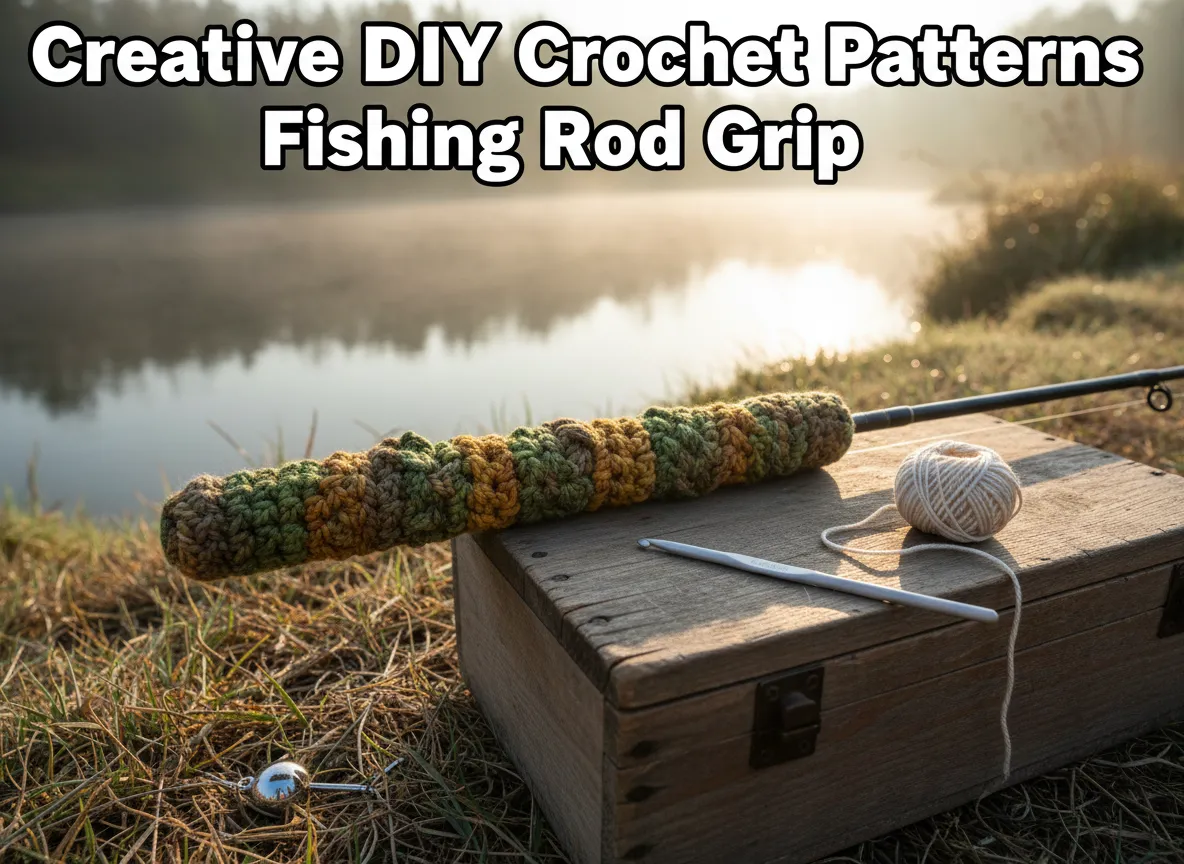
Roughly 49 million Americans go fishing at least once a year, yet the vast majority of them grip a factory-standard handle that was never designed with their hand in mind. A crocheted rod grip changes that equation entirely, it adds cushion, improves wet-weather traction, and turns a mass-produced tool into something genuinely personal. This guide to 8 Creative DIY Crochet Patterns for a Custom Fishing Rod Grip walks through every major style, from beginner-friendly ribbed sleeves to advanced textured shells, so any angler with a crochet hook and a spool of the right yarn can build a grip that performs as well as it looks.
Disclosure: This post contains affiliate links. As an Amazon Associate, we earn from qualifying purchases, and at no extra cost to you.
Key Takeaways
- Crocheted rod grips improve comfort, reduce hand fatigue, and provide superior wet-grip compared to standard foam or cork handles.
- The right yarn choice, specifically cotton or nylon blends rated for moisture, is as important as the stitch pattern itself.
- All 8 patterns in this guide can be sized to fit any rod diameter by adjusting the foundation chain and gauge swatch.
- Most patterns require only basic crochet skills; items 1 through 4 are suitable for beginners.
- Finishing with a waterproof sealant or beeswax treatment extends the life of a crocheted grip significantly.
Why Crochet Belongs on a Fishing Rod
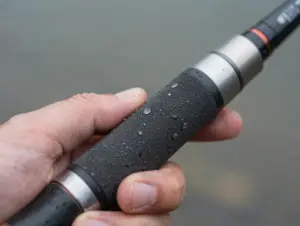
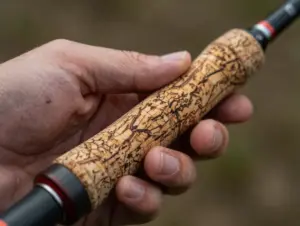
The idea sounds unconventional until the physics are considered. Crochet fabric is inherently three-dimensional, stitches interlock at angles that create micro-ridges across the surface. Those ridges function like the tread on a tire, channeling water away from the palm and maintaining friction even when the grip is soaked. Cork and EVA foam, the two most common factory materials, become slick when wet and compress permanently over time. A well-crocheted sleeve does neither.
Beyond function, there is the matter of fit. Standard grips are built for an average hand. Anglers with large palms, arthritis, or repetitive-strain sensitivities often find factory grips either too thin or too rigid. Adding a crocheted layer of 2-4 mm thickness customizes the diameter without expensive aftermarket parts.
“The best fishing grip is the one that disappears from your awareness entirely, you stop thinking about the rod and start thinking about the fish.”
Materials and Tools Before You Begin
Getting the materials right is non-negotiable. Using the wrong yarn on a fishing rod grip leads to mildew, unraveling, and loss of stitch definition after a single wet session.
Recommended yarn types:
- Cotton worsted weight (size 4): absorbs minimal water, dries quickly, holds stitch shape
- Nylon-cotton blend: adds elasticity and abrasion resistance
- Paracord-style micro cord (1-2 mm): for ultra-slim, high-durability grips on ultralight rods
Tools needed:
- Crochet hook sized to match yarn (typically 4.0 mm to 5.5 mm for worsted weight)
- Measuring tape
- Stitch markers
- Tapestry needle for weaving ends
- Waterproof fabric sealant or beeswax bar
Sizing the grip: Measure the rod blank circumference at the grip zone. Crochet a gauge swatch of 10 stitches by 10 rows. Calculate how many foundation chain stitches are needed to wrap the blank snugly without bunching. A typical spinning rod blank measures 22-28 mm in diameter at the handle, requiring a foundation chain of 18-24 stitches in worsted-weight cotton.
The 8 Creative DIY Crochet Patterns for a Custom Fishing Rod Grip
The following patterns are ordered from simplest to most advanced. Each entry includes the core stitch, the functional benefit, and a brief construction note.
1. The Ribbed Sleeve
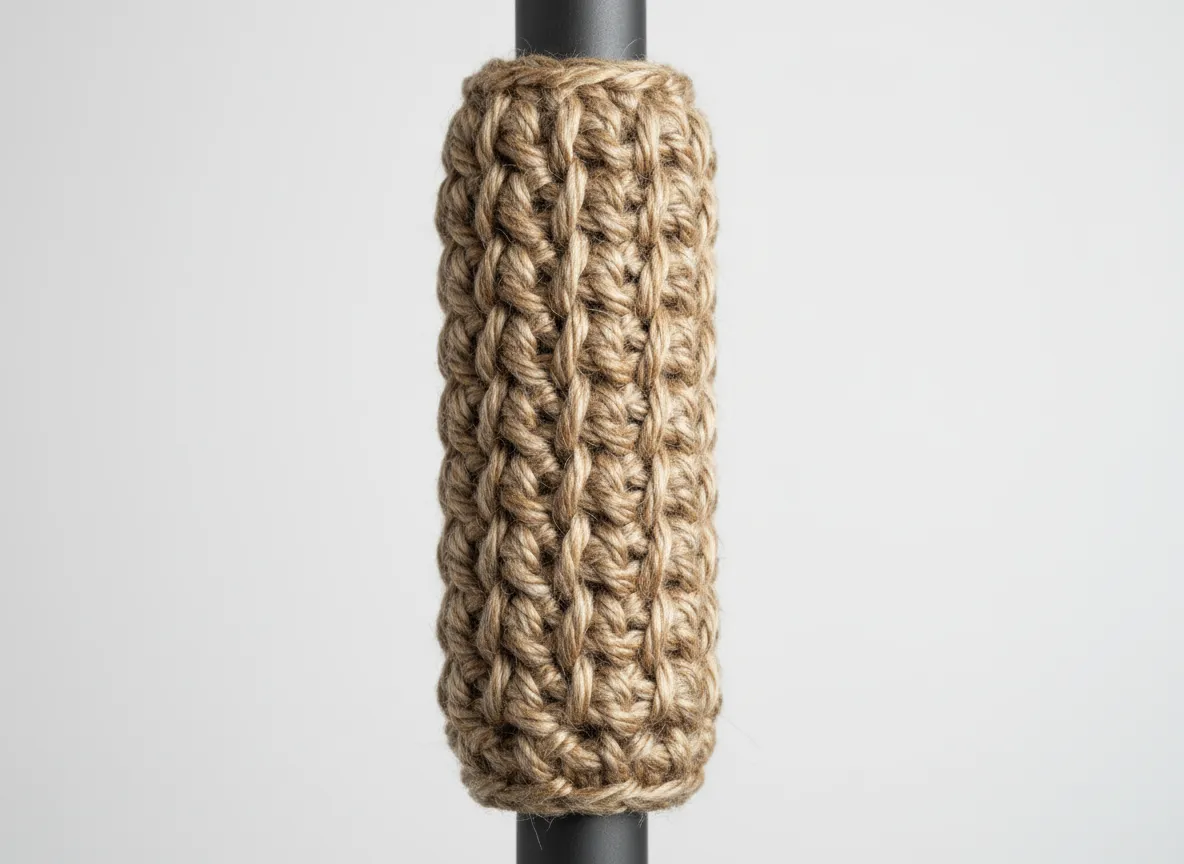
The ribbed sleeve is the most beginner-accessible pattern in this collection of 8 creative DIY crochet patterns for a custom fishing rod grip. It uses alternating front-post and back-post double crochet stitches worked in the round to create raised vertical ridges along the length of the grip.
Core stitch: Front post double crochet (FPDC) and back post double crochet (BPDC) alternated every stitch.
Functional benefit: The vertical ridges align naturally with the fingers, providing consistent contact points regardless of how the angler rotates their grip. This pattern is especially effective for spinning rods where the hand shifts position frequently during retrieval.
Construction note: Work the foundation chain to fit the rod circumference, join in the round, and alternate FPDC/BPDC for the full grip length (typically 20-25 cm for a standard spinning rod). The finished sleeve slides over the blank and is secured at both ends with a whip stitch through a thin layer of marine-grade adhesive.
2. The Seed Stitch Wrap
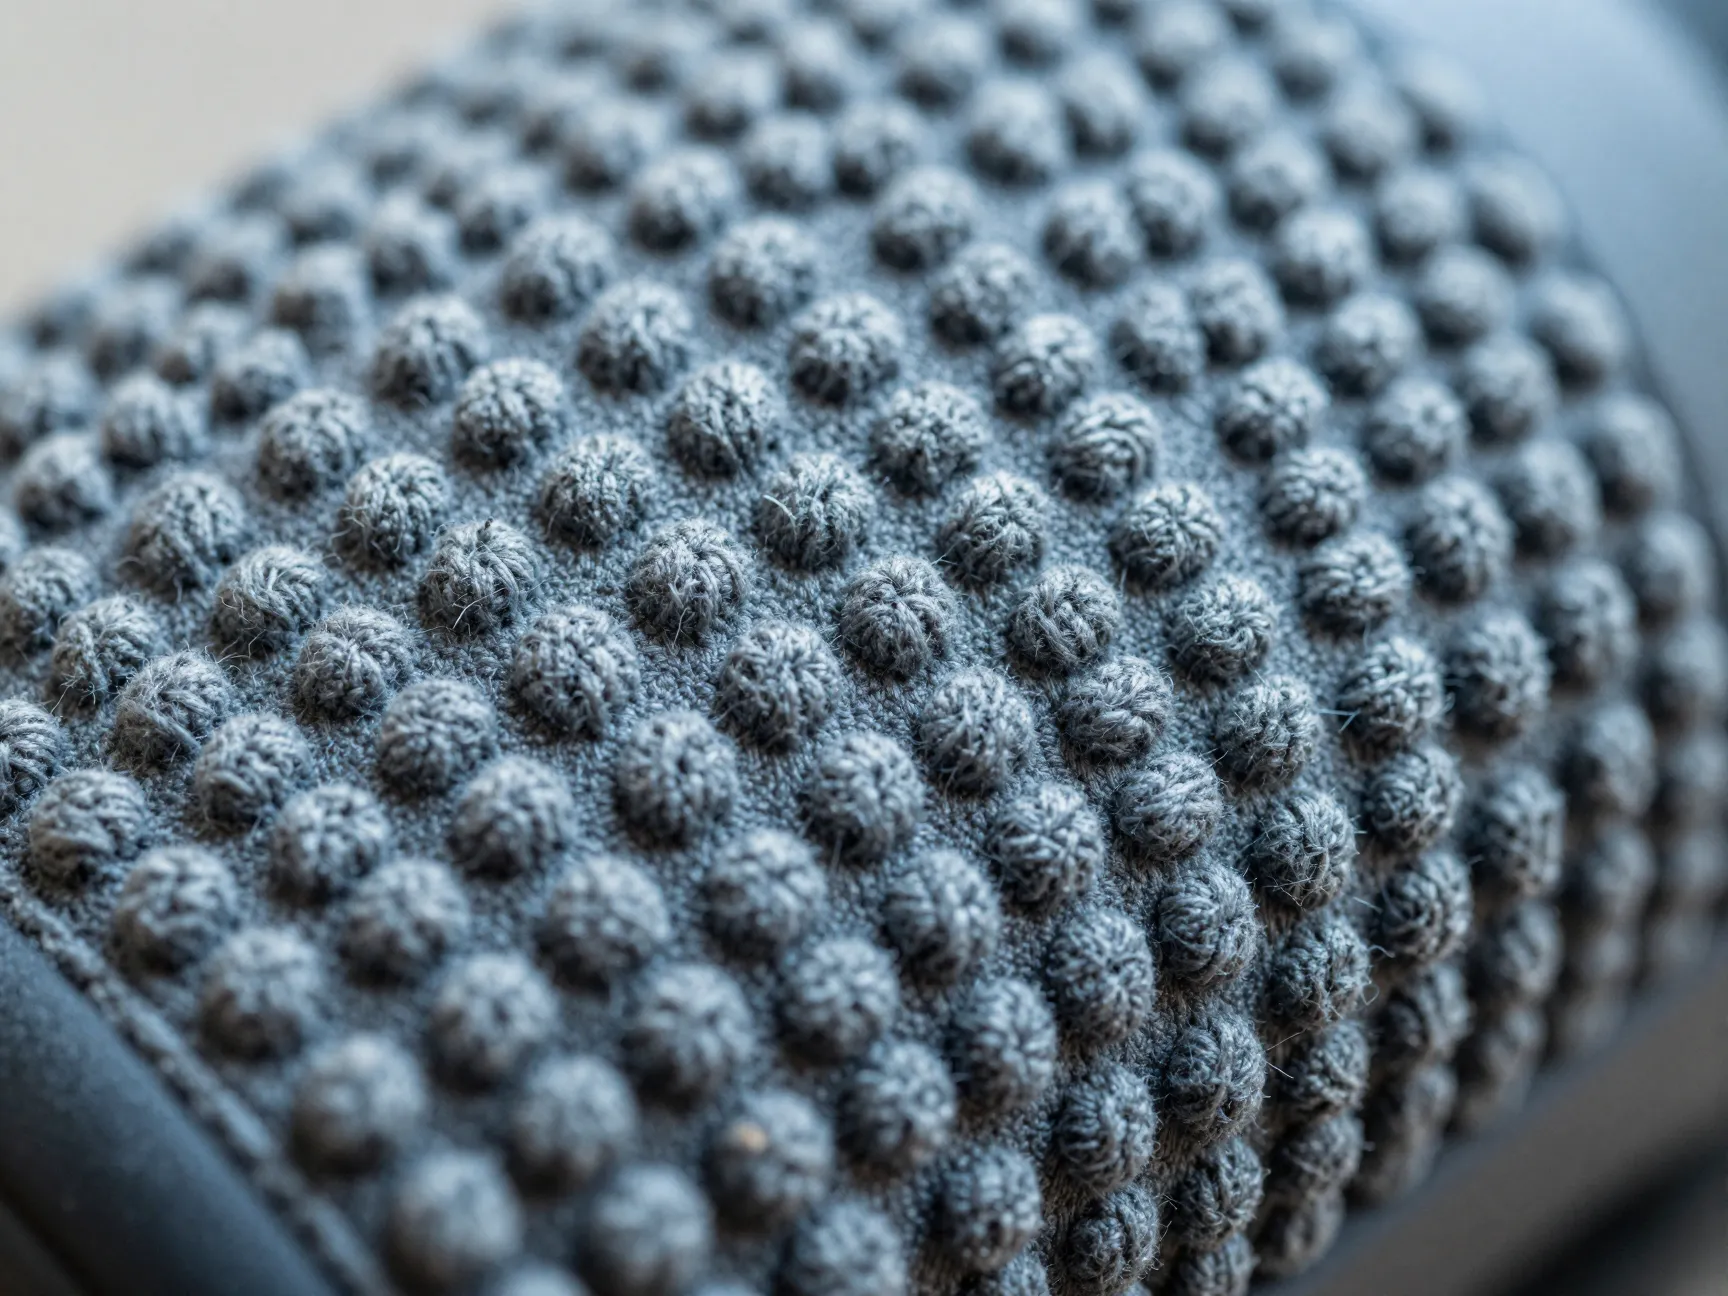
The seed stitch pattern alternates single crochet and chain-one spaces in a checkerboard arrangement. The result is a bumpy, tactile surface with excellent all-around grip.
Core stitch: Single crochet alternated with chain-one spaces, offset each row to create the seed texture.
Functional benefit: The raised “seeds” create omnidirectional traction, the grip feels equally secure whether the hand is dry, wet, or gloved. This makes it a strong choice for ice fishing or cold-weather applications where gloves reduce tactile feedback.
Construction note: Because chain-one spaces create small gaps, this pattern benefits most from a tightly spun cotton yarn that will not stretch under load. Work at a tight gauge (more stitches per inch than the yarn label suggests) to prevent the gaps from widening over time.
3. The Moss Stitch Grip
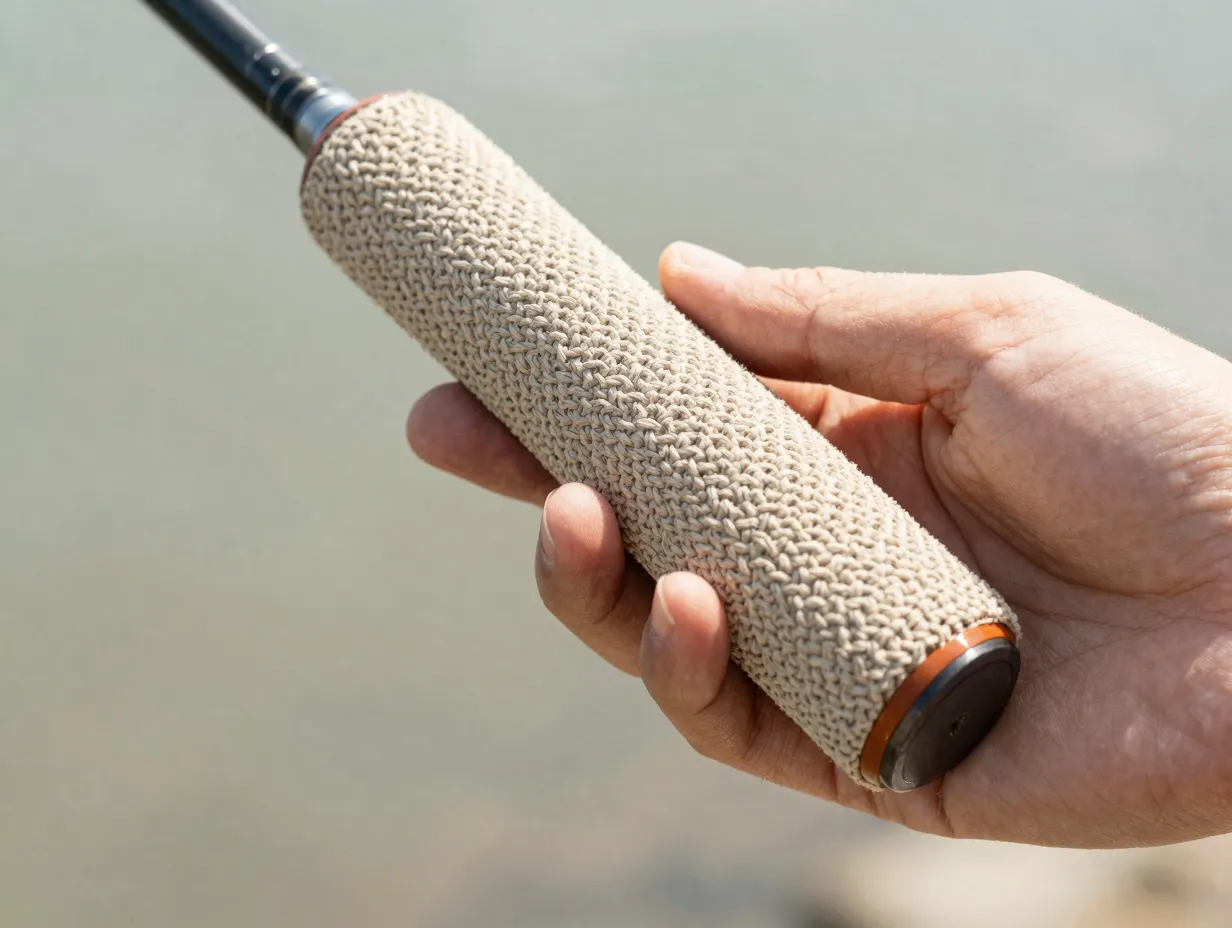
The moss stitch (also called the linen stitch or granite stitch) produces a dense, flat fabric with a fine woven texture. It is worked by alternating single crochet and chain-one stitches but inserting the hook into the chain spaces of the previous row rather than into the stitches themselves.
Core stitch: Single crochet into chain-one space, chain one, repeat.
Functional benefit: The resulting fabric is denser than standard single crochet, which means it compresses less under grip pressure and maintains its diameter longer. The flat surface also makes it the most comfortable pattern for extended casting sessions where the palm stays in one position.
Construction note: The moss stitch tends to curl at the edges when worked flat, so always work in the round for rod grips. Use stitch markers every 10 stitches to keep count, as the alternating pattern is easy to lose track of mid-row.
4. The Half-Double Crochet Spiral
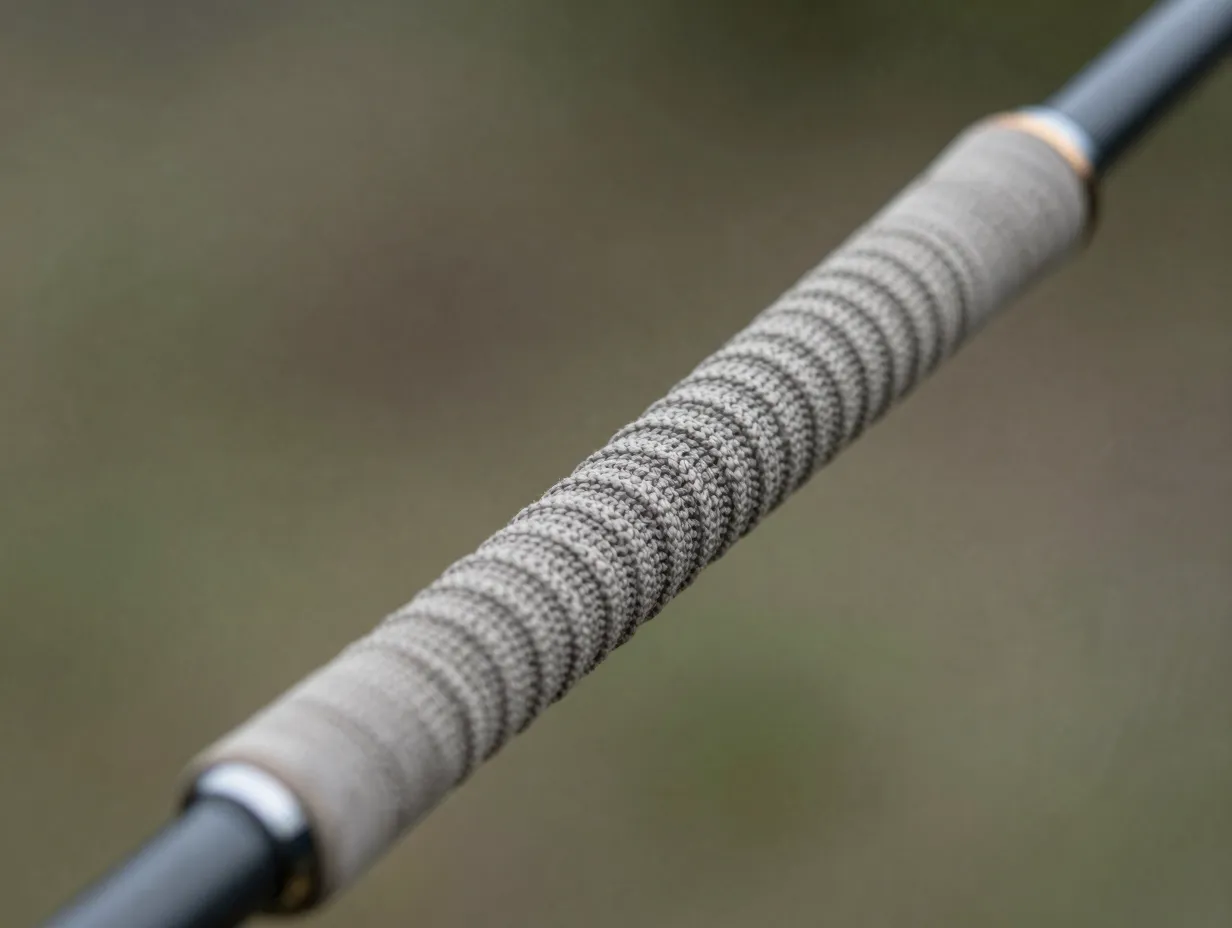
Rather than working in joined rounds, this pattern uses a continuous spiral of half-double crochet stitches. The spiral creates a subtle diagonal texture across the grip surface.
Core stitch: Half-double crochet (HDC) worked continuously without joining rounds.
Functional benefit: The diagonal orientation of the stitches provides a natural anti-torque surface, when the rod twists during a fish run, the grip’s texture works against the rotation, helping the angler maintain control. This pattern is particularly popular among fly fishers who make frequent roll casts.
Construction note: Place a stitch marker at the beginning of each round and move it up as work progresses. The spiral will be subtle at first but becomes visually distinct after 8-10 rounds. Finish with a slip stitch and weave the tail securely, as the spiral construction means there is no natural seam to anchor the end.
5. The Shell Stitch Accent Band
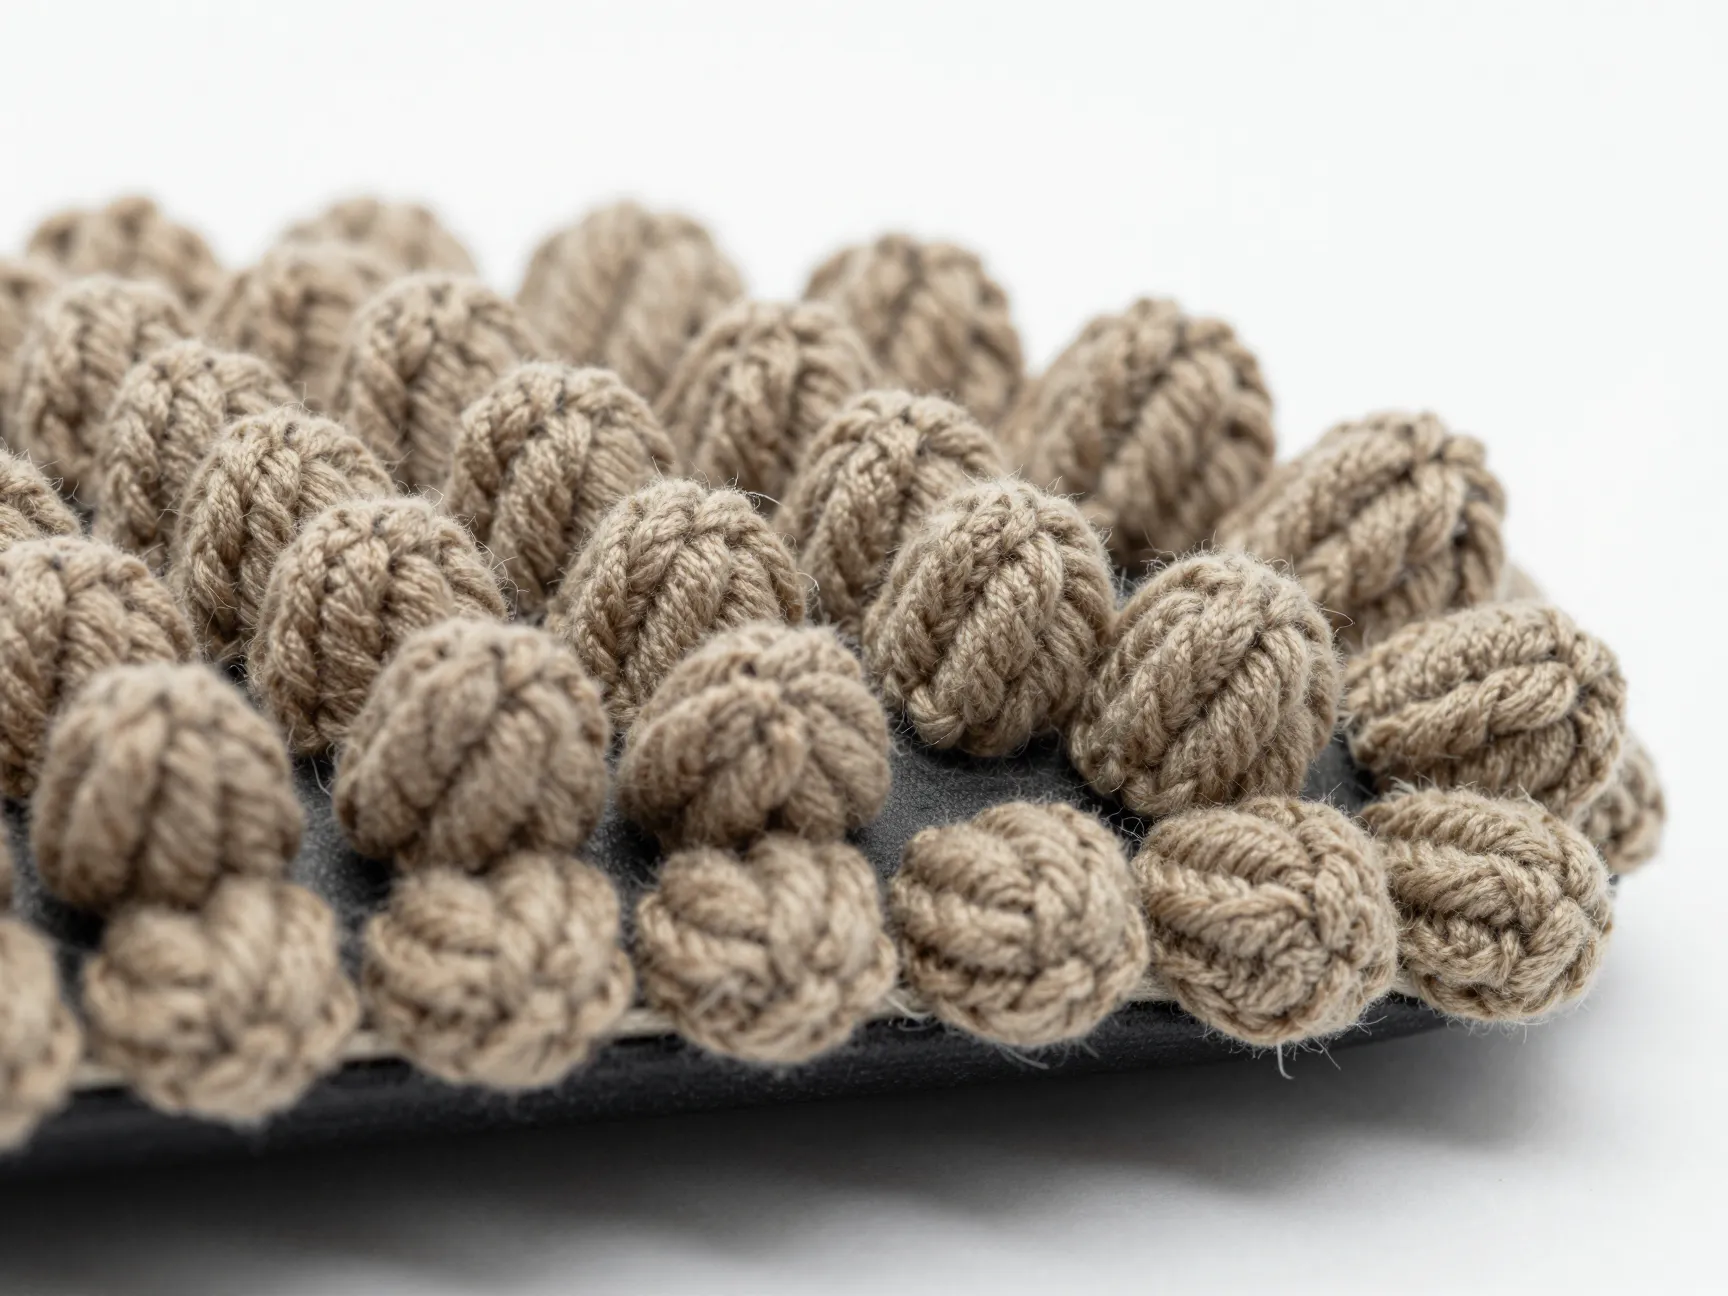
The shell stitch introduces intermediate-level technique to this list of 8 creative DIY crochet patterns for a custom fishing rod grip. It creates fan-shaped clusters of double crochet stitches that produce a scalloped, three-dimensional surface.
Core stitch: Five double crochet stitches worked into a single base stitch, separated by chain-two spaces and single crochet anchor stitches.
Functional benefit: The raised shell clusters create defined zones of high grip along the rod. Many anglers position the shells to align with where the fingers naturally fall, essentially building a custom ergonomic grip directly into the pattern.
Construction note: Shell stitches require more yarn per inch than the previous patterns. Calculate yardage by adding approximately 30% to the estimate used for a plain double crochet grip of the same dimensions. Work a test swatch and measure the shell height before committing to the full grip, as the raised clusters can make the grip diameter larger than intended.
6. The Basketweave Grip
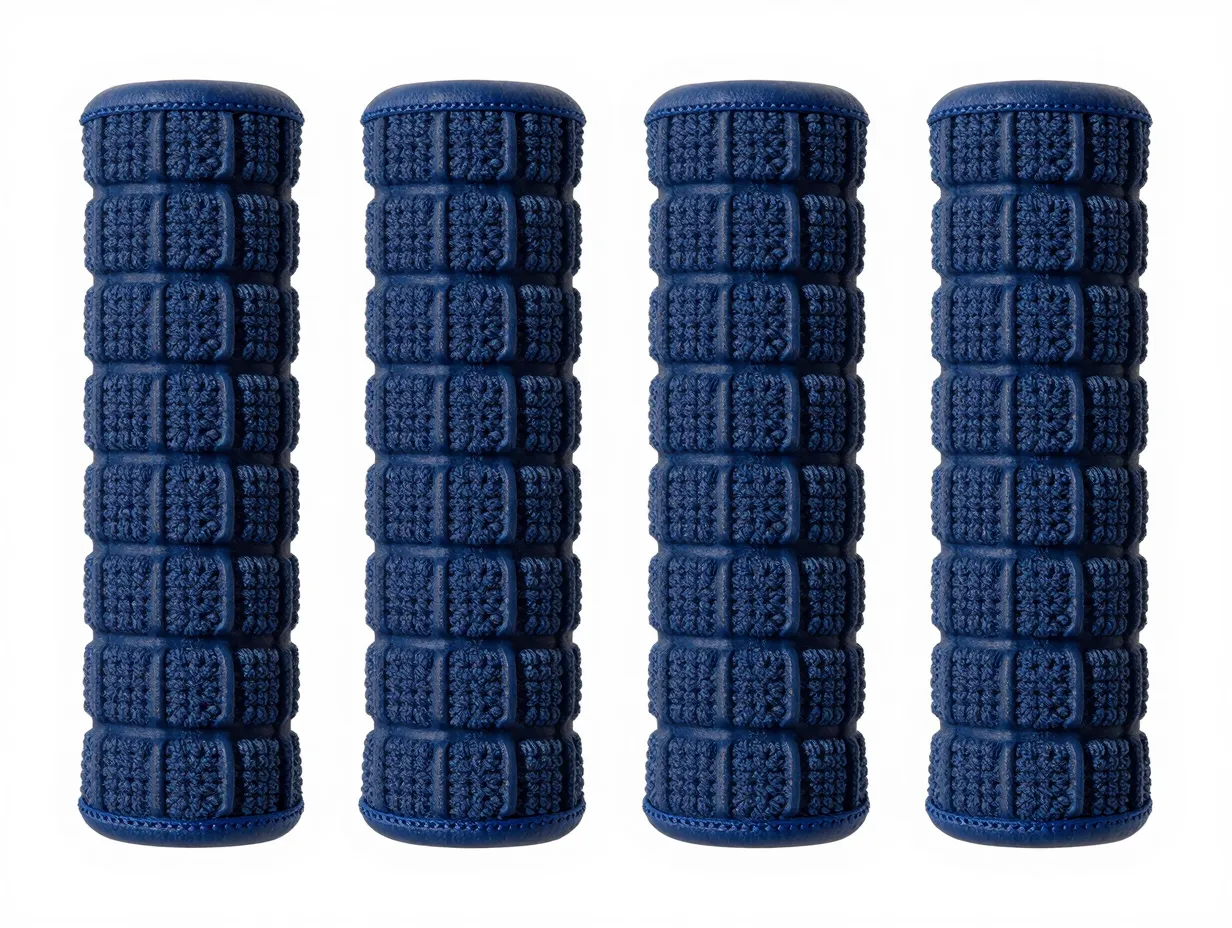
The basketweave pattern uses alternating blocks of front-post and back-post double crochet stitches arranged in a grid rather than in vertical columns. The result mimics woven material and is one of the most visually striking options in this guide.
Core stitch: Blocks of four FPDC followed by four BPDC, alternated and offset every four rows to create the woven illusion.
Functional benefit: The basketweave surface provides both horizontal and vertical traction channels, making it one of the most versatile grips in this collection. It performs well in both dry and wet conditions and is thick enough to add meaningful cushioning to thin-diameter rod blanks.
Construction note: The stitch count must be divisible by four for the basketweave to align correctly. If the rod circumference requires a stitch count that is not divisible by four, adjust by one or two stitches and compensate with a slightly looser or tighter gauge. Mark the beginning of each four-row block with a contrasting stitch marker to keep the pattern aligned.
7. The Bobble Stitch Grip
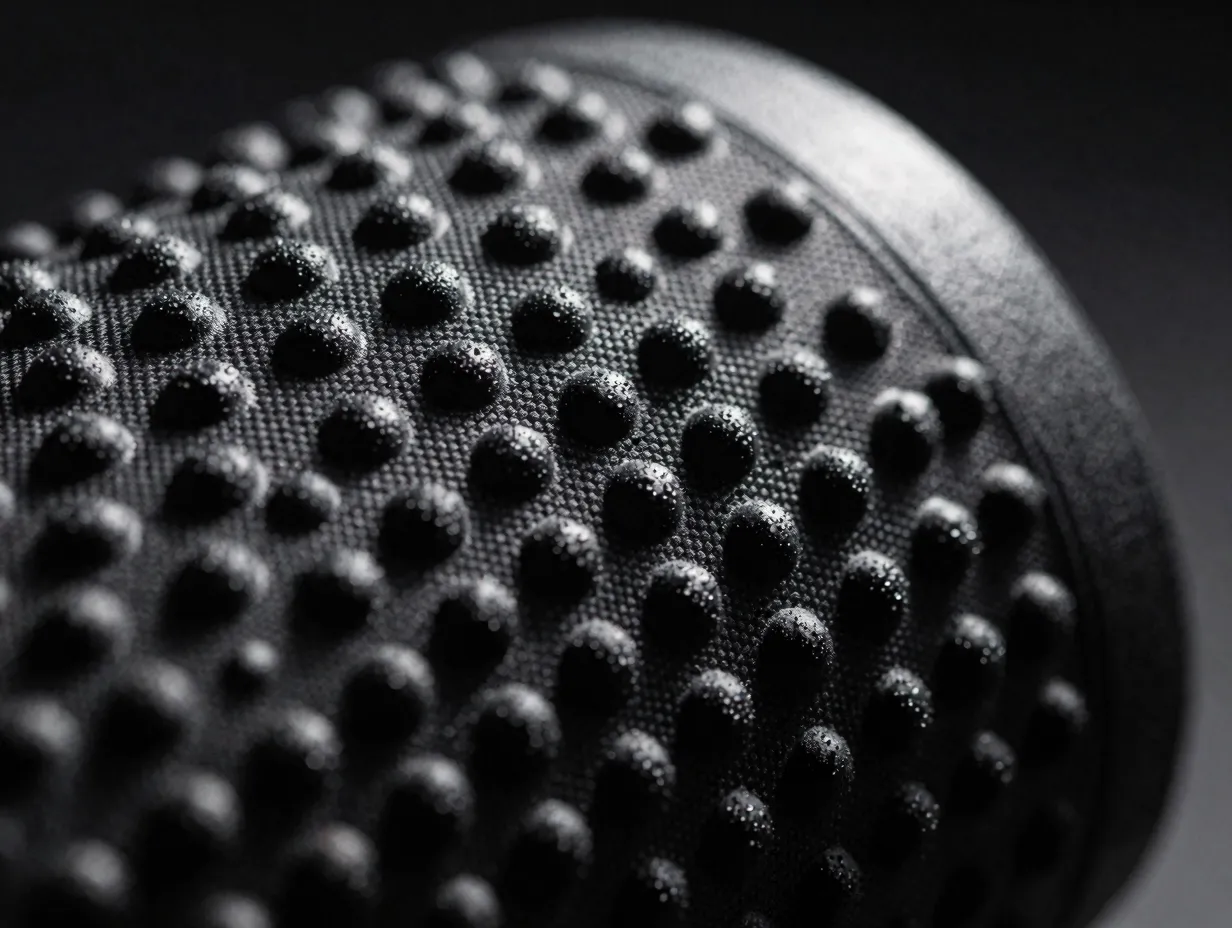
The bobble stitch creates rounded, three-dimensional knobs across the grip surface by working five partially completed double crochet stitches into the same stitch and drawing through all loops together.
Core stitch: Five-loop bobble worked every third stitch, alternated with single crochet stitches between bobbles.
Functional benefit: The bobble knobs function like the dimples on a golf ball, they create small pockets of air and water displacement that improve grip in wet conditions. The rounded surface also reduces pressure points for anglers who fish for extended periods, distributing grip force more evenly across the palm.
Construction note: Bobble stitches pull the fabric inward on the right side and push outward on the wrong side. When working in the round for a rod grip, push each bobble to the outside of the work as it is formed. This requires a deliberate push with the thumb after each bobble is completed. The finished grip will have a satisfying tactile quality that is immediately noticeable.
8. The Interlocking Color-Block Grip
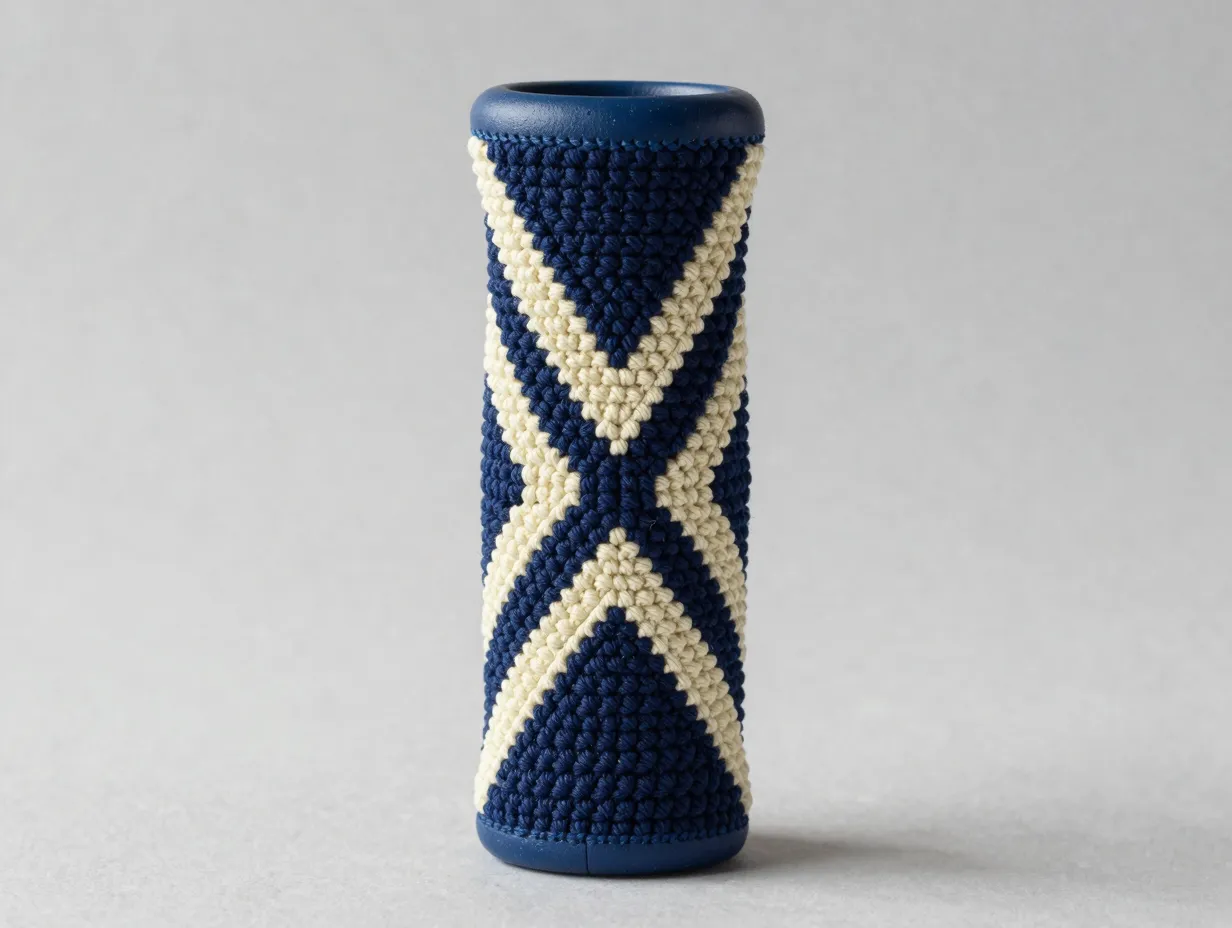
The most advanced pattern in this collection combines tapestry crochet technique with a two-color interlocking design. Two yarn colors are carried simultaneously, with the non-working color woven into the back of the fabric to prevent loose floats.
Core stitch: Single crochet with color changes worked from a charted pattern; both yarns carried throughout.
Functional benefit: Beyond aesthetics, the double-yarn construction creates a grip that is noticeably denser and heavier than single-yarn patterns. The added mass dampens rod vibration slightly, which some anglers find reduces hand fatigue on long days of jigging or bottom fishing.
Construction note: Use a tapestry crochet chart sized to the rod’s circumference stitch count. Popular designs include diagonal stripes, chevrons, and simple geometric repeats. Keep yarn tension consistent when switching colors, inconsistent tension is the most common cause of puckering in tapestry crochet. A yarn tension ring worn on the non-dominant hand helps maintain even feed on both strands.
Finishing and Waterproofing Your Crocheted Grip
A finished crocheted grip needs proper treatment before it touches water. Untreated cotton yarn will absorb water, become heavy, and eventually develop mildew. Two finishing methods work reliably for fishing applications.
Method 1, Beeswax treatment: Rub a block of natural beeswax firmly across the finished grip, working it into every stitch. Use a hair dryer on low heat to melt the wax slightly into the fiber. This treatment is food-safe, odor-neutral (important for fish-scent-sensitive applications), and can be reapplied in the field.
Method 2, Waterproof fabric sealant: Products designed for outdoor canvas and tent fabric work well on crocheted grips. Apply with a small brush, working the sealant into the stitch gaps. Allow 24 hours of drying time before use. This method provides longer-lasting protection but must be reapplied every season.
Securing the grip to the rod:
| Method | Best For | Removable |
|---|---|---|
| Marine adhesive at both ends | Permanent installation | No |
| Heat-shrink tubing over ends | Ultralight and fly rods | No |
| Elastic whip stitch at ends only | Seasonal or trial grips | Yes |
| Rod-building epoxy finish coat | Tournament rods | No |
Matching Pattern to Fishing Style
Not every pattern suits every type of fishing. The table below summarizes the best matches between the 8 creative DIY crochet patterns for a custom fishing rod grip and common fishing disciplines.
| Pattern | Best Fishing Style | Skill Level |
|---|---|---|
| 1. Ribbed Sleeve | Spinning, general freshwater | Beginner |
| 2. Seed Stitch Wrap | Ice fishing, cold-weather | Beginner |
| 3. Moss Stitch Grip | Long-session casting | Beginner |
| 4. HDC Spiral | Fly fishing, roll casting | Beginner |
| 5. Shell Stitch Band | Bass, ergonomic preference | Intermediate |
| 6. Basketweave Grip | Saltwater, all-conditions | Intermediate |
| 7. Bobble Stitch Grip | Deep sea, jigging | Intermediate |
| 8. Color-Block Tapestry | Tournament, custom builds | Advanced |
Common Mistakes and How to Avoid Them
Even experienced crocheters run into problems when adapting their craft to a cylindrical, functional object like a rod grip. The following issues come up most often.
Gauge drift: Tension tends to tighten as the work progresses, especially when working in the round for extended lengths. Check gauge every 5 cm and consciously relax the hook hand if the fabric starts to feel stiff.
Uneven seam lines: Joining rounds with a slip stitch creates a visible jog in the pattern. To minimize this, use the “invisible join” technique, cut the yarn, thread it on a tapestry needle, and weave it through the top loops of the last and first stitches of the round to simulate a continuous stitch.
Slippage on smooth rod blanks: Graphite and fiberglass blanks are very smooth. Apply a thin coat of rubber-grip spray (the type used for tool handles) to the blank before sliding on the crocheted sleeve. This prevents rotation without adding permanent adhesive.
Color bleeding in wet conditions: Test all yarn for colorfastness before use. Soak a small swatch in water for 10 minutes and press it against a white cloth. Any color transfer means the yarn will bleed onto hands and potentially onto fish. Opt for solution-dyed yarns, which are colorfast by design.
Adapting These Patterns for Different Rod Types
The 8 creative DIY crochet patterns for a custom fishing rod grip described in this guide were developed with spinning rods in mind, but all eight adapt readily to other rod types with minor adjustments.
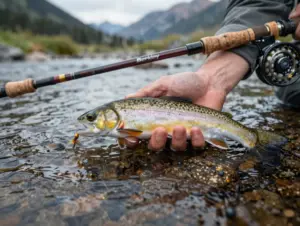
Fly rods: The grip zone on a fly rod is longer and thinner than on a spinning rod. Reduce hook size by 0.5 mm and tighten gauge to maintain a slim profile. The HDC spiral (pattern 4) and moss stitch (pattern 3) are the most popular choices for fly rod applications.
Baitcasting rods: Baitcasting handles are shorter and often have a pistol-grip shape. Work the crocheted sleeve in sections, shaping the thumb rest area with short-row technique or by working increases and decreases around the contour.
Surf rods: Surf rods experience extreme stress and saltwater exposure. Use nylon-cotton blend yarn exclusively, apply two coats of waterproof sealant, and choose the basketweave (pattern 6) or bobble stitch (pattern 7) for maximum grip in heavy conditions.
Ultralight rods: These rods demand the thinnest possible grip addition. Use 1 mm cotton crochet thread and a 1.75 mm steel hook. The ribbed sleeve (pattern 1) and moss stitch (pattern 3) translate well at this scale.
Conclusion
The 8 creative DIY crochet patterns for a custom fishing rod grip covered in this guide represent a full spectrum of skill levels, functional priorities, and aesthetic preferences. From the straightforward ribbed sleeve that a beginner can complete in an afternoon to the intricate tapestry color-block grip that rewards advanced technique, every pattern delivers a measurable improvement over factory-standard handles.
Actionable next steps:
- Measure the rod blank diameter and calculate the required foundation chain using a gauge swatch before purchasing yarn.
- Start with pattern 1 (Ribbed Sleeve) or pattern 3 (Moss Stitch) if this is a first attempt at a functional crochet project.
- Test yarn for colorfastness and moisture resistance before committing to a full grip.
- Apply beeswax or waterproof sealant immediately after finishing, do not skip this step.
- Fish with the new grip for a full session before deciding whether to adjust diameter, texture, or length for the next build.
A crocheted rod grip is not a novelty. It is a legitimate performance upgrade that costs less than most aftermarket handle replacements and lasts longer when properly maintained. The craft and the sport are a more natural combination than they first appear.